


上一篇介绍了SpringBoot和项目的初始化 : Maven构建SpringBoot项目
这篇基于之前的代码,添加JUnit测试,及介绍JUnit
20171221补充:
如果本例中创建测试类使用的以下注解无法找到
@RunWith(SpringJUnit4ClassRunner.class)
@SpringApplicationConfiguration(classes = MockServletContext.class)
@WebAppConfiguration
替换为一下注解即可:
@RunWith(SpringJUnit4ClassRunner.class)
@SpringBootTest(classes = MockServletContext.class)
由于版本问题导致的问题
项目依赖
自动生成的项目pom.xml中已经包含了Test依赖
<!-- 测试模块,包括JUnit、Hamcrest、Mockito -->
<dependency>
   <groupId>org.springframework.boot</groupId>
   <artifactId>spring-boot-starter-test</artifactId>
   <scope>test</scope>
</dependency>
项目结构

注解
添加注解@WebAppConfiguration
@RunWith(SpringJUnit4ClassRunner.class) // 引入Spring-Test框架支持
@SpringApplicationConfiguration(classes = DemoApplication.class) // 指定SpringBoot-Application启动类
@WebAppConfiguration // Web项目,Junit需要模拟ServletContext,测试类加上@WebAppConfiguration。
MockServletContext
由于这是一个新建项目,只有一个helloWord路由,所以我们使用MockServletContext来测试
使用MockServletContext来构建一个空的WebApplicationContext,这样我们创建的HelloController就可以在@Before函数中创建并传递到MockMvcBuilders.standaloneSetup()函数中。
@RunWith(SpringJUnit4ClassRunner.class)
@SpringApplicationConfiguration(classes = MockServletContext.class)
@WebAppConfiguration
public class DemoApplicationTests {

      private MockMvc mvc;

      @Before
      public void setUp() throws Exception {
         mvc = MockMvcBuilders.standaloneSetup(new HelloController()).build();
      }

      @Test
      public void getHello() throws Exception {
         mvc.perform(MockMvcRequestBuilders.get("/hello").accept(MediaType.APPLICATION_JSON))
               .andExpect(status().isOk())
               .andExpect(content().string(equalTo("Hello World")));
      }

}
引入,使status、content、equalTo函数可用
import static org.hamcrest.Matchers.equalTo;
import static org.springframework.test.web.servlet.result.MockMvcResultMatchers.content;
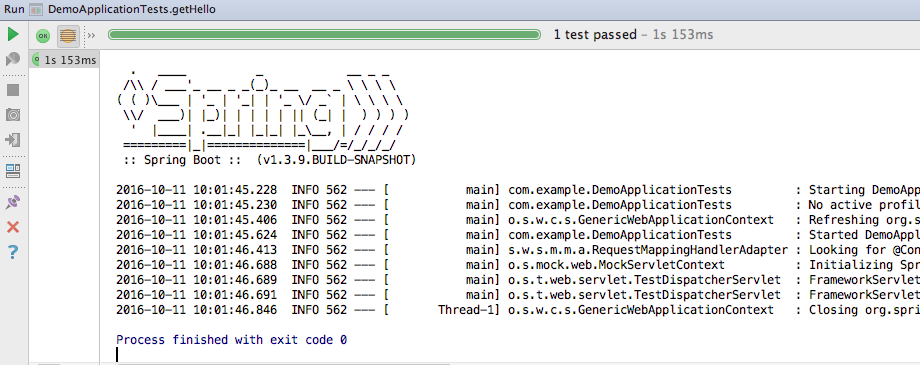
import static org.springframework.test.web.servlet.result.MockMvcResultMatchers.status;运行服务,成功
Junit基本注解
//所有测试方法执行前.执行一次,作用:整体初始化
@BeforeClass

//所有测试方法完成后,执行一次,作用:销毁和释放资源
@AfterClass

//每个测试方法前执行,作用:初始化方法
@Before

//每个测试方法后执行,作用:还原现场
@After

// 测试方法超过1000毫秒,记为超时,测试失败
@Test(timeout = 1000)

// 测试方法期望得到的异常类,如果方法执行没有抛出指定的异常,则测试失败
@Test(expected = Exception.class)

// 执行测试时将忽略掉此方法,如果用于修饰类,则忽略整个类
@Ignore(“not ready yet”)
@Test

@RunWith
在JUnit中有很多个Runner,他们负责调用你的测试代码,每一个Runner都有各自的特殊功能,你要根据需要选择不同的Runner来运行你的测试代码。

如果我们只是简单的做普通Java测试,不涉及spring Web项目,你可以省略@RunWith注解,这样系统会自动使用默认Runner来运行你的代码。
参数化测试
@RunWith(Parameterized.class)
public class ParameterTest {
private String name;
private String password;
// 2,将@Parameters注解的方法中的Object数组中值的顺序对应
public ParameterTest(String name, String password) {
super();
System.out.println("=== ParameterTest ===");
this.name = name;
this.password = password;
}
// 3,进入测试逻辑
@Test
public void test() {
System.out.println("=== test ===");
assertTrue(name.contains("Test")==true);
assertTrue(password.equals("123"));
}
// 1,返回Collection测试数据集合
@Parameters
public static Collection<?> data(){
System.out.println("=== data ===");
// Object 数组中值的顺序注意要和上面的构造方法ParameterTest的参数对应
return Arrays.asList(new Object[][]{
{"Test", "123"},
{"ATest", "123"},
{"bTest", "123"},
});
}
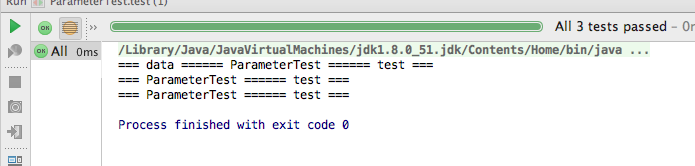
}运行结果:
打包测试
打包测试,就是新增一个类,将其他测试类配置在一起,运行这个类达到运行多个测试类的目的
@RunWith(Suite.class)
@SuiteClasses({ATest.class, BTest.class, CTest.class})
publicclassABCSuite {
     // 类中不需要编写代码
}
使用Junit测试HTTP的API接口
可以测试Rest API
package com.example;
import org.junit.Test;
import org.junit.runner.RunWith;
import org.springframework.beans.factory.annotation.Value;
import org.springframework.boot.test.SpringApplicationConfiguration;
import org.springframework.boot.test.TestRestTemplate;
import org.springframework.boot.test.WebIntegrationTest;
import org.springframework.test.context.junit4.SpringJUnit4ClassRunner;
import org.springframework.util.LinkedMultiValueMap;
import org.springframework.util.MultiValueMap;
import org.springframework.web.client.RestTemplate;
import java.net.URI;
import java.net.URISyntaxException;
import java.util.regex.Pattern;
@RunWith(SpringJUnit4ClassRunner.class)
@SpringApplicationConfiguration(classes = DemoApplication.class)
//@WebAppConfiguration // 使用@WebIntegrationTest注解需要将@WebAppConfiguration注释
@WebIntegrationTest("server.port:0")// 使用0表示端口号随机,也可以指定端口
public class RestApiTest {
private String dateReg;
private Pattern pattern;
private RestTemplate template = new TestRestTemplate();
@Value("${local.server.port}")// 注入端口号
private int port;
@Test
public void testApi_Get() throws URISyntaxException {
URI uri = new URI("http://tingapi.ting.baidu.com/v1/restserver/ting?" +
"format=json%E6%88%96xml&calback=&from=webapp_music" +
"&method=baidu.ting.billboard.billList&type=1&size=10&offset=0");
String result = template.getForObject(uri, String.class);
System.err.println(result);
}
@Test
public void testApi_Post() throws URISyntaxException {
String url = "http://localhost:"+port+"/hello";
System.out.println("");
System.err.println("url = " + url);
MultiValueMap<String, Object> map = new LinkedMultiValueMap<>();
map.add("Parameter1", "value1");
map.add("Parameter2", "value2");
String result = template.postForObject(url, map, String.class);
System.err.println(result);
}
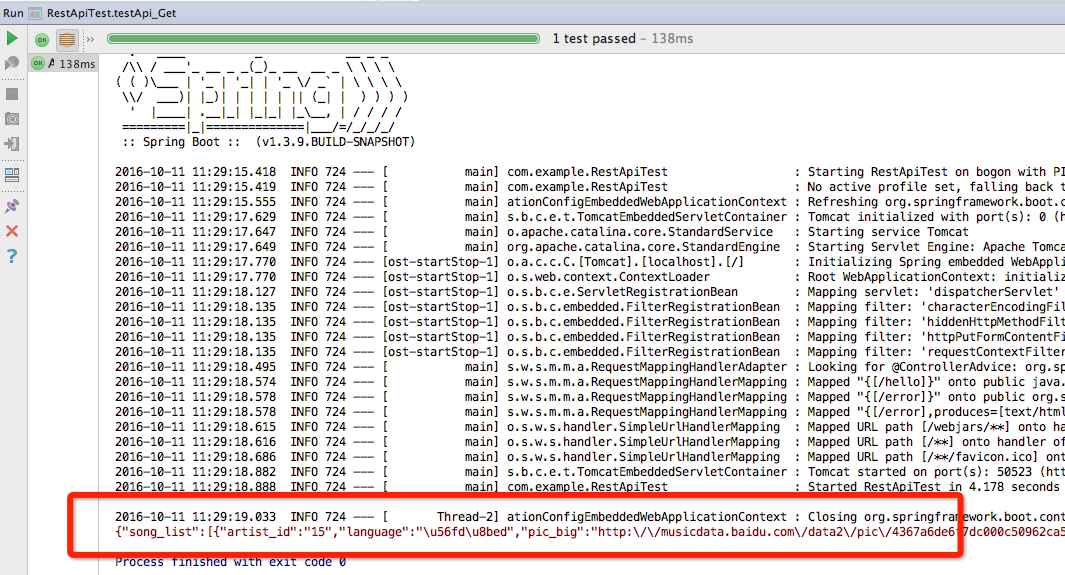
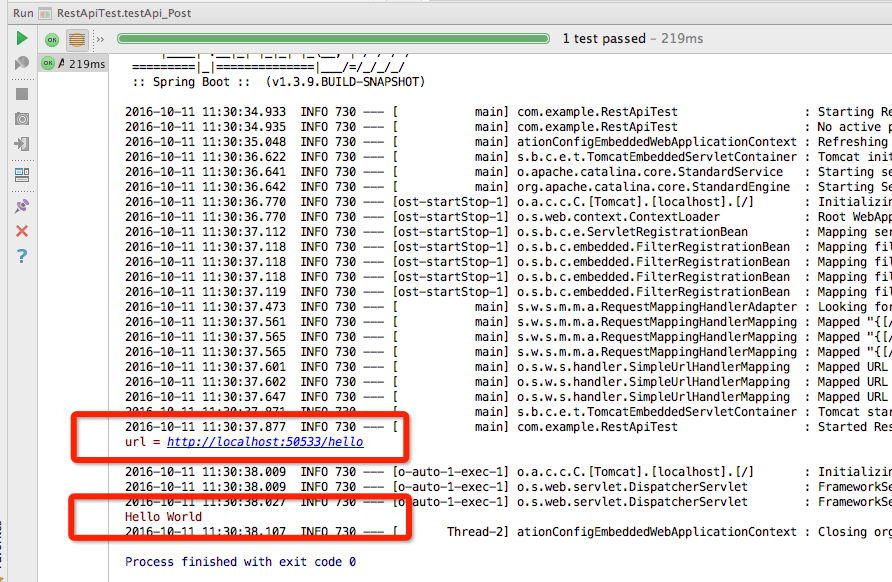
}运行结果:
Get请求测试:
Post请求测试:
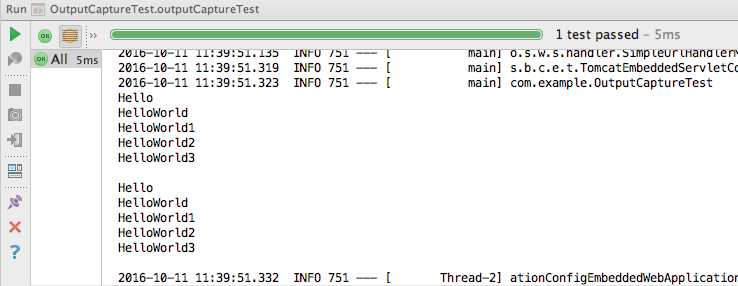
捕获输出
使用 OutputCapture 来捕获指定方法开始执行以后的所有输出,包括System.out输出和Log日志。
OutputCapture 需要使用@Rule注解(实例化的对象需要使用public修饰)
package com.example;

import static org.junit.Assert.*;
import org.hamcrest.Matchers;
import org.junit.Rule;
import org.junit.Test;
import org.junit.runner.RunWith;
import org.springframework.boot.test.OutputCapture;
import org.springframework.boot.test.SpringApplicationConfiguration;
import org.springframework.boot.test.WebIntegrationTest;
import org.springframework.test.context.junit4.SpringJUnit4ClassRunner;

@RunWith(SpringJUnit4ClassRunner.class)
@SpringApplicationConfiguration(classes = DemoApplication.class)
//@WebAppConfiguration // 使用@WebIntegrationTest注解需要将@WebAppConfiguration注释
@WebIntegrationTest("server.port:0")// 使用0表示端口号随机,也可以指定端口
public class OutputCaptureTest {

   @Rule
   // 这里注意,使用@Rule注解必须要用public
   public OutputCapture capture = new OutputCapture();

   @Test
   public void outputCaptureTest(){

      System.out.println("");
      System.out.println("Hello");
      System.out.println("HelloWorld");
      System.out.println("HelloWorld1");
      System.out.println("HelloWorld2");
      System.out.println("HelloWorld3");

      System.out.println(capture.toString());

      assertThat(capture.toString(), Matchers.containsString("HelloWorld"));

   }

}
运行结果:
Assert断言方法介绍
   1、assertEquals

  函数原型1:assertEquals([String message],expected,actual)

参数说明:

message是个可选的消息,假如提供,将会在发生错误时报告这个消息。

  expected是期望值,通常都是用户指定的内容。

actual是被测试的代码返回的实际值。

例:assertEquals("equals","1","1");

  函数原型2:assertEquals([String message],expected,actual,tolerance)

参数说明:

message是个可选的消息,假如提供,将会在发生错误时报告这个消息。

  expected是期望值,通常都是用户指定的内容。

  actual是被测试的代码返回的实际值。

  tolerance是误差参数,参加比较的两个浮点数在这个误差之内则会被认为是

  相等的。

  例:assertEquals ("yes",5.8,11.0/2.0,0.5);

  2、assertTrue

   函数原型:assertTrue ([String message],Boolean condition)

   参数说明:

message是个可选的消息,假如提供,将会在发生错误时报告这个消息。

       condition是待验证的布尔型值。

   该断言用来验证给定的布尔型值是否为真,假如结果为假,则验证失败。当然,更有验证为假的测试条件:

          函数原型:assertFalse([String message],Boolean condition)

          该断言用来验证给定的布尔型值是否为假,假如结果为真,则验证失败。

       例: assertTrue("true",1==1);

              assertFalse("false",2==1);

  3、assertNull

  函数原型:assertNull([String message],Object object)

参数说明:

message是个可选的消息,假如提供,将会在发生错误时报告这个消息。

  object是待验证的对象。

  该断言用来验证给定的对象是否为null,假如不为null,则验证失败。相应地,还存在能够验证非null的断言:

  函数原型:assertNotNull([String message],Object object)

该断言用来验证给定的对象是否为非null,假如为null,则验证失败。

例:assertNull("null",null);

       assertNotNull("not null",new String());

  4、assertSame

  函数原型:assertSame ([String message], expected,actual)

参数说明:

message是个可选的消息,假如提供,将会在发生错误时报告这个消息。

  expected是期望值。

  actual是被测试的代码返回的实际值。

  该断言用来验证expected参数和actual参数所引用的是否是同一个对象,假如不是,则验证失败。相应地,也存在验证不是同一个对象的断言:

  函数原型:assertNotSame ([String message], expected,actual)

该断言用来验证expected参数和actual参数所引用的是否是不同对象,假如所引用的对象相同,则验证失败。

例:assertSame("same",2,4-2);

        assertNotSame("not same",2,4-3);

  5、Fail

  函数原型:Fail([String message])

参数说明:

message是个可选的消息,假如提供,将会在发生错误时报告这个消息。

  该断言会使测试立即失败,通常用在测试不能达到的分支上(如异常)。
新版的Junit中,assertEquals 方法已经被废弃,它建议我们使用assertArrayEquals,旨在让我们测试一个方法的时候多传几种参数进行多种可能性测试。


 1299
1299

 被折叠的 条评论
为什么被折叠?
被折叠的 条评论
为什么被折叠?
 到【灌水乐园】发言


