UIImageView,顾名思义,是用来放置图片的。使用Interface Builder设计界面时,当然可以直接将控件拖进去并设置相关属性,这就不说了,这里讲的是用代码。
1、创建一个UIImageView:
创建一个UIImageView对象有五种方法:
UIImageView *imageView1 = [[UIImageView alloc] init];
UIImageView *imageView2 = [[UIImageView alloc] initWithFrame:(CGRect)];
UIImageView *imageView3 = [[UIImageView alloc] initWithImage:(UIImage *)];
UIImageView *imageView4 = [[UIImageView alloc] initWithImage:(UIImage *) highlightedImage:(UIImage *)];
UIImageView *imageView5 = [[UIImageView alloc] initWithCoder:(NSCoder *)];
比较常用的是前边三个。至于第四个,当这个ImageView的highlighted属性是YES时,显示的就是参数highlightedImage,一般情况下显示的是第一个参数UIImage。
2、frame与bounds属性:
上述创建一个UIImageView的方法中,第二个方法是在创建时就设定位置和大小。
当之后想改变位置时,可以重新设定frame属性:
imageView.frame = CGRectMake(CGFloat x, CGFloat y, CGFloat width, CGFloat heigth);
注意到UIImageView还有一个bounds属性
imageView.bounds = CGRectMake(CGFloat x, CGFloat y, CGFloat width, CGFloat heigth);
那么这个属性跟frame有什么区别呢?
我的理解是,frame设置其位置和大小,而bounds只能设置其大小,其参数中的x、y不起作用即便是之前没有设定frame属性,控件最终的位置也不是bounds所设定的参数。bounds实现的是将UIImageView控件以原来的中心为中心进行缩放。例如有如下代码:
imageView.frame = CGRectMake(0, 0, 320, 460);
imageView.bounds = CGRectMake(100, 100, 160, 230);
执行之后,这个imageView的位置和大小是(80, 115, 160, 230)。
3、contentMode属性:
这个属性是用来设置图片的显示方式,如居中、居右,是否缩放等,有以下几个常量可供设定:
UIViewContentModeScaleToFill
UIViewContentModeScaleAspectFit
UIViewContentModeScaleAspectFill
UIViewContentModeRedraw
UIViewContentModeCenter
UIViewContentModeTop
UIViewContentModeBottom
UIViewContentModeLeft
UIViewContentModeRight
UIViewContentModeTopLeft
UIViewContentModeTopRight
UIViewContentModeBottomLeft
UIViewContentModeBottomRight
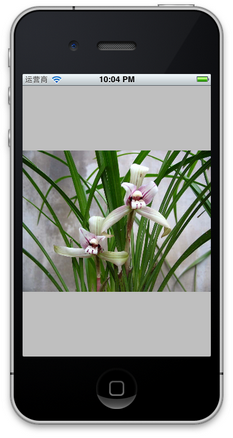
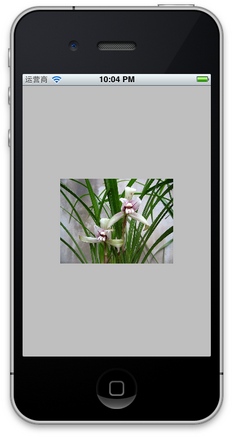
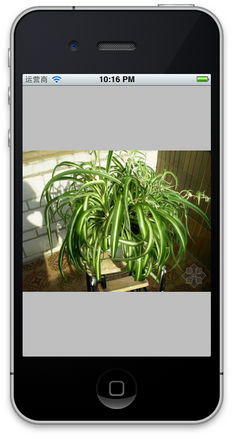
注意以上几个常量,凡是没有带Scale的,当图片尺寸超过 ImageView尺寸时,只有部分显示在ImageView中。UIViewContentModeScaleToFill属性会导致图片变形。UIViewContentModeScaleAspectFit会保证图片比例不变,而且全部显示在ImageView中,这意味着ImageView会有部分空白。UIViewContentModeScaleAspectFill也会证图片比例不变,但是是填充整个ImageView的,可能只有部分图片显示出来。
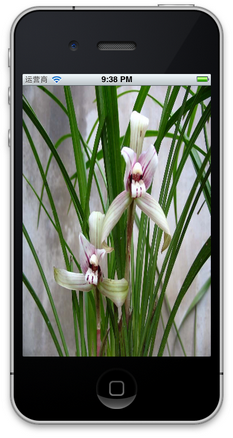
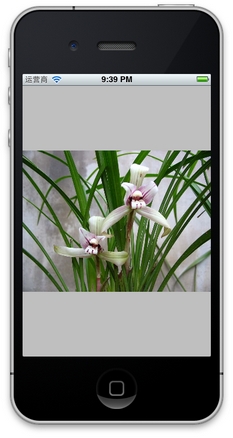
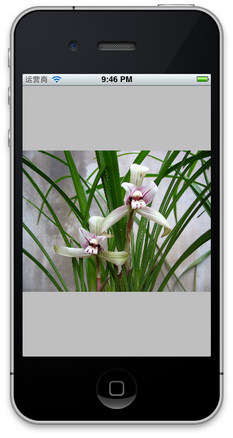
前三个效果如下图:
UIViewContentModeScaleToFill UIViewContentModeScaleAspectFit UIViewContentModeScaleAspectFill
4、更改位置
更改一个UIImageView的位置,可以
4.1 直接修改其frame属性
4.2 修改其center属性:
imageView.center = CGPointMake(CGFloat x, CGFloat y);
center属性指的就是这个ImageView的中间点。
4.3 使用transform属性
imageView.transform = CGAffineTransformMakeTranslation(CGFloat dx, CGFloat dy);
其中dx与dy表示想要往x或者y方向移动多少,而不是移动到多少。
5、旋转图像
imageView.transform = CGAffineTransformMakeRotation(CGFloat angle);
要注意它是按照顺时针方向旋转的,而且旋转中心是原始ImageView的中心,也就是center属性表示的位置。
这个方法的参数angle的单位是弧度,而不是我们最常用的度数,所以可以写一个宏定义:
#define degreesToRadians(x) (M_PI*(x)/180.0)
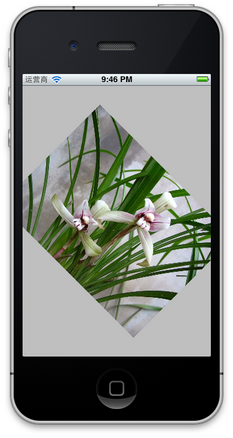
用于将度数转化成弧度。下图是旋转45度的情况:
6、缩放图像
还是使用transform属性:
imageView.transform = CGAffineTransformMakeScale(CGFloat scale_w, CGFloat scale_h);
其中,CGFloat scale_w与CGFloat scale_h分别表示将原来的宽度和高度缩放到多少倍,下图是缩放到原来的0.6倍的示意图:
7、播放一系列图片
imageView.animationImages = imagesArray;
// 设定所有的图片在多少秒内播放完毕
imageView.animationDuration = [imagesArray count];
// 不重复播放多少遍,0表示无数遍
imageView.animationRepeatCount = 0;
// 开始播放
[imageView startAnimating];
其中,imagesArray是一些列图片的数组。如下图:
8、为图片添加单击事件:
imageView.userInteractionEnabled = YES;
UITapGestureRecognizer *singleTap = [[UITapGestureRecognizer alloc] initWithTarget:self action:@selector(tapImageView:)];
[imageView addGestureRecognizer:singleTap];
一定要先将userInteractionEnabled置为YES,这样才能响应单击事件。
9、其他设置
imageView.hidden = YES或者NO;    // 隐藏或者显示图片
imageView.alpha = (CGFloat) al;    // 设置透明度
imageView.highlightedImage = (UIImage *)hightlightedImage; 	// 设置高亮时显示的图片
imageView.image = (UIImage *)image;	// 设置正常显示的图片
[imageView sizeToFit];    // 将图片尺寸调整为与内容图片相同






 2165
2165


 被折叠的 条评论
为什么被折叠?


