


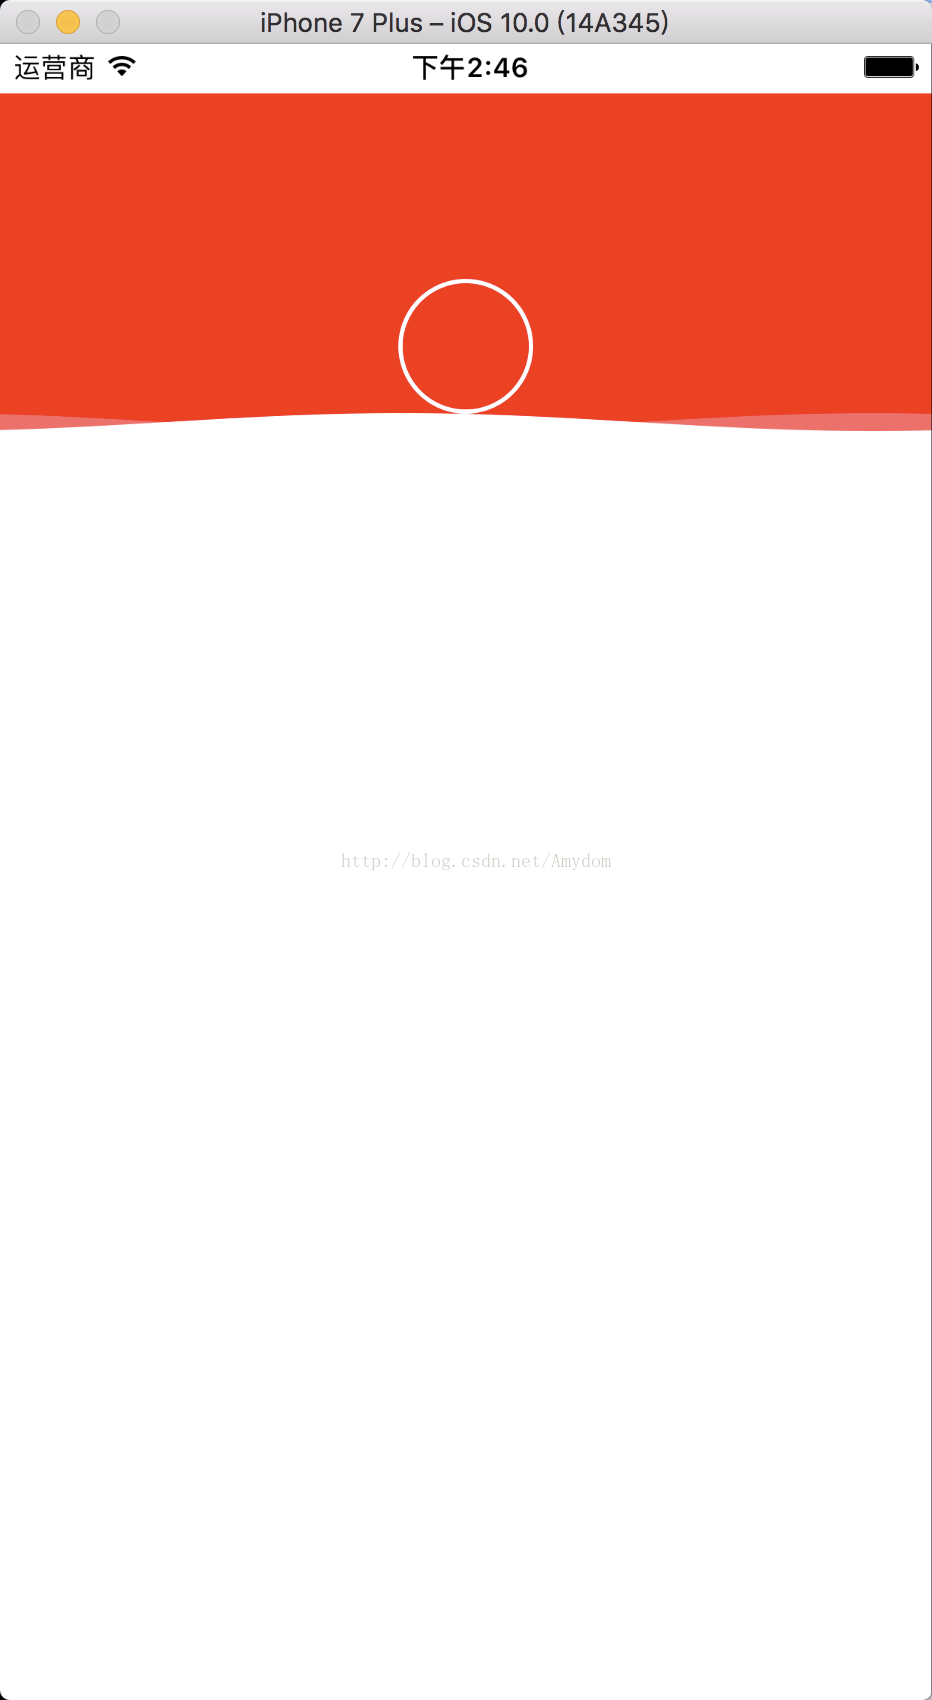
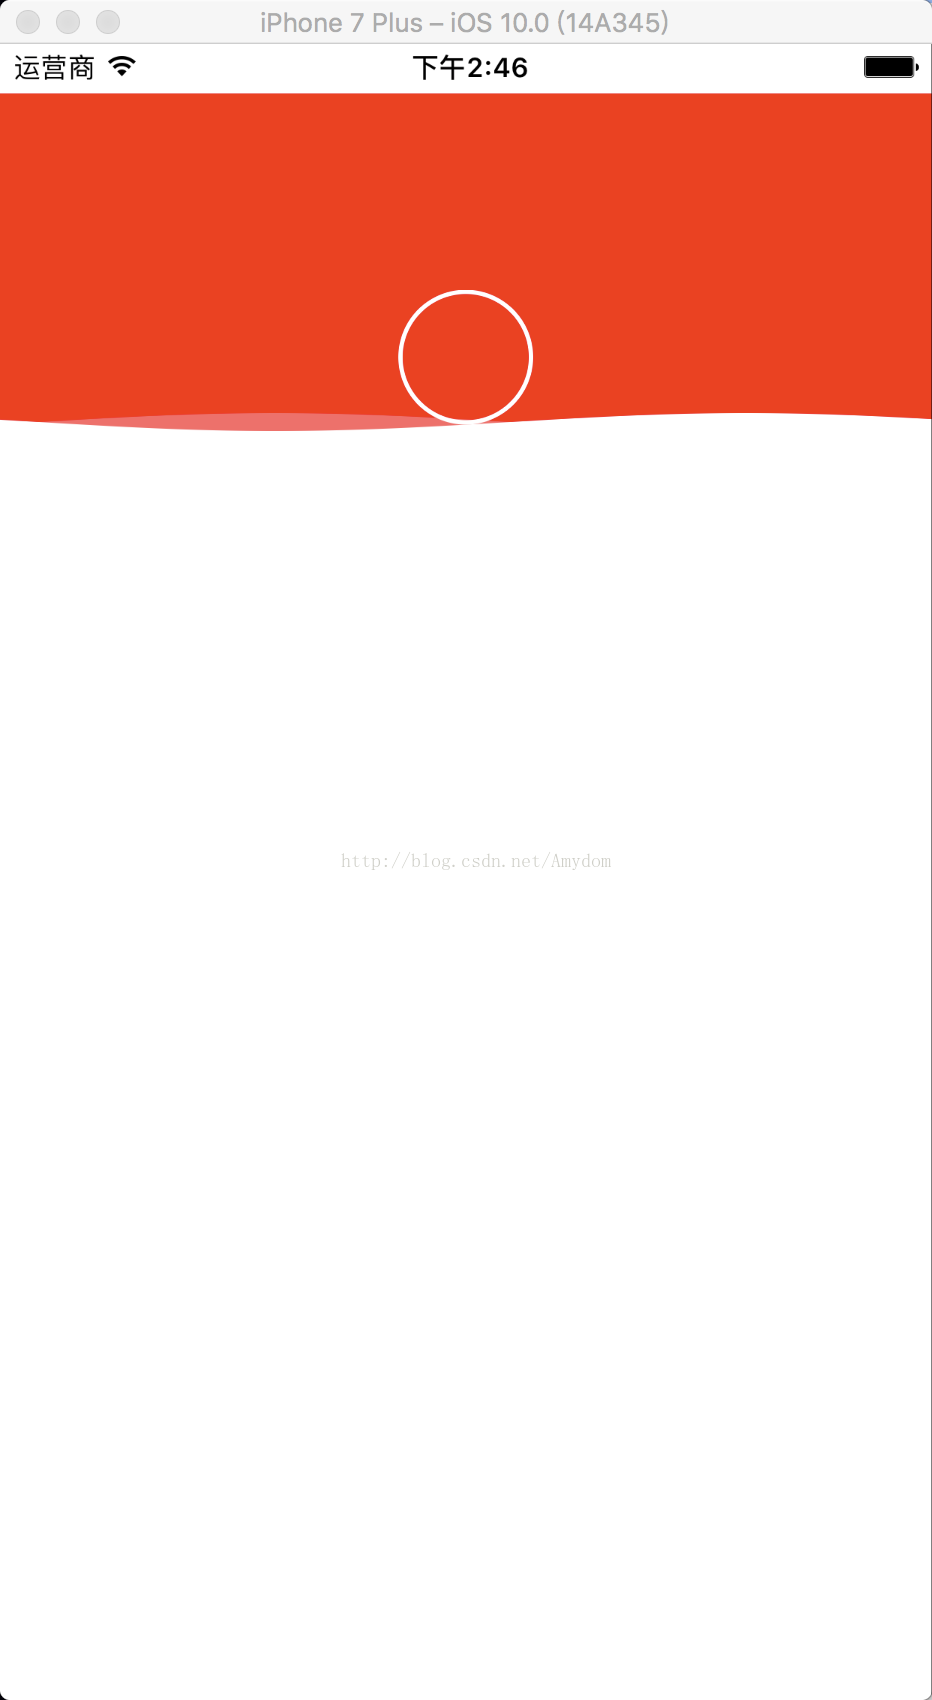
今天带来的是仿百度外卖个人中心的波浪效果,先看下效果图吧
一,项目里用到了两个类:
一个是CADisplayLink类,我用它取代了NSTimer,首先,它是利用刷帧和屏幕频率一样来重绘渲染页面,也就是说每次屏幕刷新的时候就会调用它的响应方法(屏幕一般一秒刷新60次)在绘图中需要重绘时常用它来代替NSTimer,其次,因为NSTimer调度优先级比较低,并不会准时调用,做动画的话会有卡顿的感觉
另一个是CAShapeLayer类,它属于CALayer的子类,通常结合CGPath来绘制不规则矩形图形.
其优点:
1.渲染效率高渲染快速。CAShapeLayer使用了硬件加速,绘制同一图形会比用Core Graphics快很多。
2.高效使用内存。一个CAShapeLayer不需要像普通CALayer一样创建一个寄宿图形,所以无论有多大,都不会占用太多的内存。
3.不会被图层边界剪裁掉。一个CAShapeLayer可以在边界之外绘制。你的图层路径不会像在使用Core Graphics的普通CALayer一样被剪裁掉。
4.不会出现像素化。当你给CAShapeLayer做3D变换时,它不像一个有寄宿图的普通图层一样变得像素化。
二,下面是功能的实现(直接使用就可以)
先自定义类,基于 UIView(WavesView)
//
//  WavesView.h
//  仿百度外卖-个人中心(头像波浪效果)
//
//  Created by Amydom on 16/12/28.
//  Copyright © 2016年 Amydom. All rights reserved.
//

#import <UIKit/UIKit.h>

typedef void(^WavesBlock)(CGRect myFrame);

@interface WavesView : UIView

/**
 *  浪弯曲度
 */
@property (nonatomic, assign) CGFloat waveCurvature;
/**
 *  浪速
 */
@property (nonatomic, assign) CGFloat waveSpeed;
/**
 *  浪高
 */
@property (nonatomic, assign) CGFloat waveHeight;
/**
 *  实浪颜色
 */
@property (nonatomic, strong) UIColor *realWaveColor;
/**
 *  遮罩浪颜色
 */
@property (nonatomic, strong) UIColor *maskWaveColor;

@property (nonatomic, copy) WavesBlock waveBlock;

@property (nonatomic , assign)CGRect imageFrame;


- (void)stopWaveAnimation;

- (void)startWaveAnimation;

@end
//
//  WavesView.m
//  仿百度外卖-个人中心(头像波浪效果)
//
//  Created by Amydom on 16/12/28.
//  Copyright © 2016年 Amydom. All rights reserved.
//

#import "WavesView.h"

@interface WavesView ()

/**
 *  定时器
    CADisplayLink:利用刷帧和屏幕频率一样来重绘渲染页面,也就是说每次屏幕刷新的时候就会调用它的响应方法(屏幕一般一秒刷新60次),在绘图中需要重绘时常用它来代替NSTimer,因为NSTimer调度优先级比较低,并不会准时调用,做动画的话会有卡顿的感觉

*/
@property (nonatomic, strong) CADisplayLink *timer;
/**
 *  实浪动画
    CAShapeLayer:CALayer的子类,通常结合CGPath来绘制不规则矩形图形
    其优点:
    1.渲染效率高渲染快速。CAShapeLayer使用了硬件加速,绘制同一图形会比用Core Graphics快很多。
    2.高效使用内存。一个CAShapeLayer不需要像普通CALayer一样创建一个寄宿图形,所以无论有多大,都不会占用太多的内存。
    3.不会被图层边界剪裁掉。一个CAShapeLayer可以在边界之外绘制。你的图层路径不会像在使用Core Graphics的普通CALayer一样被剪裁掉。
    4.不会出现像素化。当你给CAShapeLayer做3D变换时,它不像一个有寄宿图的普通图层一样变得像素化。

 */
@property (nonatomic, strong) CAShapeLayer *realWaveLayer;
/**
 *  遮罩浪动画
 */
@property (nonatomic, strong) CAShapeLayer *maskWaveLayer;
/**
 *  <#Description#>
 */
@property (nonatomic, assign) CGFloat offset;


@end

@implementation WavesView

#pragma mark - 初始化

- (instancetype)initWithFrame:(CGRect)frame
{
    self = [super initWithFrame:frame];
    if (self) {
        [self setUp];
    }
    return self;
}

-(void)setUp{

    //初始化
    self.waveSpeed = 0.5;
    self.waveCurvature = 1.5;
    self.waveHeight = 4;
    self.realWaveColor = [UIColor whiteColor];
    self.maskWaveColor = [[UIColor whiteColor] colorWithAlphaComponent:0.4];

    [self.layer addSublayer:self.realWaveLayer];
    [self.layer addSublayer:self.maskWaveLayer];


}

#pragma mark - lazyload

- (CAShapeLayer *)realWaveLayer{

    if (!_realWaveLayer) {
        _realWaveLayer = [CAShapeLayer layer];
        CGRect frame = self.bounds;
        frame.origin.y = frame.size.height-self.waveHeight;
        frame.size.height = self.waveHeight;
        _realWaveLayer.frame = frame;
        _realWaveLayer.fillColor = self.realWaveColor.CGColor;

    }

    return _realWaveLayer;

}
- (CAShapeLayer *)maskWaveLayer{

    if (!_maskWaveLayer) {
         _maskWaveLayer = [CAShapeLayer layer];
        CGRect frame = self.bounds;
        frame.origin.y = frame.size.height-self.waveHeight;
        frame.size.height = self.waveHeight;
        _maskWaveLayer.frame = frame;
        _maskWaveLayer.fillColor = self.maskWaveColor.CGColor;

    }
    return _maskWaveLayer;

}

- (void)setWaveHeight:(CGFloat)waveHeight{

    _waveHeight = waveHeight;
    CGRect frame = self.bounds;
    frame.origin.y = frame.size.height - self.waveHeight;
    frame.size.height = self.waveHeight;
    _realWaveLayer.frame =  _maskWaveLayer.frame =  frame;

}
#pragma mark - 动画
- (void)startWaveAnimation{

    self.timer = [CADisplayLink displayLinkWithTarget:self selector:@selector(wave)];
    [self.timer addToRunLoop:[NSRunLoop currentRunLoop] forMode:NSRunLoopCommonModes];


}

- (void)stopWaveAnimation{

    [self.timer invalidate];
    self.timer = nil;


}

//描述路径,并用CAShapeLayer绘制出来
- (void)wave{

    self.offset += self.waveSpeed;

    //获取宽,高
    CGFloat width = CGRectGetWidth(self.frame);
    CGFloat height = self.waveHeight;

    //真实波浪
    CGMutablePathRef realpath = CGPathCreateMutable();
    CGPathMoveToPoint(realpath, NULL, 0, height);
    CGFloat realY = 0.f;

    //遮罩波浪
    CGMutablePathRef maskpath = CGPathCreateMutable();
    CGPathMoveToPoint(maskpath, NULL, 0, height);
    CGFloat maskY = 0.f;

    for (CGFloat x = 0.f; x <= width; x++) {

        realY = height * sinf(0.01 * self.waveCurvature * x + self.offset * 0.045);
        CGPathAddLineToPoint(realpath, NULL, x, realY);
        maskY = -realY;
        CGPathAddLineToPoint(maskpath, NULL, x, maskY);

    }
    //变化的中间 Y 值
    CGFloat centX = self.bounds.size.width / 2;
    CGFloat centY = height * sinf(0.01 * self.waveCurvature * centX + self.offset * 0.045);

    if (self.waveBlock) {

        //修改头像view的高度
        CGRect iconFrame = self.imageFrame;

        iconFrame.origin.y = CGRectGetHeight(self.frame)-CGRectGetHeight(self.imageFrame) + centY - self.waveHeight;

        self.imageFrame = iconFrame;

        self.waveBlock(self.imageFrame);

    }
    //真实波浪
    CGPathAddLineToPoint(realpath, NULL, width, height);
    CGPathAddLineToPoint(realpath, NULL, 0, height);
    CGPathCloseSubpath(realpath);

    //描述路径后利用CAShapeLayer类绘制不规则图形
    self.realWaveLayer.path = realpath;
    self.realWaveLayer.fillColor = self.realWaveColor.CGColor;
    CGPathRelease(realpath);

    //遮罩波浪
    CGPathAddLineToPoint(maskpath, NULL, width, height);
    CGPathAddLineToPoint(maskpath, NULL, 0, height);
    CGPathCloseSubpath(maskpath);

    //描述路径后利用CAShapeLayer类绘制不规则图形
    self.maskWaveLayer.path = maskpath;
    self.maskWaveLayer.fillColor = self.maskWaveColor.CGColor;
    CGPathRelease(maskpath);


}

@end
然后是调用,这里就简单的说明下如何调用(在 viewController 里)
首先创建的头像的 image(我是通过懒加载创建的)
- (UIImageView *)iconImageView{

    if (!_iconImageView) {
        _iconImageView = [[UIImageView alloc] initWithFrame:CGRectMake(self.WavesView.frame.size.width/2 - 30, 0, 60, 60)];
        _iconImageView.layer.borderColor = [UIColor whiteColor].CGColor;
        _iconImageView.layer.borderWidth = 2;
        _iconImageView.layer.cornerRadius = 30;
    }
    return _iconImageView;
}
然后创建 wavesView,并且把创建好的 image的 frame 传过去
- (void)viewDidLoad {

    [super viewDidLoad];
    //创建对线
    self.WavesView = [[WavesView alloc]initWithFrame:CGRectMake(0, 22, self.view.frame.size.width, 150)];

    self.WavesView.backgroundColor =[UIColor redColor];

    [self.view addSubview:self.WavesView];

    [_WavesView addSubview:self.iconImageView];

    //这里把头像的 frame 传入到 wavesView里,让其通过 frame来计算该变量
     _WavesView.imageFrame = _iconImageView.frame;
    //防止循环引用
    __weak typeof(self)weakSelf = self;

    _WavesView.waveBlock = ^(CGRect imageFrame){
        //修改头像view的frame(时时的通过 block 回调改变的 frame)
        weakSelf.iconImageView.frame = imageFrame;

    };
    //开始执行
    [_WavesView startWaveAnimation];

}
到这里,波浪形动画就完成了.....大家没事可以多看看动画的实现,对于里面有些东西我也是比较模糊的状态,但是多看多谢,慢慢的你就会发现收获还是有的...


 167
167


 被折叠的 条评论
为什么被折叠?
被折叠的 条评论
为什么被折叠?
 到【灌水乐园】发言


