


我们先在web端就是服务端先写个简单的登录 当然我这的判断只是简单的判断了一下
login.jsp界面:
<%@ page language="java" contentType="text/html; charset=utf-8"
    pageEncoding="utf-8"%>
<!DOCTYPE html PUBLIC "-//W3C//DTD HTML 4.01 Transitional//EN" "http://www.w3.org/TR/html4/loose.dtd">
<html>
<head>
<meta http-equiv="Content-Type" content="text/html; charset=utf-8">
<title>Insert title here</title>
</head>
<body>
	<h1>登录页面</h1>
	<form action="login.do" method="get">
		用户名:<input type="text" name="uname"/><br/>
		密码:<input type="password" name="upass"/><br/>
		<input type="submit" value="登录"/><br/>
	</form>
</body>
</html>
servlet 类
package com.zking.servlet;

import java.io.IOException;
import java.io.PrintWriter;

import javax.servlet.ServletException;
import javax.servlet.http.HttpServlet;
import javax.servlet.http.HttpServletRequest;
import javax.servlet.http.HttpServletResponse;

public class LoginServlet extends HttpServlet{

	@Override
	protected void doGet(HttpServletRequest req, HttpServletResponse resp) throws ServletException, IOException {
		// TODO Auto-generated method stub
		//super.doGet(req, resp);
		req.setCharacterEncoding("UTF-8");
		resp.setContentType("text/html; charset=UTF-8");
		//获取用户名和密码
		String uname=req.getParameter("uname");
		String upass=req.getParameter("upass");
		System.out.println(uname+" "+upass);
		String result=null;
		//判断
		if("admin".equals(uname)&&"123".equals(upass)){
			result="成功";
		}else{
			result="失败";
		}
		PrintWriter pw=resp.getWriter();
		pw.write(result);
		pw.close();

	}

}<?xml version="1.0" encoding="UTF-8"?>
<web-app xmlns:xsi="http://www.w3.org/2001/XMLSchema-instance" xmlns="http://java.sun.com/xml/ns/javaee" xsi:schemaLocation="http://java.sun.com/xml/ns/javaee http://java.sun.com/xml/ns/javaee/web-app_2_5.xsd" id="WebApp_ID" version="2.5">
<display-name>G160628_32servlet</display-name>
<welcome-file-list>
<welcome-file>index.html</welcome-file>
<welcome-file>index.htm</welcome-file>
<welcome-file>index.jsp</welcome-file>
<welcome-file>default.html</welcome-file>
<welcome-file>default.htm</welcome-file>
<welcome-file>default.jsp</welcome-file>
</welcome-file-list>
<servlet>
<servlet-name>loginServlet</servlet-name>
<servlet-class>com.zking.servlet.LoginServlet</servlet-class>
</servlet>
<servlet-mapping>
<servlet-name>loginServlet</servlet-name>
<url-pattern>/login.do</url-pattern>
</servlet-mapping>
</web-app>然后简单的可以在Tomcat中实现登录
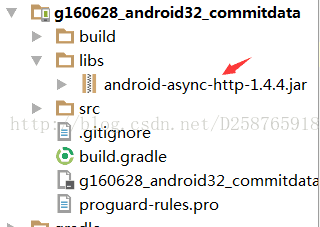
但是我们要它的数据提交到Android中, 当然我们这用到了第三方AsyncHttpClient
所以要导入一个架包
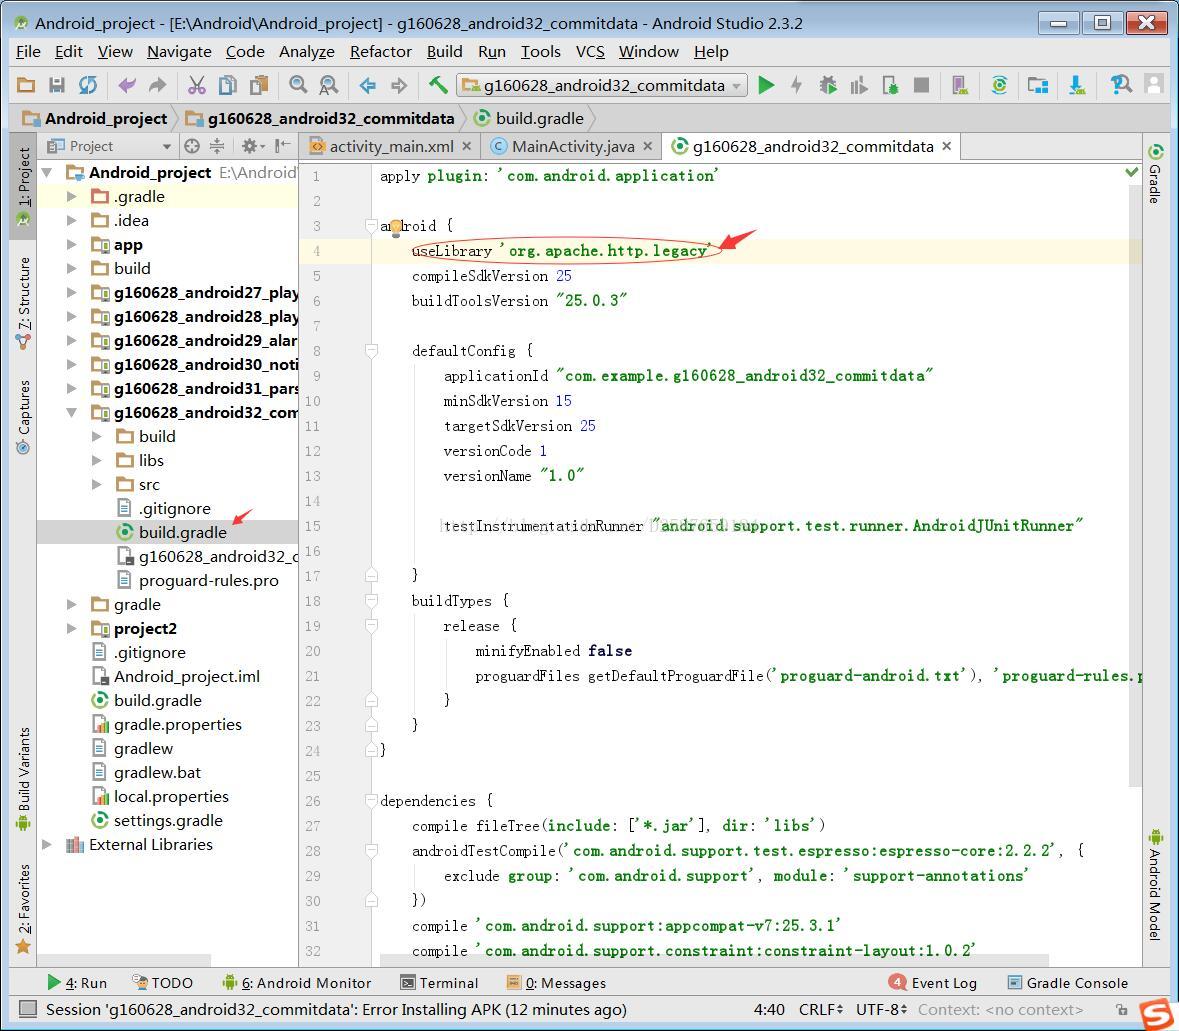
然后在build.gradle中 加上一句useLibrary 'org.apache.http.legacy' 原因是怕HttpClient导致不可以用
然后Android中的布局文件activity_main.xml
<?xml version="1.0" encoding="utf-8"?>
<LinearLayout
    xmlns:android="http://schemas.android.com/apk/res/android"
    android:orientation="vertical"
    xmlns:tools="http://schemas.android.com/tools" android:layout_width="match_parent"
    android:layout_height="match_parent"
    tools:context="com.example.g160628_android32_commitdata.MainActivity">

    <EditText
        android:layout_width="match_parent"
        android:layout_height="wrap_content"
        android:hint="请输入用户名"
        android:id="@+id/et_main_uname"
        />
    <EditText
        android:layout_width="match_parent"
        android:layout_height="wrap_content"
        android:hint="请输入密码"
        android:id="@+id/et_main_upass"
        />

    <Button
        android:layout_width="match_parent"
        android:layout_height="wrap_content"
        android:text="登录(AsyncHttpClient)"
        android:onClick="loginAsyncHttpClient"
        />

</LinearLayout>
MainActivity.java
path里面的路径是你在网站中利用Tomcat运行的网站 当然我们一般会把网址中的localhost改成自己在dos命令中打上ipconfig然后复制ipv4的地址。
package com.example.g160628_android32_commitdata;

import android.os.AsyncTask;
import android.support.v7.app.AppCompatActivity;
import android.os.Bundle;
import android.view.View;
import android.widget.EditText;
import android.widget.Toast;

import com.loopj.android.http.AsyncHttpClient;
import com.loopj.android.http.RequestParams;
import com.loopj.android.http.TextHttpResponseHandler;

import org.apache.http.Header;

import java.io.BufferedReader;
import java.io.InputStream;
import java.io.InputStreamReader;
import java.io.OutputStream;
import java.net.HttpURLConnection;
import java.net.MalformedURLException;
import java.net.URL;

public class MainActivity extends AppCompatActivity {

    private EditText et_main_uname;
    private EditText et_main_upass;

    @Override
    protected void onCreate(Bundle savedInstanceState) {
        super.onCreate(savedInstanceState);
        setContentView(R.layout.activity_main);

        et_main_uname = (EditText) findViewById(R.id.et_main_uname);
        et_main_upass = (EditText) findViewById(R.id.et_main_upass);
    }
    public void loginAsyncHttpClient(View view){
        String uname=et_main_uname.getText().toString();
        String upass=et_main_upass.getText().toString();
        String path="http://172.25.49.1:7788/G160628_32servlet/login.do";

        AsyncHttpClient ahc=new AsyncHttpClient();
        RequestParams params=new RequestParams();
        params.put("uname",uname);
        params.put("upass",upass);
        ahc.post(this,path,params,new TextHttpResponseHandler(){
            @Override
            public void onFailure(String responseBody, Throwable error) {
                super.onFailure(responseBody, error);
            }
            @Override
            public void onSuccess(int statusCode, Header[] headers, String responseBody) {
                super.onSuccess(statusCode, headers, responseBody);
                Toast.makeText(MainActivity.this, responseBody, Toast.LENGTH_SHORT).show();
            }
        });


    }


}
最后可以看到你想要的效果了。


 528
528


 被折叠的 条评论
为什么被折叠?
被折叠的 条评论
为什么被折叠?
 到【灌水乐园】发言


