


1.安装环境
jdk7 下载地址:http://www.oracle.com/technetwork/java/javase/downloads/java-archive-downloads-javase7-521261.html
centOS6.4 下载地址:http://vault.centos.org/6.4/isos/x86_64/
2.关闭防火墙
2.1、临时关闭
- $sudo service iptables stop
- $sudo service iptables status
2.2、开机启动关闭
- $sudo chkconfig iptables off
- $sudo chkconfig --list|grep iptables


3.关闭SELINUX
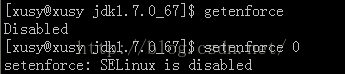
3.1、临时关闭
- $setenforce 0 //0:关闭 1:开启
- $getenforce
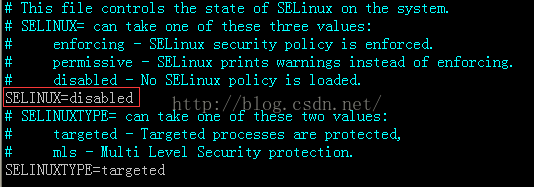
3.2、永久关闭
- $sudo vi /etc/sysconfig/selinux
- # This file controls the state of SELinux on the system.
- # SELINUX= can take one of these three values:
- # enforcing - SELinux security policy is enforced.
- # permissive - SELinux prints warnings instead of enforcing.
- # disabled - No SELinux policy is loaded.
- SELINUX=disabled //修改为disabled
- # SELINUXTYPE= can take one of these two values:
- # targeted - Targeted processes are protected,
- # mls - Multi Level Security protection.
- SELINUXTYPE=targeted
4.设置JAVA JDK环境变量
4.1、解压jdk-7u67-linux-x64.tar.gz
4.2、添加环境变量
- $vi /etc/profile
4.3、source操作,检查jdk是否安装成功
- $source /etc/profile
- $java -version


5.配置hadoop-env.sh、core-site.xml、hdfs-site.xml
(注意配置文件里不能含有中文)
5.1、解压hadoop-2.5.0.tar.gz
进入hadoop-2.5.0/etc/hadoop目录,这是配置文件存储的目录。
参考官网http://hadoop.apache.org/docs/r2.5.2/hadoop-project-dist/hadoop-common/SingleCluster.html
5.2、配置hadoop-2.5.0/ect/hadoop/hadoop-env.sh
添加环境变量路径,修改如下
- # The java implementation to use.
- export JAVA_HOME=/home/xusy/share/modules/jdk1.7.0_67
5.3、配置hadoop-2.5.0/ect/hadoop/hdfs-site.xml
(replication指的是副本数,默认是3,此处设为1,因为是伪分布式是单节点,即只有一个datanode)。
关于配置说明请查参考文章:http://michaelkang.blog.51cto.com/1553154/1382812,写的很详细。
增加如下配置:
- <property>
- <name>dfs.replication</name>
- <value>1</value>
- </property>
- <property>
- <name>dfs.datanode.data.dir</name>
- <value>file:///home/xusy/share/modules/hadoop-2.5.0/data</value>
- </property><span style="font-family: Arial, Helvetica, sans-serif;"> </span>
配置说说明:
dfs.replication 指的是副本数,默认是3,此处设为1,因为伪分布式是单节点,
即只有一个datanode。
dfs.datanode.data.dir <可选配置>,真正的datanode数据存储路径,可以写多块硬盘,逗号分隔,把这些位置
分散在每个节点上的所有磁盘上可以实现磁盘I/O平衡,因此会显著改进磁盘I/O性能。
- <span style="font-family: Arial, Helvetica, sans-serif;"> </span>
5.4、配置hadoop-2.5.0/ect/hadoop/core-site.xml
添加如下:
- <property>
- <name>fs.defaultFS</name>
- <value>hdfs://xusy:8020</value>
- </property>
- </pre><pre name="code" class="html">配置说明:<pre name="code" class="html"><span style="color:#ff0000;">fs.defaultFS</span> 指的是默认文件系统</span></span>
- <span style="color:#ff0000;">xusy </span>linux主机名
- <span style="color:#ff0000;">8020</span> 端口号<span style="color:#33cc00;">(这个值是不是随便一个没用的端口号都行?知道的人请回复下,谢谢!)</span>
配置说明:
fs.defaultFS: 指的是默认文件系统
xusy :linux主机名
8020:端口号(这个值是不是随便一个没用的端口号都行?直说的回复一下)
6.格式化namenode(查错)
- $bin/hdfs namenode -format
失败:
解决:主机名xusy命名方式不对,要想域名那样命名,要带“.”后缀,可以改成xuxudede.com。
主机名修改如下:
1.切换到root用户,重命名主机名
#hostname xuxudede.com
2.修改hosts文件
- #vi /etc/hosts
3.修改network文件
- #vi /etc/sysconfig/network

4.宿主机修改hosts如下:
进入C:\WINDOWS\system32\drivers\etc
增加下面一行
- 192.168.1.110 xuxudede.com
5.重新配置hadoop-2.5.0/ect/hadoop/core-site.xml
6.重启linux系统
- <property>
- <name>fs.defaultFS</name>
- <value>hdfs://xuxudede.com:8020</value>
- </property>
- #reboot
7.重新格式化namenode
成功!
- $bin/hdfs namenode -format
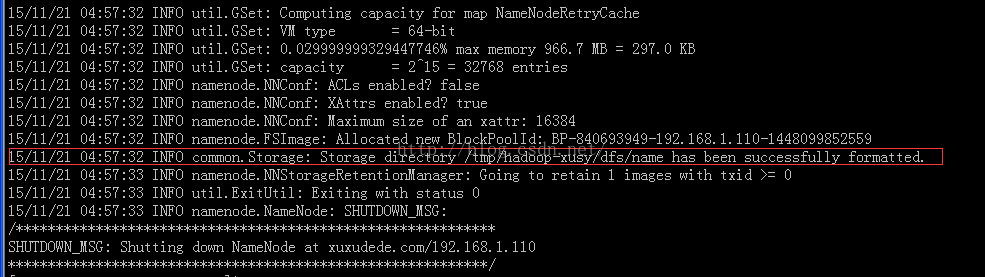
图中方框内是datanode的数据存储目录!这个也可以自己配置。


7.启动namenode
- $sbin/hadoop-daemon.sh start namenode
- $jps //查看是否启动成功

8.启动datanode
- $sbin/hadoop-daemon.sh start datanode
- $jps //查看是否启动成功

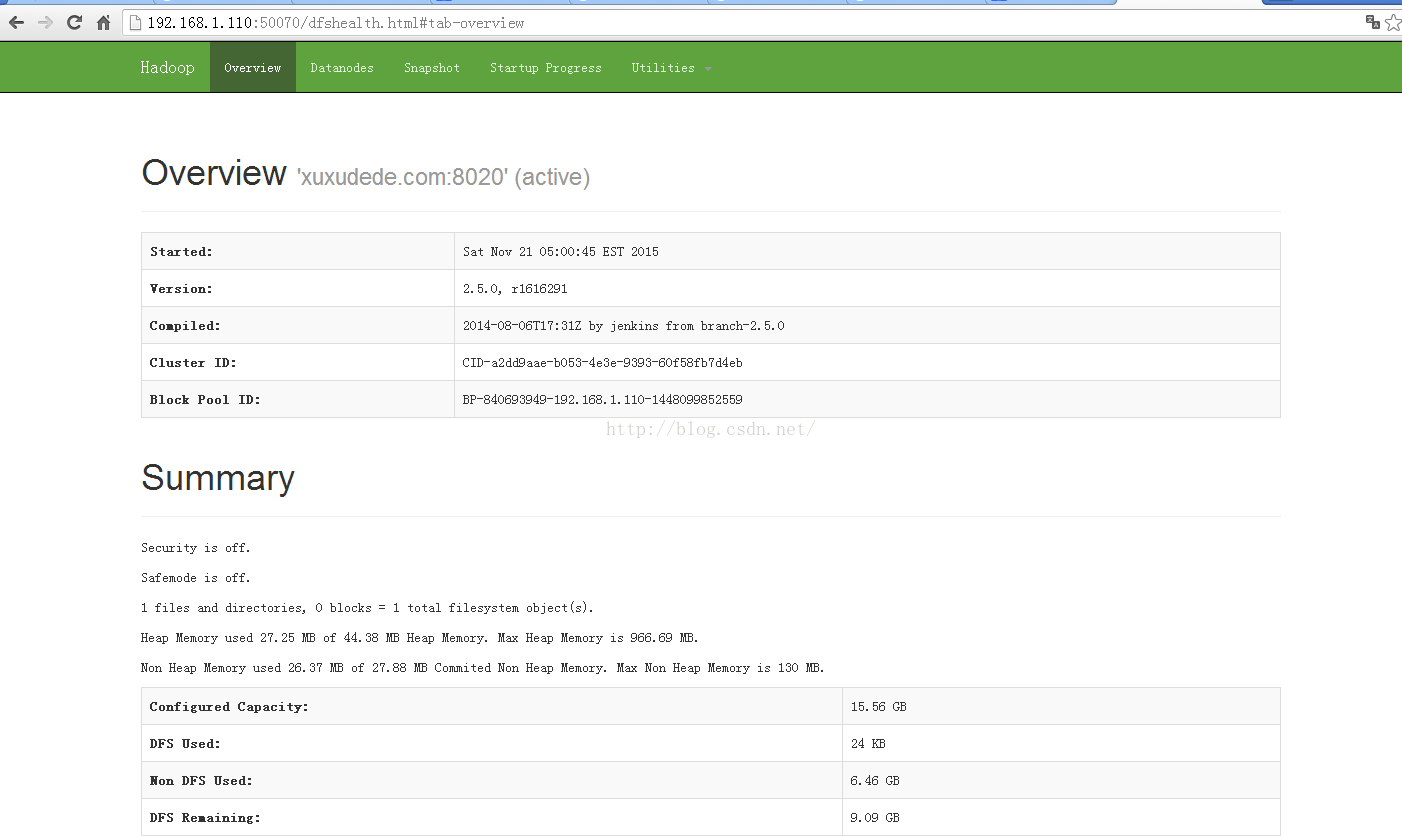
9.测试hdfs
http://a:50070/ hdfs web地址。( a:是具体的主机名或者ip地址)
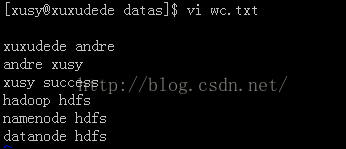
9.1、首先在linux系统准备好一个文件
- $vi wc.txt
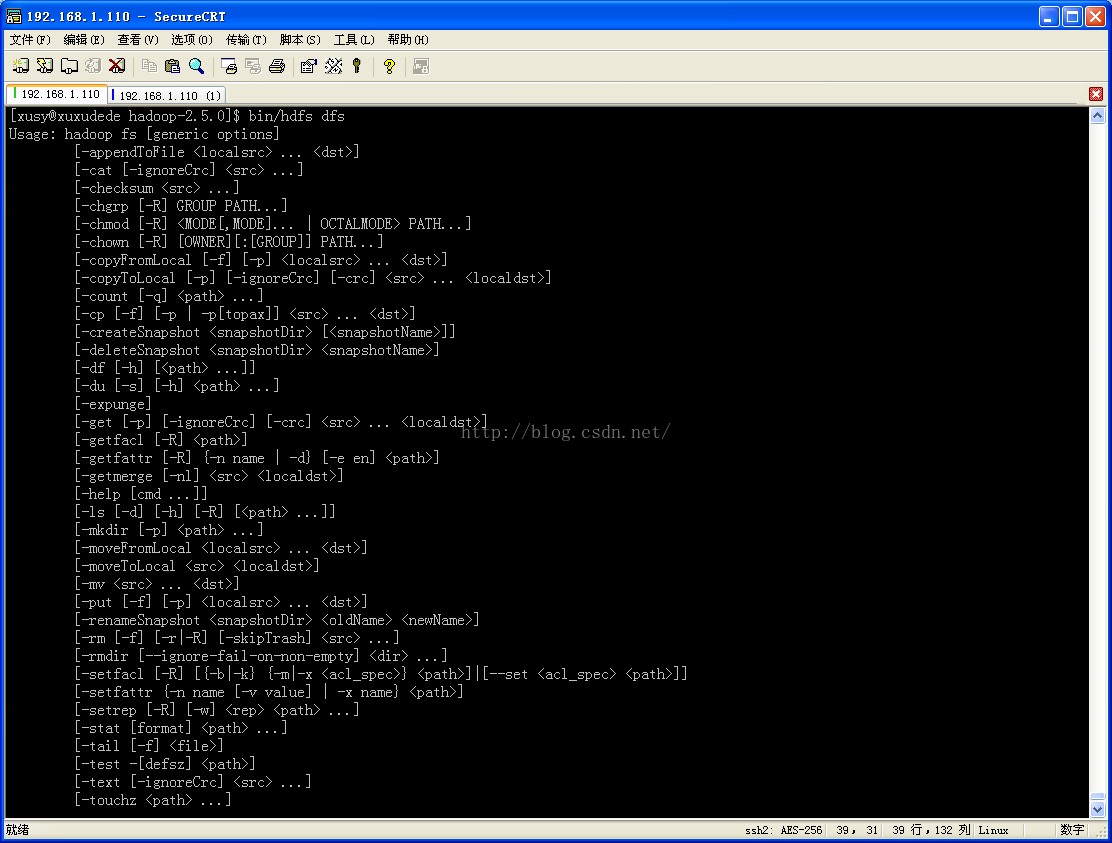
9、2 $bin/hdfs dfs //查看有哪些dfs命令
- $bin/hdfs dfs
9.3、在HDFS上创建文件
- $bin/hdfs dfs -mkdir -p /user/xusy/datas/input

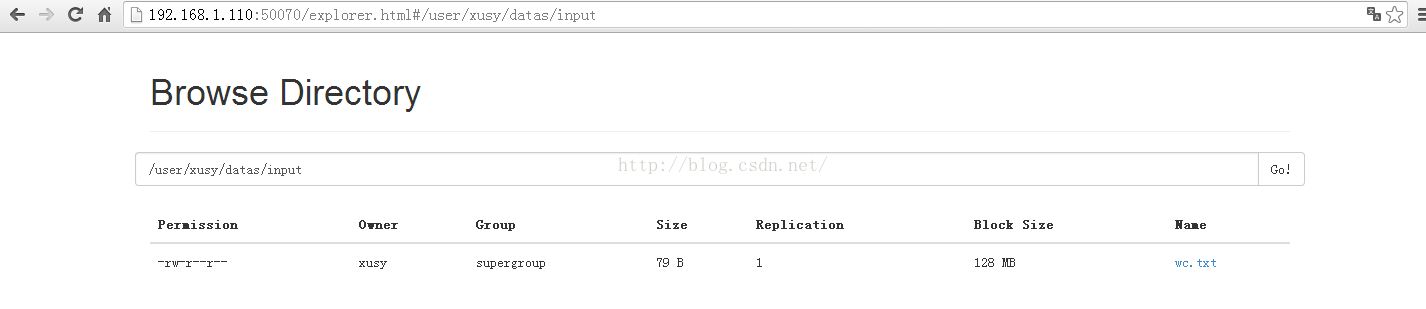
9.4、上传文件到hdfs
- $bin/hdfs dfs -mkdir -put /home/xusy/share/datas/wc.txt /user/xusy/datas/input

HDFS web显示
9.5、查看文件内容
- $bin/hdfs dfs -cat /user/xusy/datas/input/wc.txt

至此,证明HDFS已经配置成功!
10.配置mapred-site.xml、yarn-site.xml
10.1、将mapred-site.xml.template重命名为mapred-site.xml
10.2、配置hadoop-2.5.0/ect/hadoop/mapred-site.xml
- <property>
- <name>mapreduce.framework.name</name>
- <value>yarn</value>
- </property>
配置说明:
mapreduce.framework.name : 配置mapreduce运行在yarn上
10.3、配置hadoop-2.5.0/ect/hadoop/mapred-site.xml //配置mapreduce_shuffle和resourcemanager节点运行的主机, 注意:yarn.resourcemanager.hostname的配置官网上没提到,但是这一项是必须的,不然mapreduce跑不起来
- <property>
- <name>yarn.nodemanager.aux-services</name>
- <value>mapreduce_shuffle</value>
- </property>
- <property>
- <name>yarn.resourcemanager.hostname</name>
- <value>xuxudede.com</value>
- </property>
- <pre name="code" class="html">配置说明:
- <span style="color:#ff0000;">yarn.nodemanager.aux-services</span> mapreduce的shuffle(洗牌)配置
- <span style="color:#ff0000;">yarn.resourcemanager.hostname</span> resourcemanager运行的主机
配置说明:
yarn.nodemanager.aux-services: mapreduce的shuffle(洗牌)配置
yarn.resourcemanager.hostname :resourcemanager运行的主机
11.启动resourcemanager
12.启动nodemanager
- $sbin/yarn-daemon.sh start resourcemanager

- $sbin/yarn-daemon.sh start nodemanager
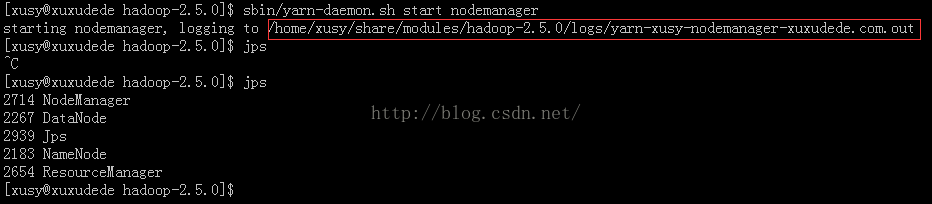
方框内是启动日记的目录,如果启动出错了,可以查看相应的日志,
日记前面都是加载jar包,可忽略,直接拖到最后面查看。
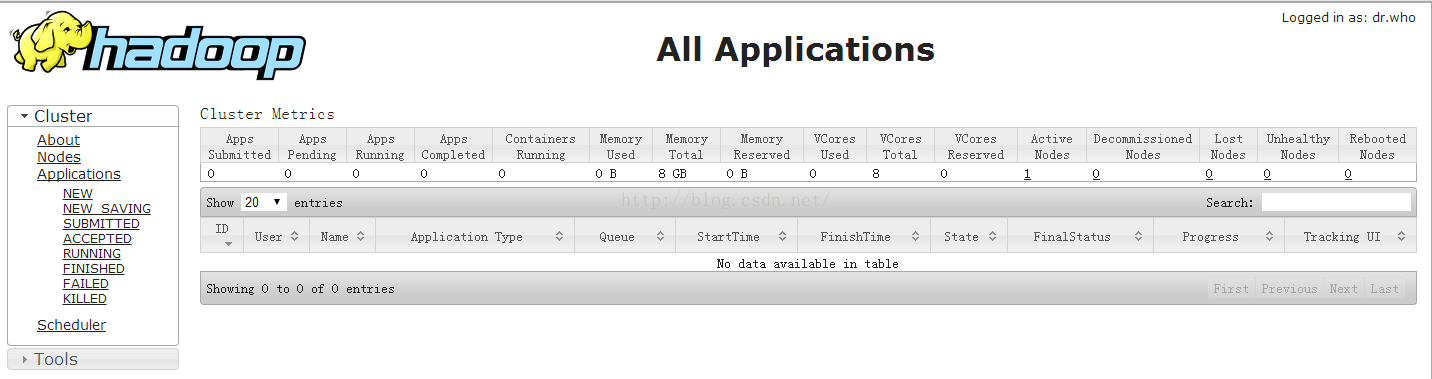
13.测试mapreduce
http://a:8088/ hdfs web地址。( a:是具体的主机名或者ip地址)
13.1 运行wordcount
注:
- $ bin/yarn jar share/hadoop/mapreduce/hadoop-mapreduce-examples-2.5.0.jar
- wordcount /user/xusy/datas/input/wc.txt /user/xusy/datas/output
需要制定一个输入路径,必须存在,如:/user/xusy/datas/input/wc.txt
输出路径不能存在,运行时会自动创建。
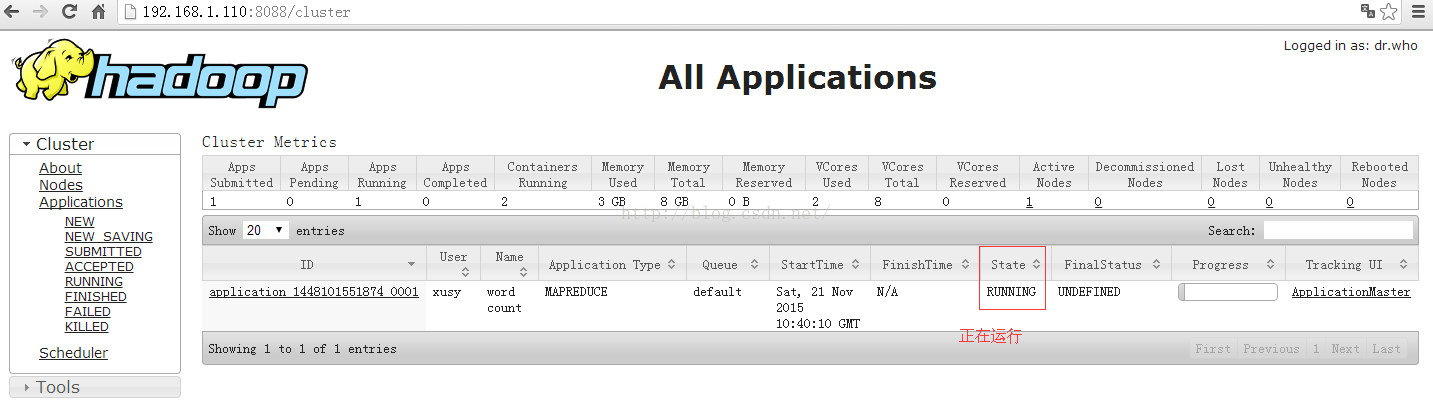
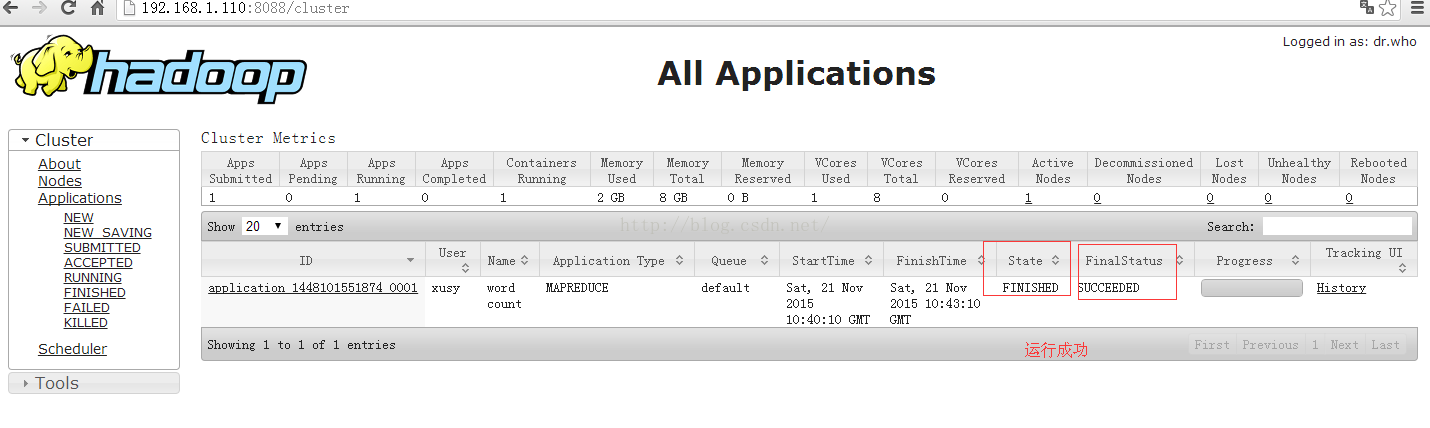
13.2 yarn的web运行过程及状态查看
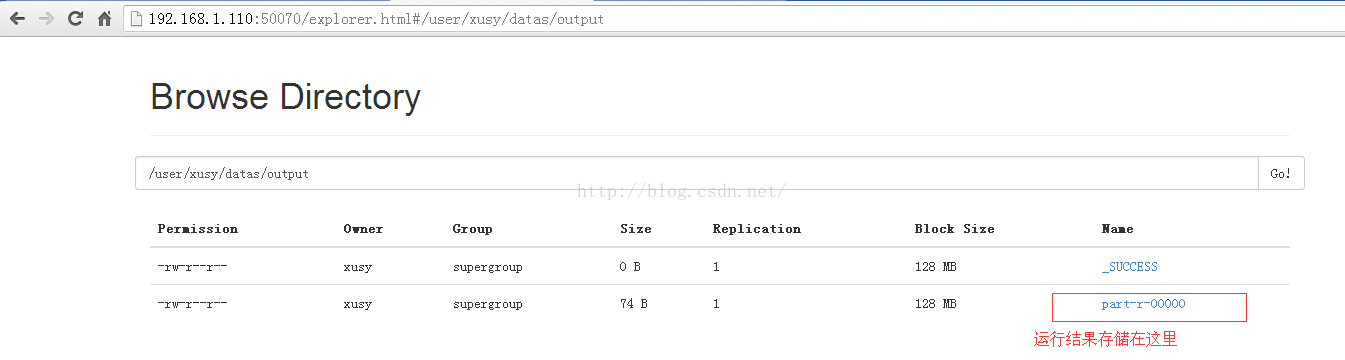
13.3 hdfs的web运行结果查看
13.2 Command line显示运行结果
- $bin/hdfs dfs -cat /user/xusy/datas/output/part-r-00000
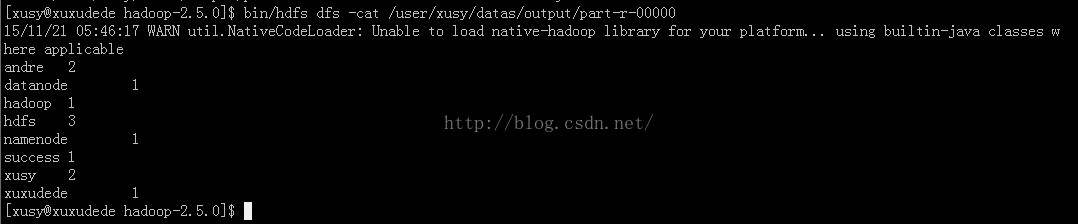
至此,整个mapreduce已经顺利运行成功!


 873
873


 被折叠的 条评论
为什么被折叠?
被折叠的 条评论
为什么被折叠?
 到【灌水乐园】发言


