


 本文详细介绍了Android过渡动画Transition的使用,包括其与属性动画的区别、基本使用方法、场景Scene的创建、过渡效果Transition的定义和自定义,以及延迟动画的应用。通过示例代码展示了如何实现视图的旋转动画,强调了Transition在低内存设备上的性能问题。
本篇博客记录一下Android中过渡动画的用法。
过渡动画是Android 4.4引入的新的动画框架,它本质上仍是属性动画,
但对属性动画做了一层封装,以方便开发者实现Activity或者View的过渡动画效果。
和属性动画相比,过渡动画最大的不同是需要为动画前后准备不同的布局,
并通过对应的API实现两个布局的之间过渡动画。
不过相对而言,过渡动画比较吃内存,据传闻传闻,
在针对低内存设备的Android Go版本中,部分过渡动画会被砍掉。
一、简单示例
我们先来看看Transition动画的简单使用示例。
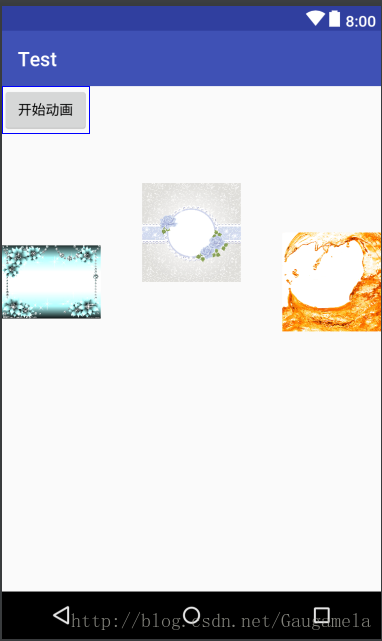
如下图所示,我们的Activity中定义了3个ImageView。
现在,我们准备将这些试图顺时针旋转一下。
如果使用补间动画或属性动画,为了实现这个需求,
我们需要写3个位置移动动画,然后分别应用到这三个View上面。
若使用过渡动画,整个实现过程则会简单的多。
准备工作
我们首先定义一下Activity对应的布局文件:
<?xml version="1.0" encoding="utf-8"?>
<LinearLayout xmlns:android="http://schemas.android.com/apk/res/android"
    android:layout_width="match_parent"
    android:layout_height="match_parent"
    android:orientation="vertical">

    <Button
        android:id="@+id/begin"
        android:layout_width="wrap_content"
        android:layout_height="wrap_content"
        android:text="开始动画"/>

    <!--做动画的父布局-->
    <FrameLayout
        android:id="@+id/rootView"
        android:layout_width="match_parent"
        android:layout_height="wrap_content">

        <!--scene1为动画的初始布局-->
        <include layout="@layout/scene1"/>
    </FrameLayout>
</LinearLayout>
定义启始与结束帧
在layout目录下定义初始时的视图布局文件scene1.xml:
<?xml version="1.0" encoding="utf-8"?>
<RelativeLayout xmlns:android="http://schemas.android.com/apk/res/android"
    android:layout_width="match_parent"
    android:layout_height="match_parent">

    <ImageView
        android:id="@+id/image1"
        android:layout_width="100dp"
        android:layout_height="100dp"
        android:src="@drawable/p_1"
        android:layou
最低0.47元/天 解锁文章


 2955
2955

 被折叠的 条评论
为什么被折叠?
被折叠的 条评论
为什么被折叠?
 到【灌水乐园】发言


