


简单介绍
在应用程序中,经常会有对一段文字进行拷贝、剪切、粘贴的需求,iOS提供了3个自带这些功能的控件:
- UITextField
- UITextView
- UIWebView
但是实际中有时候可能需要对这3个以外的控件进行文本、图片等的拷贝粘贴,就需要自定义实现。UIKit framework为我们提供了几个相关的类和协议用来实现这一功能。
- UIPasteboard:剪切板,用来向其中写入数据以及从中读取数据,从来实现数据的”搬迁”。
- UIMenuController:编辑菜单,用来显示拷贝、黏贴等命令
- canPerformAction:withSender::用于控制编辑菜单显示的命令按钮。事实上,编辑菜单的命令按钮完全可以自定义,而无需通过实现canPerformAction:方法来控制命令按钮。
- UIResponderStandardEditActions:一个非正式协议(UIResponder的类别),申明了几个编辑动作,例如copy:等等。当编辑菜单上的命令被点击时,相关方法会被调用。系统未实现这个方法,必须override!
剪切板类型
系统级:其中的数据可以在任意app之间共享。包括UIPasteboardNameGeneral和UIPasteboardNameFind,这种剪切板不管是应用程序终止、卸载还是关机重启,数据都不会丢失。
应用程序级:数据只能在具有相同 team ID 的app之间共享。可以通过persistent属性设置成app退出以及系统重启数据都不丢失,但是app被卸载后数据就没了。
实例
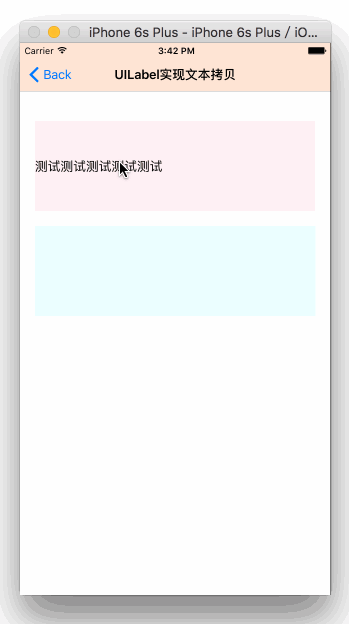
UILabel文本拷贝
创建一个自定义标签类(继承自UILabel),实现文件中添加如下代码:
@implementation MyLabel

- (instancetype)initWithFrame:(CGRect)frame
{
    self = [super initWithFrame:frame];
    if (self) {
        self.userInteractionEnabled = YES;
        UILongPressGestureRecognizer *longPressGestureRecognizer = [[UILongPressGestureRecognizer alloc]initWithTarget:self action:@selector(actionShowMenu:)];
        [self addGestureRecognizer:longPressGestureRecognizer];
    }
    return self;
}

- (void)actionShowMenu:(UILongPressGestureRecognizer *)recoginzer{
    if (recoginzer.state == UIGestureRecognizerStateBegan) {
        [self becomeFirstResponder];  //成为第一响应
        UIMenuController *menu = [UIMenuController sharedMenuController];
        [menu setTargetRect:CGRectMake([recoginzer locationInView:self].x, [recoginzer locationInView:self].y, 0, 0) inView:self]; //设置menu显示位置
        [menu setMenuVisible:YES animated:YES];  //显示menu
    }
}

/*!
 *  允许成为第一响应
 */
- (BOOL)canBecomeFirstResponder{
    return YES;
}

/*!
 *  用于控制哪些命令显示在编辑菜单中
 */
- (BOOL)canPerformAction:(SEL)action withSender:(id)sender{
    if (action == @selector(copy:)) {
        return YES;
    }
    return NO;
}

- (void)copy:(id)sender{
    [UIPasteboard generalPasteboard].string = self.text;
}

@end
演示效果如下:
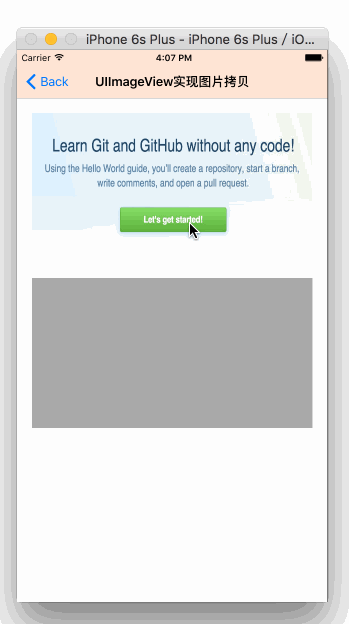
UIImageView实现图片的拷贝
创建一个自定义图像视图类(继承自UIImageView),实现文件中添加如下代码:
@implementation MyImageView

- (instancetype)initWithFrame:(CGRect)frame
{
    self = [super initWithFrame:frame];
    if (self) {
        self.userInteractionEnabled = YES;
        UILongPressGestureRecognizer *longPressGestureRecognizer = [[UILongPressGestureRecognizer alloc]initWithTarget:self action:@selector(actionShowMenu:)];
        [self addGestureRecognizer:longPressGestureRecognizer];
    }
    return self;
}

- (void)actionShowMenu:(UILongPressGestureRecognizer *)recognizer{
    if (recognizer.state == UIGestureRecognizerStateBegan) {
        [self becomeFirstResponder];
        UIMenuController *menu = [UIMenuController sharedMenuController];
        [menu setTargetRect:CGRectMake([recognizer locationInView:self].x, [recognizer locationInView:self].y, 0, 0) inView:self];
        [menu setMenuVisible:YES animated:YES];
    }
}

- (void)copy:(id)sender{
    [UIPasteboard generalPasteboard].image = self.image;
}

- (void)cut:(id)sender{
    [UIPasteboard generalPasteboard].image = self.image;
    self.image = nil;
}

- (void)paste:(id)sender{
    self.image = [UIPasteboard generalPasteboard].image;
}

- (BOOL)canBecomeFirstResponder{
    return YES;
}

- (BOOL)canPerformAction:(SEL)action withSender:(id)sender{
    if (action == @selector(copy:)) {
        return self.image;
    }else if (action == @selector(cut:)){
        return self.image;
    }else if (action == @selector(paste:)){
        return [UIPasteboard generalPasteboard].image;
    }
    return [super canPerformAction:action withSender:sender];
}

@end
演示效果如下:
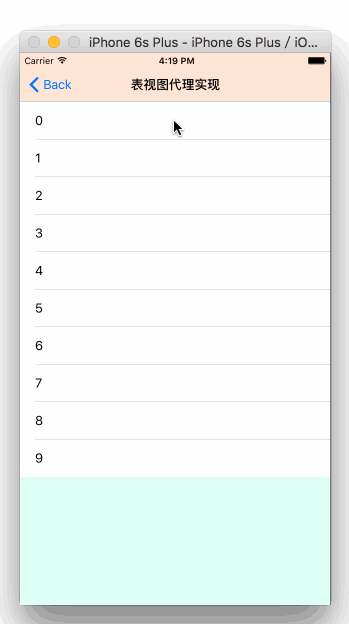
表视图代理实现
UITableView提供了相应的代理方法用来方便实现cell内容的拷贝粘贴等。必须实现下面3个方法:
//长按cell时是否显示编辑菜单
- (BOOL)tableView:(UITableView *)tableView shouldShowMenuForRowAtIndexPath:(NSIndexPath *)indexPath{
    return YES;
}

//控制编辑菜单中的按钮
- (BOOL)tableView:(UITableView *)tableView canPerformAction:(SEL)action forRowAtIndexPath:(NSIndexPath *)indexPath withSender:(nullable id)sender{
    if (action == @selector(copy:)) {
        return YES;
    }
    return NO;
}

//执行编辑菜单中点击的按钮动作
- (void)tableView:(UITableView *)tableView performAction:(SEL)action forRowAtIndexPath:(NSIndexPath *)indexPath withSender:(nullable id)sender{
    if (action == @selector(copy:)) {
        UITableViewCell *cell = [tableView cellForRowAtIndexPath:indexPath];
        [UIPasteboard generalPasteboard].string = cell.textLabel.text;
    }
}
演示效果如下:


 2695
2695


 被折叠的 条评论
为什么被折叠?
被折叠的 条评论
为什么被折叠?
 到【灌水乐园】发言


