


作者:Loving_iOS
转载请标明出处:http://blog.csdn.net/loving_ios/article/details/49000189
上一篇博客iOS经典讲解之实现App消息推送功能(一)讲解了实现消息推送的的准备工作,接下来我们来讲解第二部分的内容,实现具体的推送及代码示例。
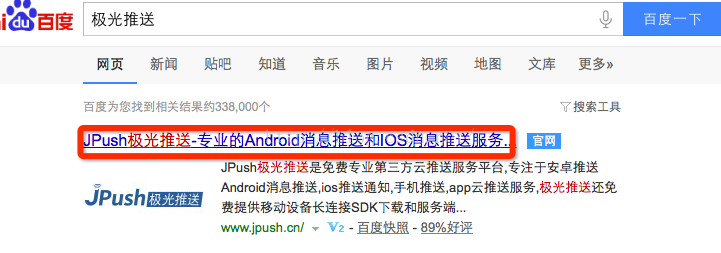
消息推送的第三方平台有很多,这里我们使用极光推送平台,注册极光推送平台的账号。
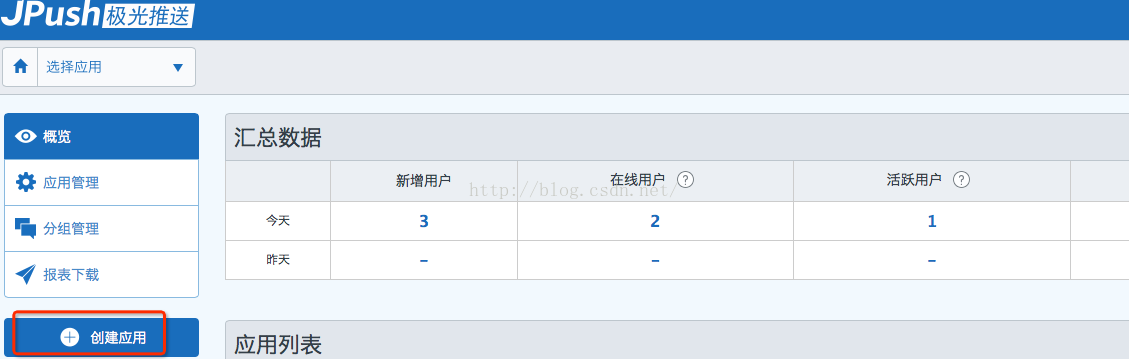
登陆后进入控制台,创建推送消息的应用。
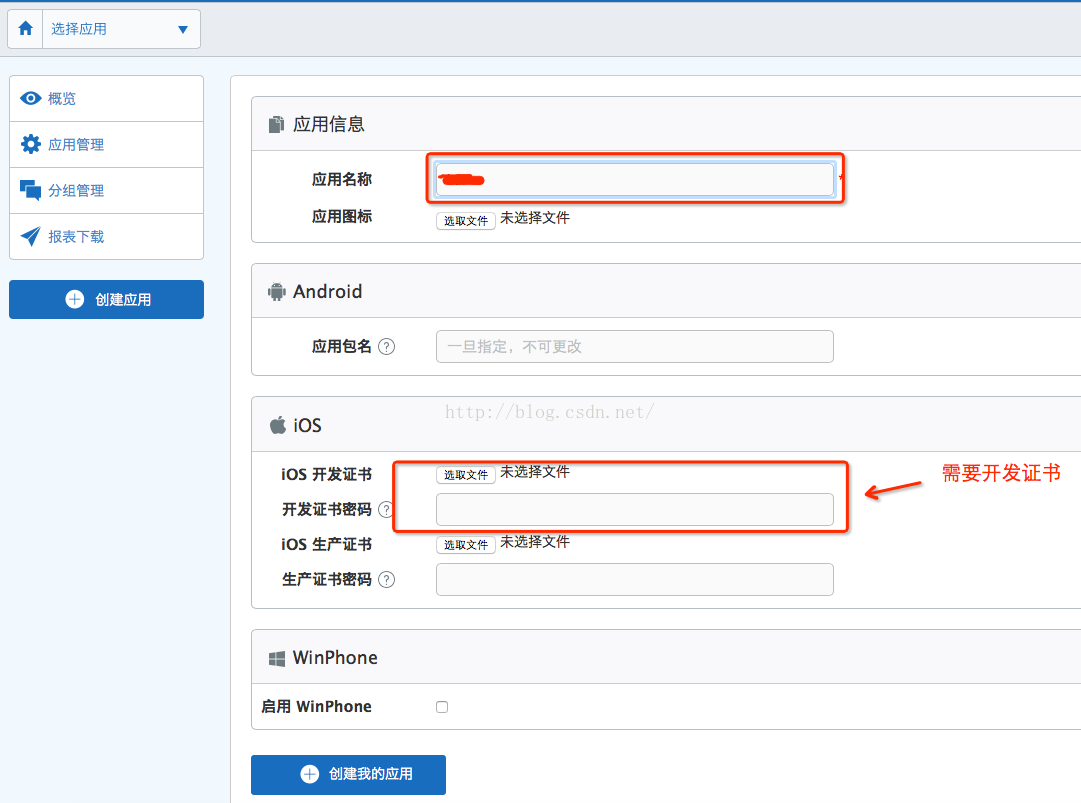
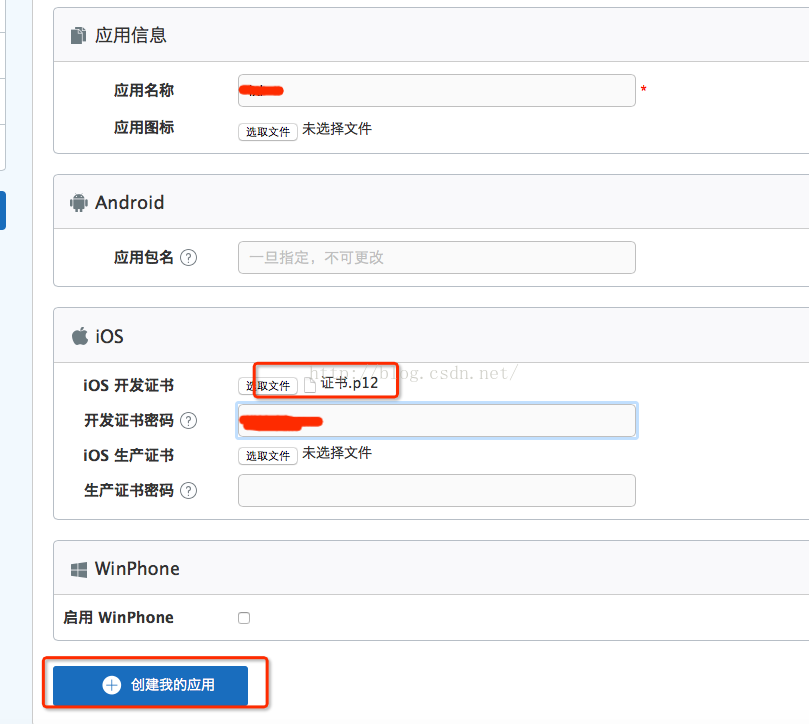
填写应用的名称并上传iOS开发证书,iOS开发证书需要从我们准备的推送证书导出,下面是导出的具体步骤。
获取iOS开发证书的步骤:
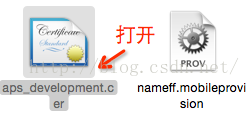
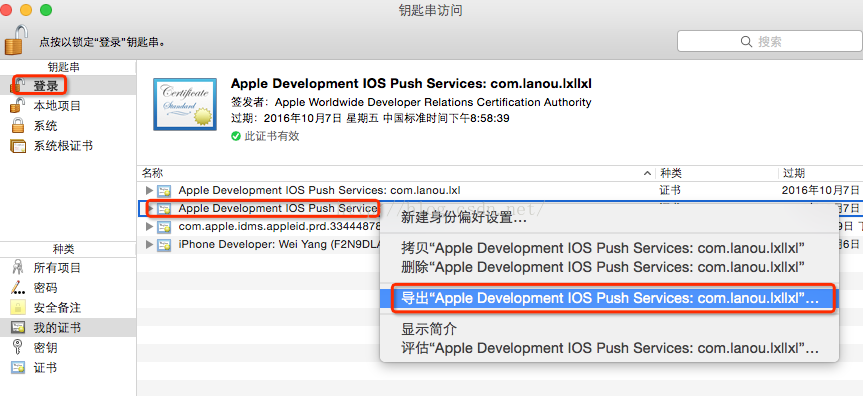
1、打开之前准备的推送证书
2、在钥匙串访问中找到该证书,然后右键导出。
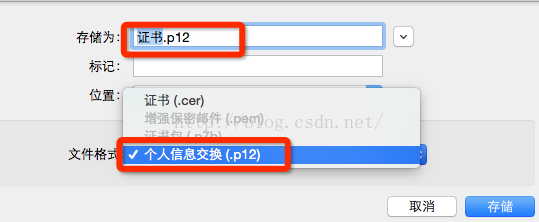
3、选择导出的格式,一定是.p12格式,然后存储。
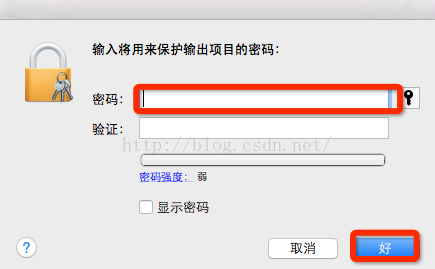
4、给导出的证书添加密码,可以不添加。如果添加,请记住,在导入到推送平台时使用。
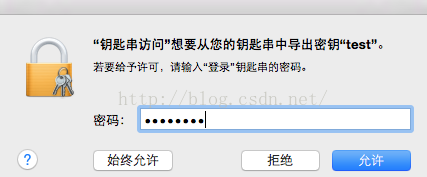
5、填写登陆密码(电脑账户登录密码),到此获得到.p12证书。
将获得到的证书导入,并写入导出证书时填写的密码,如果没有设置密码,可不写,然后创建应用。
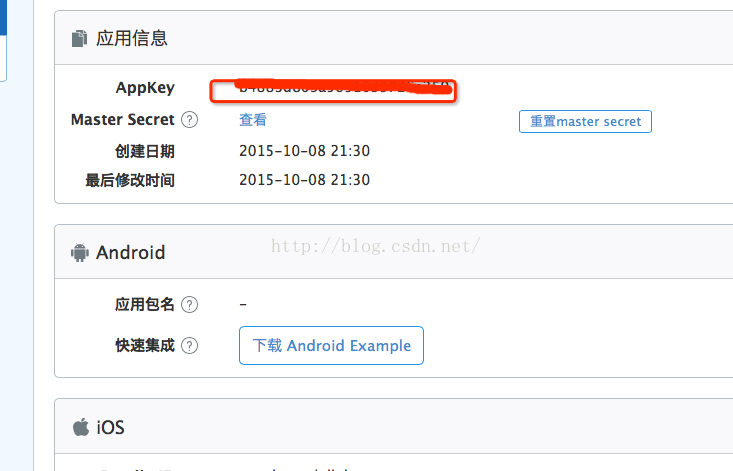
创建完后会得到应用的信息,包括APPKey(很重要),一会儿用得到。
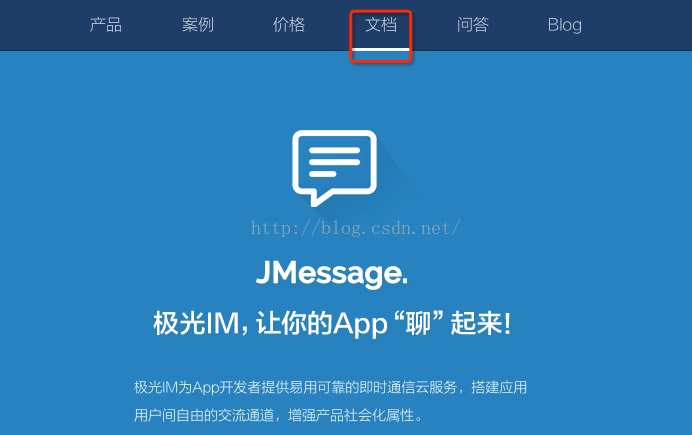
剩下的步骤可以参考极光推送平台提供的文档,根据以下步骤获得到开发指南文档:
①点击文档
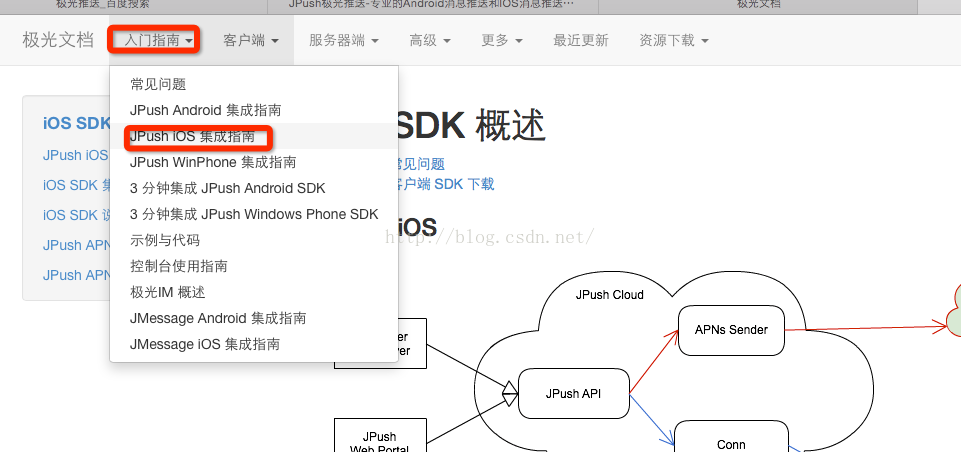
②选择iOS

③选择iOS集成指南,得到开发指南,参考里面的步骤,完成相关配置操作(很关键)。
到目前为止,所有的工作都已准备完成,下面是代码示例:
//
//  AppDelegate.m
//  PushDemo
//

#import "AppDelegate.h"
#import "APService.h"

@interface AppDelegate ()

@end

@implementation AppDelegate


- (BOOL)application:(UIApplication *)application didFinishLaunchingWithOptions:(NSDictionary *)launchOptions {


    if ([[UIDevice currentDevice].systemVersion floatValue] >= 8.0) {

        //可以添加自定义categories
        [APService registerForRemoteNotificationTypes:(UIUserNotificationTypeBadge | UIUserNotificationTypeSound |UIUserNotificationTypeAlert) categories:nil];
    } else {
        //categories 必须为nil

        [APService registerForRemoteNotificationTypes:(UIRemoteNotificationTypeBadge | UIRemoteNotificationTypeSound | UIRemoteNotificationTypeAlert) categories:nil];
    }
    // Required
    [APService setupWithOption:launchOptions];
    return YES;
}
#pragma mark - 注册成功 获取设备deviceToken
- (void)application:(UIApplication *)application didRegisterForRemoteNotificationsWithDeviceToken:(NSData *)deviceToken{

    NSLog(@"%@", deviceToken);
    // Required
    [APService registerDeviceToken:deviceToken];
}

- (void)application:(UIApplication *)application didReceiveRemoteNotification:(NSDictionary *)userInfo {

    // Required
    [APService handleRemoteNotification:userInfo];
}
- (void)application:(UIApplication *)application didReceiveRemoteNotification:(NSDictionary *)userInfo fetchCompletionHandler:(void (^)(UIBackgroundFetchResult))completionHandler {

    // IOS 7 Support Required
    [APService handleRemoteNotification:userInfo];
    completionHandler(UIBackgroundFetchResultNewData);
}

- (void)applicationWillResignActive:(UIApplication *)application {
    // Sent when the application is about to move from active to inactive state. This can occur for certain types of temporary interruptions (such as an incoming phone call or SMS message) or when the user quits the application and it begins the transition to the background state.
    // Use this method to pause ongoing tasks, disable timers, and throttle down OpenGL ES frame rates. Games should use this method to pause the game.
}

- (void)applicationDidEnterBackground:(UIApplication *)application {
    // Use this method to release shared resources, save user data, invalidate timers, and store enough application state information to restore your application to its current state in case it is terminated later.
    // If your application supports background execution, this method is called instead of applicationWillTerminate: when the user quits.
}

- (void)applicationWillEnterForeground:(UIApplication *)application {
    // Called as part of the transition from the background to the inactive state; here you can undo many of the changes made on entering the background.
}

- (void)applicationDidBecomeActive:(UIApplication *)application {
    // Restart any tasks that were paused (or not yet started) while the application was inactive. If the application was previously in the background, optionally refresh the user interface.
}

- (void)applicationWillTerminate:(UIApplication *)application {
    // Called when the application is about to terminate. Save data if appropriate. See also applicationDidEnterBackground:.
}

@end
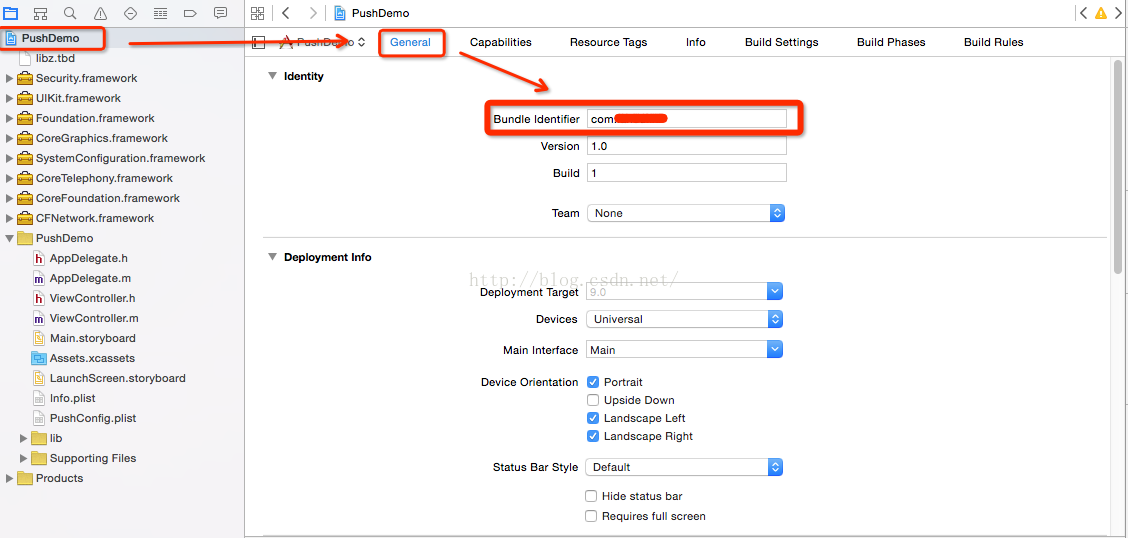
在工程的配置方面还有需要注意的地方:
工程的Bundle Identifier一定要和在苹果开发者平台获取的AppID保持一致
其次把描述文件与工程绑定,如图所示,选择对应的描述文件(Provisioning Profile),如果找不到之前你获取的描述文件的名称,请找到你下载的描述文件双击,然后再到工程中,你的描述文件的名称就出现了,然后选中。
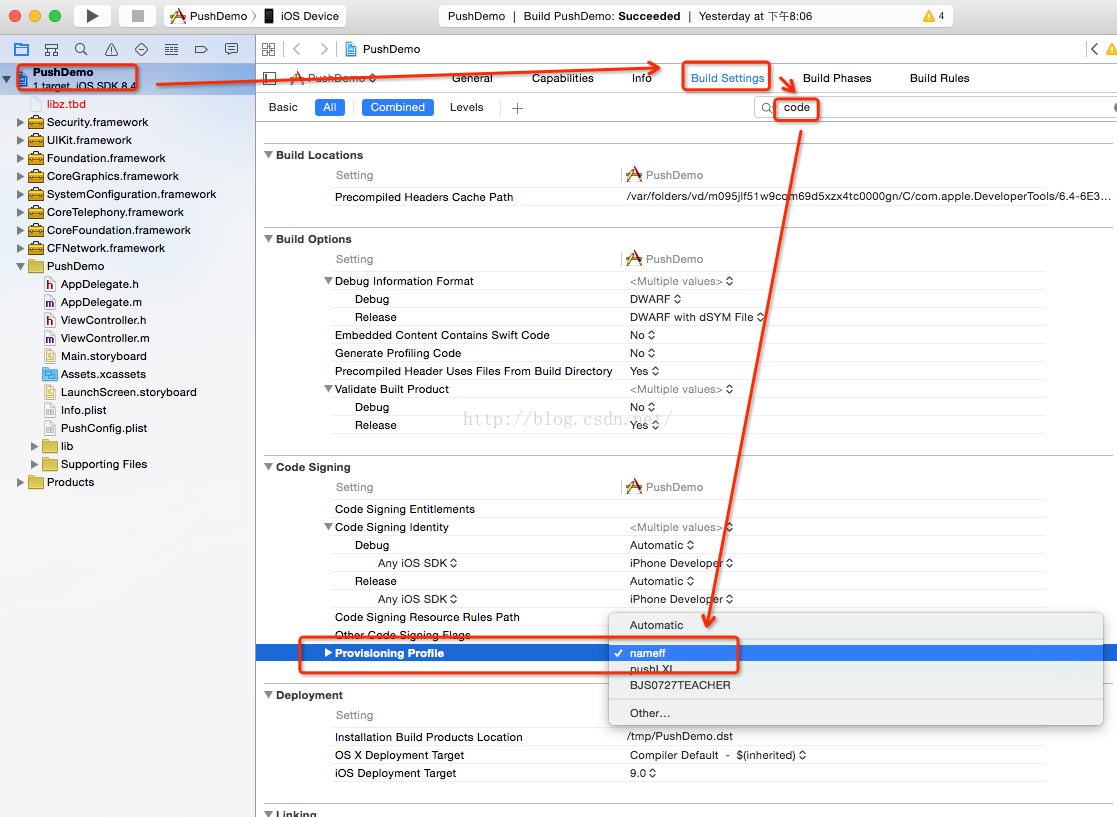
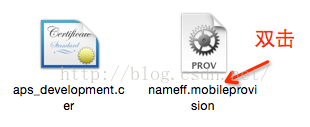
如果工程中找不到描述文件名称,请双击。
在极光推送平台选择对应的应用,然后发送消息。
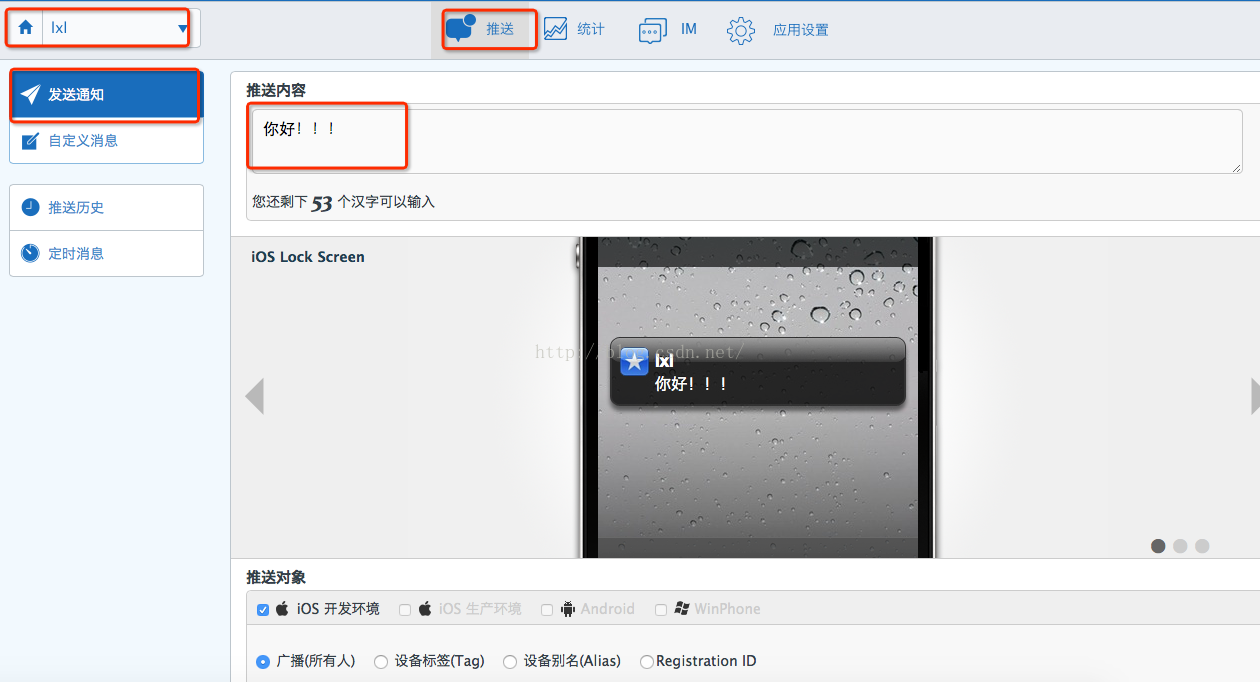
你的手机对应的应用,就收到推送的消息了,到此消息推送功能已经成功实现。

注意:必须真机测试,才能实现消息推送功能。


 181
181


 被折叠的 条评论
为什么被折叠?
被折叠的 条评论
为什么被折叠?
 到【灌水乐园】发言


