


导航视图控制器 : UINavigationController
继承于 UIViewController
注意:导航控制器高度是44,上面的状态栏高度是20,加在一起默认是64
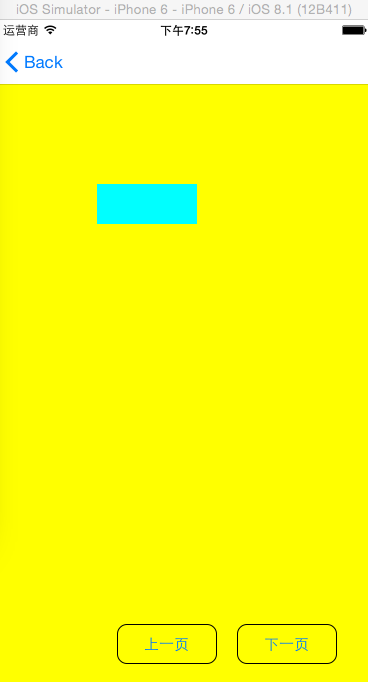
效果图:

1.创建导航视图控制器
原代码:
在这之前要先建一个MainViewController的类
把MainViewController引入appDelegate.m的头文件
在appDelegate.m文件上创建导航视图控制器
// 先创建一个ViewController
 MainViewController *mainVC =[[MainViewController alloc] init];
 // 创建导航视图控制器
    UINavigationController *naVC=[[UINavigationController alloc] initWithRootViewController:mainVC];
   //
    self.window.rootViewController =naVC;
   // 释放
    [mainVC release];
    [naVC release];
2.加上标题,共有两种方法
(1)
self.title =@”猫眼电影”;
这样添加 只是把名字添加到视图标题上
(2)
原代码:
标题设置
 self.navigationItem.title=@"电影";
 加一个UISegmentedControl(这个是效果图上的)
 UISegmentedControl *seg=[[UISegmentedControl alloc] initWithItems:@[@"信息",@"通话" ]];
    self.navigationItem.titleView =seg;
3.创建左右两边的按钮
原代码:
(1) .左面的按钮
self.navigationItem.leftBarButtonItem =[[[UIBarButtonItem alloc] initWithBarButtonSystemItem:UIBarButtonSystemItemEdit target:self action:@selector(leftButtonClick:)] autorelease];(2).创建一个button,加到右面的按钮上
第一种方法:
 self.navigationItem.rightBarButtonItem=[[UIBarButtonItem alloc] initWithImage:[UIImage imageNamed:@"双子"] style:UIBarButtonItemStylePlain target:self action:@selector(rigthButtonClick:)];
第二种方法:
 UIButton *rightButton=[UIButton buttonWithType:UIButtonTypeCustom];
    rightButton.frame=CGRectMake(0, 0, 40, 40);
    [rightButton setImage:[UIImage imageNamed:@"双子"] forState:UIControlStateNormal];
    self.navigationItem.rightBarButtonItem=[[UIBarButtonItem alloc] initWithCustomView:rightButton];
第一种方法添加到按钮上按钮全都是蓝色的,按钮默认是蓝色的,而第二种方法添加上的是原来图片上的颜色,颜色不变,
主要原因在于在第二种方法中,在UIButton创建时button的类型用的是UIButtonTypeCustom,而如果类型用UIButtonTypeSystem时,按钮也是蓝色的
4.建立一个button 实现跳转页面(不用模态跳转)
原代码:
UIButton *button =[UIButton buttonWithType:UIButtonTypeSystem];
    button.frame =CGRectMake(240, 540, 100, 40);
    button.layer.borderWidth=1;
    button.layer.cornerRadius=10;
    [self.view addSubview:button];
    [button setTitle:@"下一页" forState:UIControlStateNormal];
    [button addTarget:self action:@selector(click:) forControlEvents:UIControlEventTouchUpInside];
5.实现Button的跳转方法
原代码:
-(void)click:(UIButton *)button{
 // 先创建下一页的对象
    SecondViewController *secondView =[[SecondViewController alloc] init];
[self.navigationController pushViewController:secondView animated:YES];
    [secondView release];
}


 1900
1900

 被折叠的 条评论
为什么被折叠?
被折叠的 条评论
为什么被折叠?
 到【灌水乐园】发言


