


随着Swift3.0的到来,一些语法悄然改变,导致很多以前的博客都不能看了= =
于是,我在这里记录一下自己的Swift3.0编写TableView的简单过程。
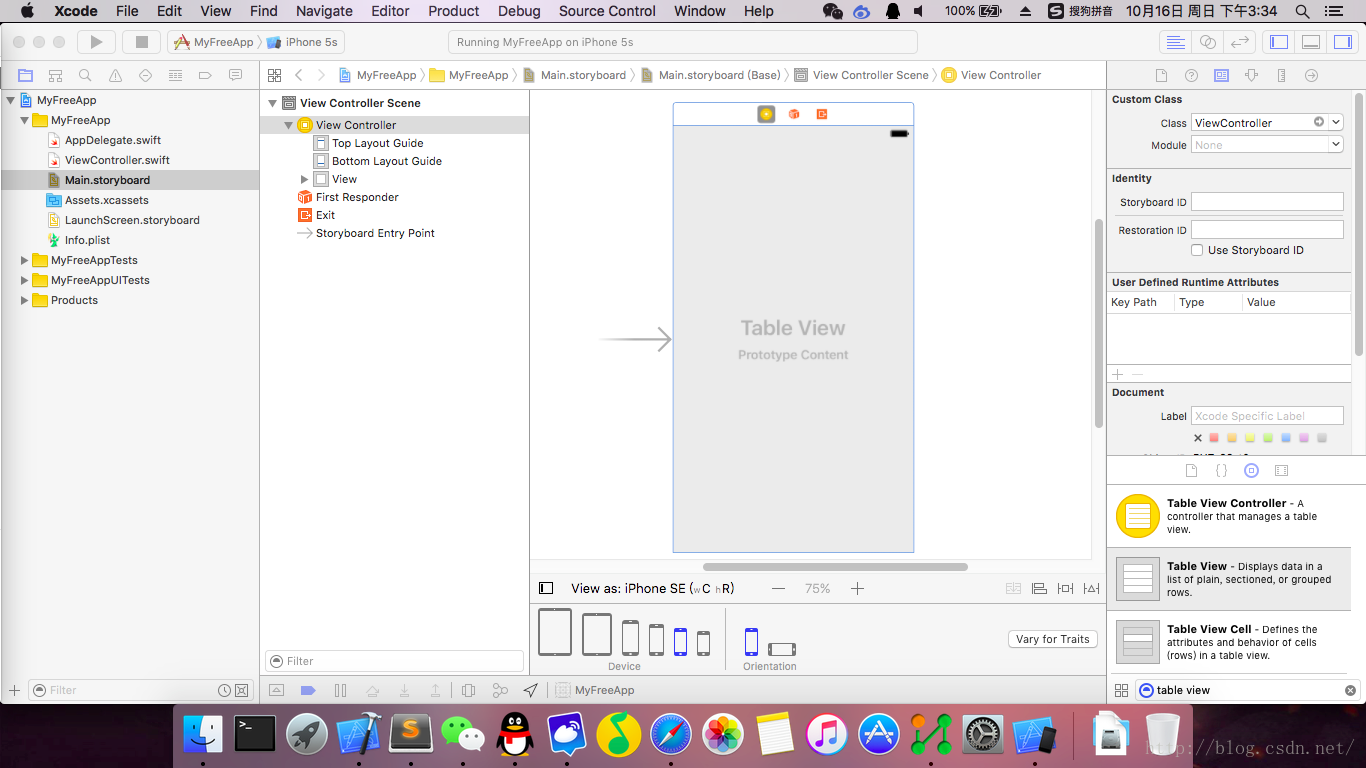
(1)在创建一个简单swift项目之后,先点击Main.storyboard文件,把TableView拖到当前的View Controller中。如下图所示:
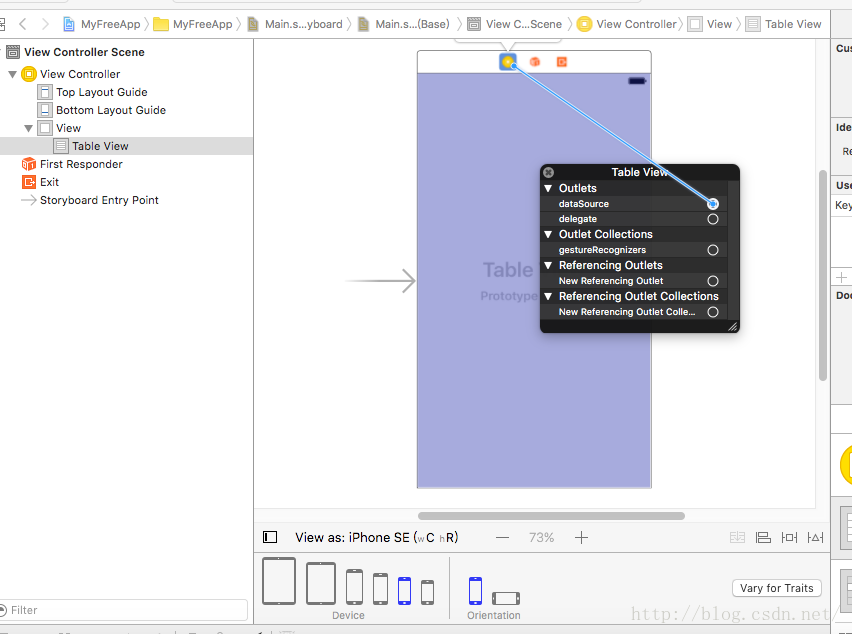
(2)右键点击TableView,将dataSource拖拽连接到View Controller按钮上,实现数据的连接。如下图所示:
(3)接着点击ViewController.swift文件,编写数据,并实现创建TableView的基本函数。这里推荐先使ViewController继承UIViewController和UITableViewDataSource两个类,方便后面的代码编写,且不会报错(貌似swift3.0之前可以不用继承UITableViewDataSource也可行但是现在不继承就会报错)。代码如下:
import UIKit

class ViewController: UIViewController,UITableViewDataSource {

    let data = NSArray(objects: "A","B","C","D","E","F","G","H","I","J","K","L","M","N")

    override func viewDidLoad() {
        super.viewDidLoad()
        // Do any additional setup after loading the view, typically from a nib.
    }


    func numberOfSectionsInTableView(tableView: UITableView) -> Int {
        return 1
    }

    func tableView(_ tableView: UITableView, numberOfRowsInSection section: Int) -> Int {
        return data.count
    }

    func tableView(_ tableView:UITableView, cellForRowAt indexPath:IndexPath)->UITableViewCell {
        let cell = UITableViewCell(style: .default, reuseIdentifier: "reuseIdentifier")
        cell.textLabel!.text = "\(data.object(at: indexPath.row))"
        return cell
    }

    override func didReceiveMemoryWarning() {
        super.didReceiveMemoryWarning()
        // Dispose of any resources that can be recreated.
    }


}
(4)最后编译运行,查看效果。
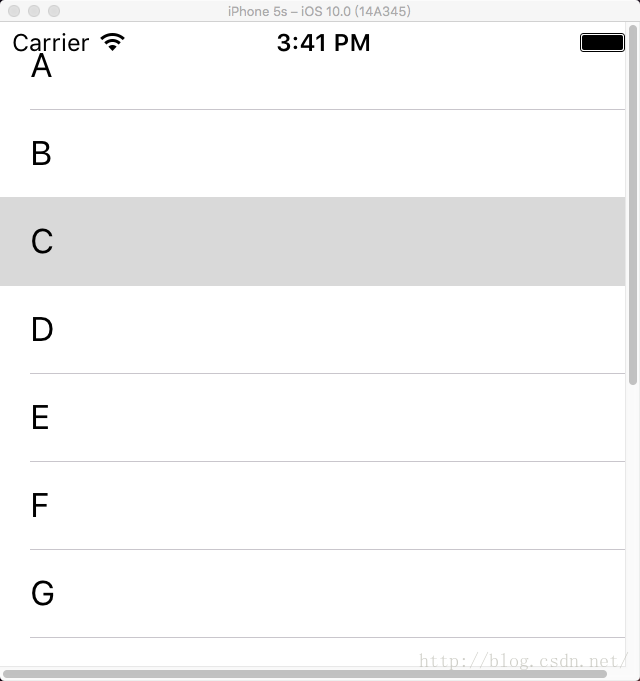
总的来说,Swift3.0的改动不是特别大,但是没注意到细微的差别还是会降低效率,因此不能太自信啊→ →


 被折叠的 条评论
为什么被折叠?
被折叠的 条评论
为什么被折叠?
 到【灌水乐园】发言


