


近期,应公司要求,开始接触MapBox For Android的开发。
经过初步的接触,发现MapBox与我之前使用的Arcgis有很多不同,相比起来,MapBox更清洁,更轻便,也更容易使用,但是相对的,MapBox相对于Arcgis缺少了很多的功能实现,许多的东西都需要自己去进行处理才能实现。
下面是我一步步接触并使用MapBox的记录,可能会比较乱。我这里提供了目录的功能,请不要使用csdn的极客模式,不然看不到目录的,另外,由于是一步步的写下来了,可能前期的看法或者结论,到了后期就不一样了,我会定期修改,但是可能会存在漏网的,欢迎指出。
首先是接入,相比于Arcgis又需要导入包文件,又需要导入lib,又需要设置jcenter,打包下来,直接就几十兆的Apk,一编译就是一分钟。
MapBox只需要导入一下代码即可
compile('com.mapbox.mapboxsdk:mapbox-android-sdk:5.0.2@aar') {
        transitive = true
    }
哦,对了,还有mavencentral,一般来说,应该都设置了的
allprojects {
    repositories {
        jcenter()
        mavenCentral()
    }
}
一般来说,下载一段时间后,就可以了,如果不可以,就试着翻墙,设置代理什么的,这里不细说了。
MapBox和Arcgis相同,在Xml中添加一个MapView就可以了
<com.mapbox.mapboxsdk.maps.MapView
        android:id="@+id/mapView"
        android:layout_width="match_parent"
        android:layout_height="match_parent"/>
如果是从网上,或者demo上学习的朋友,可能会遇到一个问题
就是在xml上无法设置初始坐标,zoom等参数,只能强行写出来,我估计是该控件item的问题。为了更好的学习,我将这些功能都放到了代码中来实现。
申请accessToken
就和arcgis的key类似,就是一个使用凭证,就不多说了,可以去官方网站申请。
进行初始化
申请完毕后,在Activity的onCreate()中添加如下代码,进行初始化
@Override
    protected void onCreate(Bundle savedInstanceState) {
        super.onCreate(savedInstanceState);
        //设置accessToken
        Mapbox.getInstance(this, getString(R.string.accessToken));
 setContentView(R.layout.activity_simple_map); }
敲黑板,这里的初始化代码一定要放到setContentView之前,否则无法使用。
初始化Mapview
mapView = (MapView) findViewById(R.id.mapView);
        mapView.setStyleUrl("mapbox://styles/mapbox/streets-v9");
        mapView.onCreate(savedInstanceState);
注意,其中的setStyleUrl,就是设置地图样式,可以采用默认样式,Light,Dark等,也可以使用网络地址,事实上默认的Style.LIGHT也是一个地址
还有下面的
mapView.onCreate(savedInstanceState);需要在初始化的时候设置,同时,除了onCreate,还包括以下
// Add the mapView lifecycle to the activity's lifecycle methods
    @Override
    public void onResume() {
        super.onResume();
        mapView.onResume();
    }


    @Override
    protected void onStart() {
        super.onStart();
        mapView.onStart();
    }


    @Override
    protected void onStop() {
        super.onStop();
        mapView.onStop();
    }


    @Override
    public void onPause() {
        super.onPause();
        mapView.onPause();
    }


    @Override
    public void onLowMemory() {
        super.onLowMemory();
        mapView.onLowMemory();
    }


    @Override
    protected void onDestroy() {
        super.onDestroy();
        mapView.onDestroy();
    }


    @Override
    protected void onSaveInstanceState(Bundle outState) {
        super.onSaveInstanceState(outState);
        mapView.onSaveInstanceState(outState);
    }
都要进行设置,建议封装到baseactvity中
异步加载地图
mapView.getMapAsync(new OnMapReadyCallback() {
            @Override
            public void onMapReady(MapboxMap mapboxMap) {

            }
        });
该方法即是对地图进行加载,加载成功后,会返回MapboxMap对象,只有有了这个对象,我们才可能对地图进行各种操作,和Arcgis不同,arcgis的大部分操作,都是在mapview上进行操作的,但是MapBox的mapview并没有太多的功能元素,像地图定点、polygon、marker等操作,都得对mapboxmap进行操作,我估计很多朋友都会和我一样,想进行初始化时中心点设置的时候,尝试了centerAt、location、setCenter、setPosition、moveTo、moveCamere。。等等一系列的姿势去设置,都失败了。
更多操作
从上一步开始,地图已经可以跑起来了,下面就是一些进一步的使用,一下排序不分先后,纯粹是我做到哪,写到哪,不过我提供了目录,需要的朋友可以直接在目录中进行搜索,如果是和我一样才开始学习的,可以跟着我的代码一直敲就可以了。
将地图移动到某一点
这个方法有很多
LatLng latLng = new LatLng(29.735281, 106.99155);
mapboxMap.moveCamera(CameraUpdateFactory.newLatLng(latLng));
最简单的地图定点,是的,没错,这就centerAt的功能
首先我来看前面的方法moveCamera;这个方法就是简单将地图中心定到某个位置,更多的还有
注意,这个LatLng不仅仅可以传入坐标,还可以传入location的
mapboxMap.animateCamera(CameraUpdateFactory.newLatLng(latLng),2000);//动画移动,花费两秒时间,动态的移动到该位置,时间可以不写
mapboxMap.easeCamera(CameraUpdateFactory.newLatLng(latLng),2000);//讲真,我也没发现和其他的有什么区别
然后是后面的参数
后面可以有四种形式

很显然,一个必填,三个可填。
主要呢是必填项CamerUpdate类型的参数,CameraUpdate呢,其实可以当做一个数据处理命令集来使用,即先将要move到的位置的各种参数设置完成,封装好后,再来进行处理。
CameraUpdate的构造需要用到CamaeraUpdateFactory(目前就我了解的话)
CamaeraUpdateFactory专门是用来构建CameraUpdate的,是他的工厂类,我们来看看他的new方法(zoomby,scrollby我没用过。。)
①.newLatLng 根据简单的坐标点来进行构造
这里只需要传入一个坐标参数即可,LatLng,用过Arcgis等地图的都知道,这就是一个坐标,可以用new LatLng(double latitude,double longitude)来进行构造,同下,我们统一用animateCamera来进行举例。
mapboxMap.animateCamera(CameraUpdateFactory.newLatLng(latLng),2000);②.newCameraPosition 根据CameraPosition来进行构造
这里需要传入的是一个CameraPosition的对象,初始化
CameraPosition cameraPosition = new CameraPosition.Builder()
			.target(new LatLng(latLng.getLatitude(), latLng.getLongitude()))
                        .zoom(17)//放大尺度 从0开始,0即最大比例尺,最大未知,17左右即为街道层级
                        .bearing(180)//地图旋转,但并不是每次点击都旋转180度,而是相对于正方向180度,即如果已经为相对正方向180度了,就不会进行旋转
                        .tilt(30)//地图倾斜角度,同上,相对于初始状态(平面)成30度
                        .build();//创建CameraPosition对象
敲黑板了,注意其中的参数,这几个参数在很多地方都有用到。
mapboxMap.animateCamera(CameraUpdateFactory.newCameraPosition(cameraPosition), 2000);
使用就很简单了,大同小异。
③.newLatLngBounds 根据一个坐标坐标边界进行移动,这个有两种方法,除了必传的LatLngBounds,都一样,不一样的就是padding,一种是统一padding,一种是四个方向,这个我就不细细说了,我只说统一padding
LatLngBounds latLngBounds = new LatLngBounds.Builder()//根据坐标集,初始化一个坐标界限
                        .include(latlng1)
                        .include(latlng2)
                        .include(latlng3)
                        .include(latlng4)
                        .build();
构造是很简单的,传入坐标点即可,除了include,每次只添加一个点,也可以采用includes,一次传入一个点的集合
mapboxMap.animateCamera(CameraUpdateFactory.newLatLng(latLngBounds,50), 2000);其中的50指的是padding,使用这种构造,地图会将比例尺自动调节到刚好能显示全部点以及点外面的padding的程度。
④newLatLngZoom 这个和第一个很相似
无非是这个还可以传入一个zoom即缩放尺度的值
mapboxMap.animateCamera(CameraUpdateFactory.newLatLngZoom(latLng,13),2000);至此,移动的方法就全部用完了。
mapview在fragment中的使用
用过arcgis的可能都知道,mapview在fragment中的使用和在activity中使用其实是一样的,但是在mapbox中,还为fragment提供了另外一种构造方式,
SupportMapFragment。
@Override
    protected void onCreate(Bundle savedInstanceState) {
        super.onCreate(savedInstanceState);
        setContentView(R.layout.activity_fragment_map);
        //设置accessToken
        Mapbox.getInstance(this, getString(R.string.accessToken));
 }
为了加深记忆,初始化这个再写一次,可能有人发现了,这里我们的getInstance的方法并没有放到setContentView里面,这是我故意的,因为如果mapview要在activity中使用,就必须放在setContentView之前,但是如果在fragment中使用就不需要了。
// Create fragment
        final FragmentTransaction transaction = getSupportFragmentManager().beginTransaction();


        if (savedInstanceState == null) {
            // Build mapboxMap
            MapboxMapOptions options = new MapboxMapOptions();
            options.styleUrl(Style.LIGHT);
            options.camera(new CameraPosition.Builder()
                    .target(new LatLng(29.735281, 106.99155))
                    .zoom(13)
                    .build());

            // Create map fragment
            mapFragment = SupportMapFragment.newInstance(options);


            // Add map fragment to parent container
            transaction.add(R.id.container, mapFragment, "com.mapbox.map");
            transaction.commit();
        } else {
            mapFragment = (SupportMapFragment) getSupportFragmentManager().findFragmentByTag("com.mapbox.map");
        }

        mapFragment.getMapAsync(new OnMapReadyCallback() {
            @Override
            public void onMapReady(MapboxMap mapboxMap) {

            }
        });
以上就是构建的方法,比较长,一句一句的看,首先我再看看xml文件
<?xml version="1.0" encoding="utf-8"?>
<RelativeLayout
    xmlns:android="http://schemas.android.com/apk/res/android"
    xmlns:app="http://schemas.android.com/apk/res-auto"
    xmlns:tools="http://schemas.android.com/tools"
    android:layout_width="match_parent"
    android:layout_height="match_parent"
    android:background="@color/whitesmoke">


    <TextView
        android:id="@+id/fragment_below_textview"
        android:layout_width="match_parent"
        android:layout_height="wrap_content"
        android:layout_marginTop="8dp"
        android:gravity="center_horizontal"
        android:text="集成在fragment上的"/>


    <android.support.v7.widget.CardView
        android:id="@+id/cardview"
        android:layout_width="match_parent"
        android:layout_height="300dp"
        android:layout_below="@id/fragment_below_textview"
        android:layout_marginBottom="8dp"
        android:layout_marginEnd="8dp"
        android:layout_marginLeft="8dp"
        android:layout_marginRight="8dp"
        android:layout_marginStart="8dp"
        android:layout_marginTop="8dp"
        app:cardCornerRadius="2dp"
        app:cardElevation="@dimen/cardview_default_elevation">


        <FrameLayout
            android:id="@+id/container"
            android:layout_width="match_parent"
            android:layout_height="match_parent"/>
    </android.support.v7.widget.CardView>


</RelativeLayout>
只需要看其中的container,这个是用来存放fragment的容器,首先创建一个FragmentTranstion对象
final FragmentTransaction transaction = getSupportFragmentManager().beginTransaction();再动态实例化地图对象
// Build mapboxMap
            MapboxMapOptions options = new MapboxMapOptions();
            options.styleUrl(Style.LIGHT);
            options.camera(new CameraPosition.Builder()
                    .target(new LatLng(29.735281, 106.99155))
                    .zoom(13)
                    .build());
            // Create map fragment
            SupportMapFragment mapFragment = SupportMapFragment.newInstance(options);
再次敲个黑板,这里的MapBoxOptions,是用于地图初始化时给地图初始化设置各种参数的。相当于配置文件,这里使用options初始化了SupportMapFragment
,options也可以在activity中进行使用,比如这样
MapboxMapOptions options = new MapboxMapOptions()
      .styleUrl(Style.OUTDOORS)
      .camera(new CameraPosition.Builder()
        .target(new LatLng(43.7383, 7.4094))
        .zoom(12)
        .build());

    // create map
    mapView = new MapView(this, options);
    mapView.onCreate(savedInstanceState);
    mapView.getMapAsync(new OnMapReadyCallback() {
      @Override
      public void onMapReady(MapboxMap mapboxMap) {
        // Customize map with markers, polylines, etc.

      }
    });

    setContentView(mapView);
其实设置options和在onMapReady中进行设置,或者定位是差不多的,只是一个是动态添加使用,一个是在xml中添加使用,这里就先不细说了。我们继续刚刚的
// Add map fragment to parent container
            transaction.add(R.id.container, mapFragment, "com.mapbox.map");
            transaction.commit();
这个就是将fragment添加到容器中去,这是android的代码,不是mapbox的代码,没什么好说的。
至此就实现了mapbox在fragment中的使用,如下图

其实设置options和在onMapReady中进行设置,或者定位是差不多的,只是一个是动态添加使用,一个是在xml中添加使用,这里就先不细说了。我们继续刚刚的
// Add map fragment to parent container
            transaction.add(R.id.container, mapFragment, "com.mapbox.map");
            transaction.commit();
这个就是将fragment添加到容器中去,这是android的代码,不是mapbox的代码,没什么好说的。
至此就实现了mapbox在fragment中的使用,如下图地图风格,StyleUrl
这个就是地图的风格,其实不管是系统自带的风格,还是自己的写的其他的,都是一个url地址而已。
先看系统自带:
Style.MAPBOX_STREETS  默认的
Style.DARK 黑色主题的
Style.LIGHT 亮色主题
Style.OUTDOORS  户外的,具体有什么不同数不清楚我
Style.SATELLITE 影像图
Style.SATELLITE_STREETS 更为详细的影像图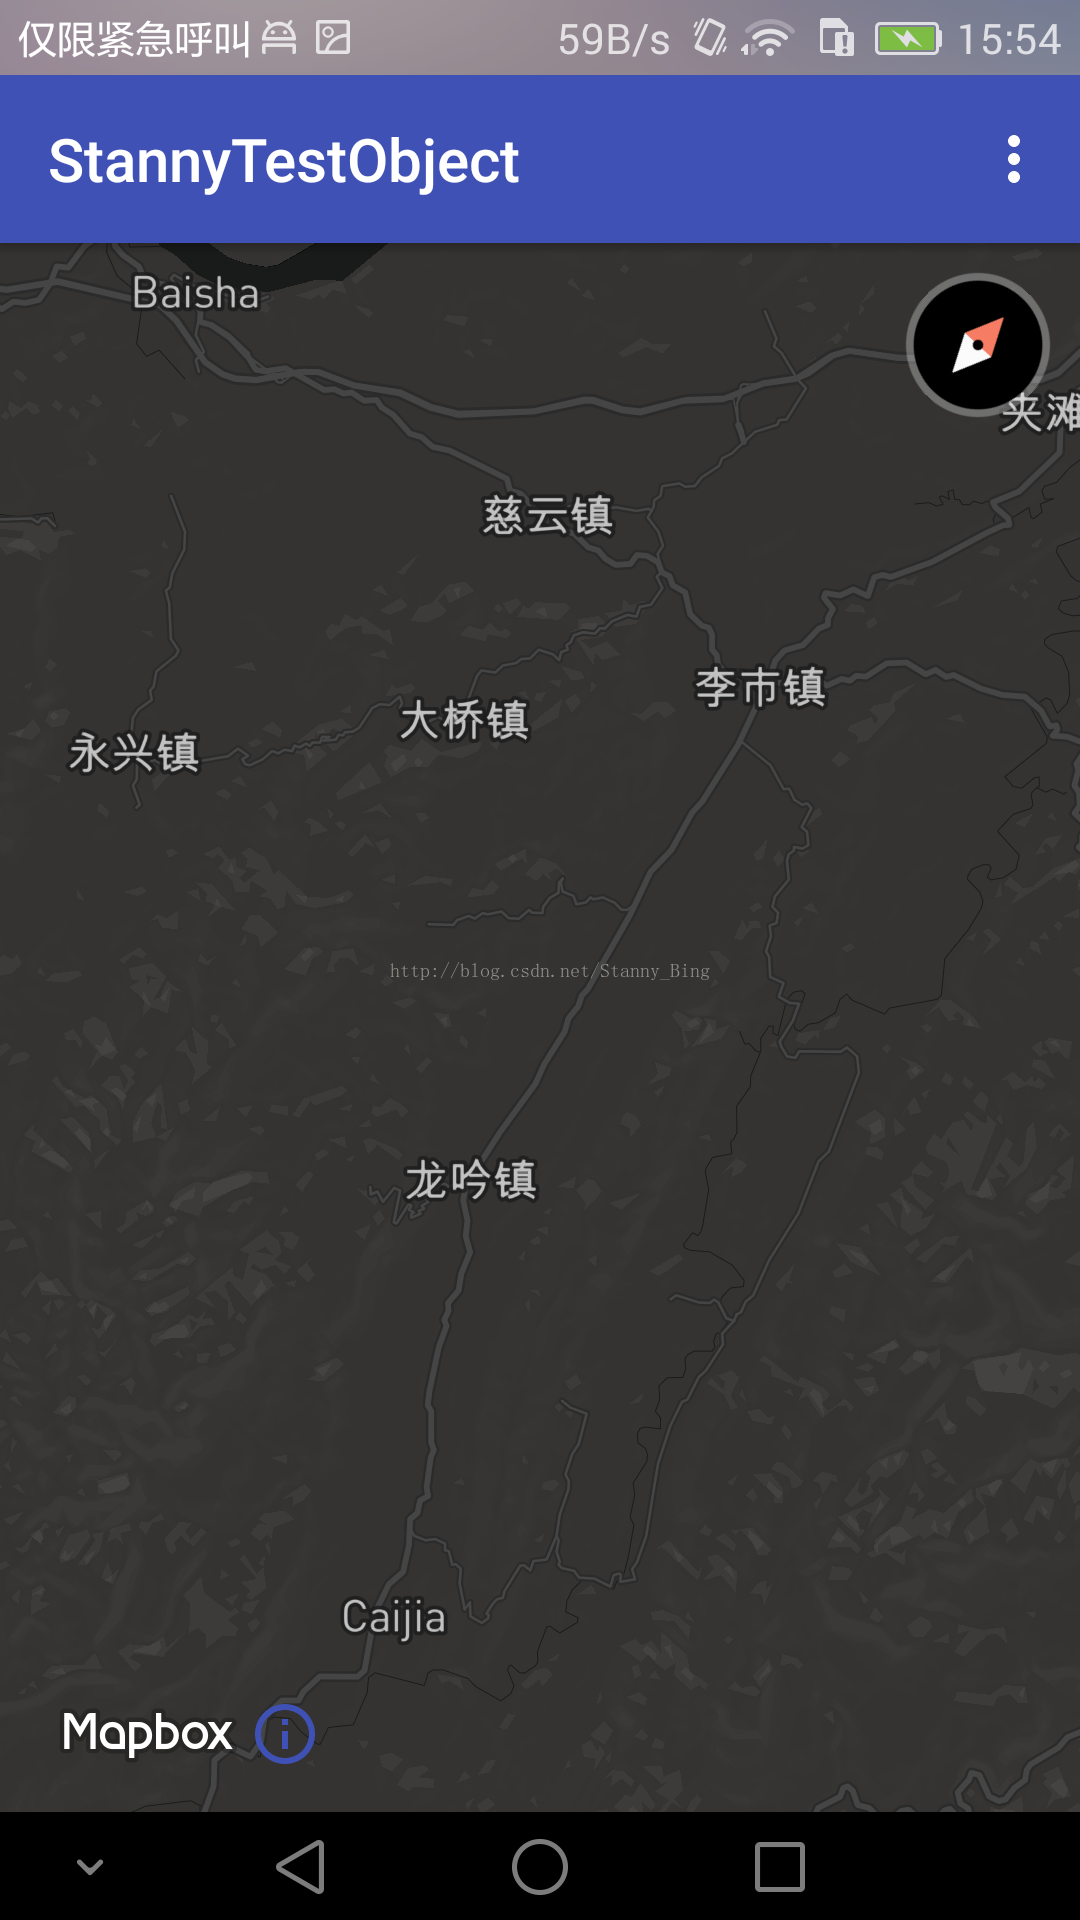
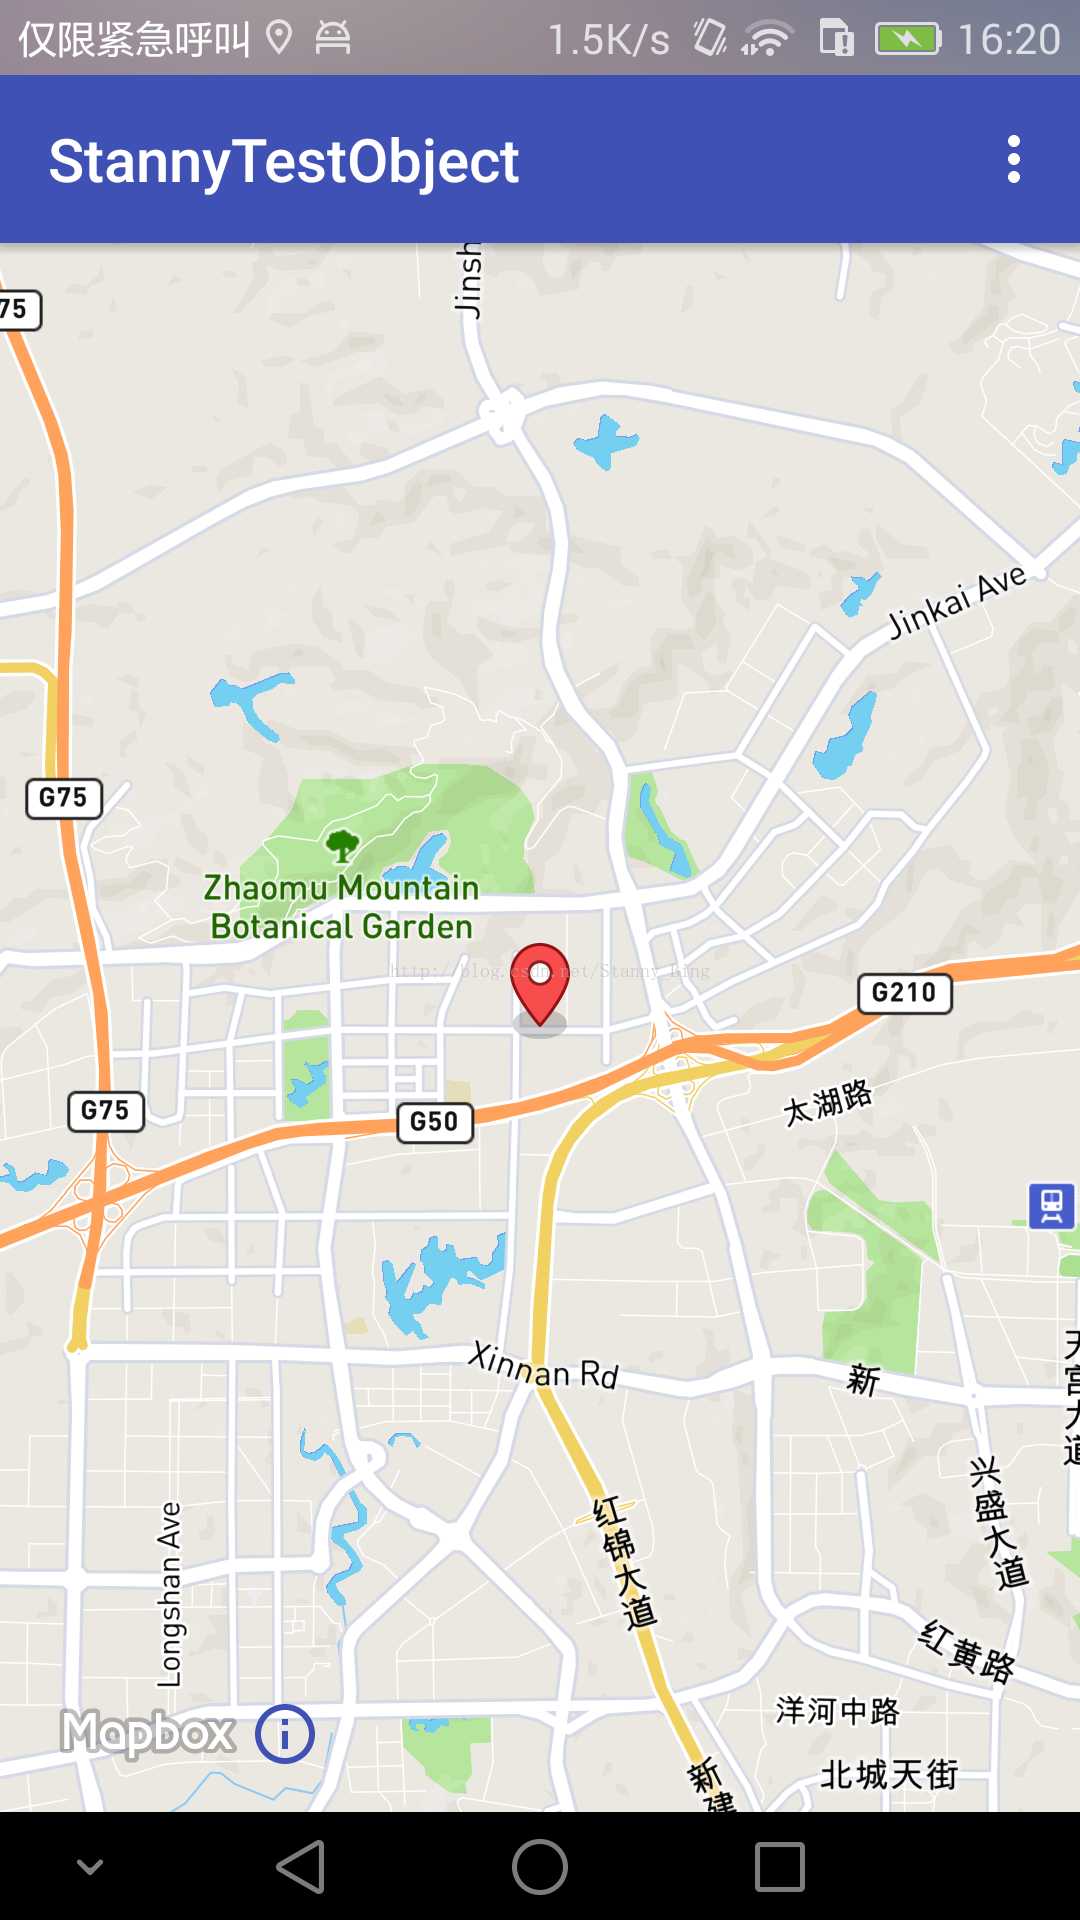
地图标记,Marker
首先是最基础的使用
mapboxMap.addMarker(new MarkerOptions()
                        .position(new LatLng(29.619861, 106.515911))
                        .title("MarkerTitle")
                        .snippet("Message detail"));
addMarker就是添加一个地图标记,需要传入一个MarkerOptions或者BaseMarkerOptions、BaseMarkerViewOptions这三种的其中一种如果传入BaseMarkerViewOptions,还可以传入一个OnMarkerViewAddedListener,这个之后再说先看最简单的MarkerOptions,这就是一个定点的坐标标记,positon是坐标点,title是点击图标出现的信息的标题,snippet是内容,如图
假如你尝试添加很多个,尝试移除全部重新添加等操作的时候,第一个坑就出现了那就是竟然没有mapboxMap.removeAllMarkers(),这样的方法,一般来说,用脚想这玩意儿也应该是存在的,然而他就是没有。想要移除,一般的方法如下
for (Marker marker : mapboxMap.getMarkers()) {
            mapboxMap.removeMarker(marker);
}mapboxMap.clear();mapboxMap.removeAnnotations();然后来试一试使用自己的图标
		IconFactory iconFactory = IconFactory.getInstance(this);
                Icon icon = iconFactory.fromResource(R.mipmap.purple_marker);
                MarkerOptions markerOptions = new MarkerOptions()
                        .position(new LatLng(29.619861, 106.515911))
                        .title("MarkerTitle")
                        .snippet("MarkerInfo")
                        .icon(icon);
                mapboxMap.addMarker(markerOptions);
添加多个Marker
MarkerOptions marker1 = new MarkerOptions()
                        .position(new LatLng(29.619861, 106.515911))
                        .title("MarkerTitle")
                        .snippet("Message detail");
                MarkerOptions marker2 = new MarkerOptions()
                        .position(new LatLng(29.612261, 106.154911))
                        .title("MarkerTitle")
                        .snippet("Message detail");
                MarkerOptions marker3 = new MarkerOptions()
                        .position(new LatLng(29.519861, 106.547211))
                        .title("MarkerTitle")
                        .snippet("Message detail");
                MarkerOptions marker4 = new MarkerOptions()
                        .position(new LatLng(29.657261, 106.152711))
                        .title("MarkerTitle")
                        .snippet("Message detail");
                List<MarkerOptions> markerList = new ArrayList<>();
                markerList.add(marker1);
                markerList.add(marker2);
                markerList.add(marker3);
                markerList.add(marker4);
mapboxMap.addMarkers(markerList);带动画的Marker
final Marker marker = mapboxMap.addMarker(new MarkerViewOptions()
                        .position(new LatLng(29.619861, 106.515911))
                        .title("移动")
                        .snippet("也不动"));
                mapboxMap.setOnMapClickListener(new MapboxMap.OnMapClickListener() {
                    @Override
                    public void onMapClick(@NonNull LatLng latLng) {
                        ValueAnimator maValueAnimator = ObjectAnimator.ofObject(marker, "position",
                                new LatLngEvaluator(), marker.getPosition(), latLng);
                        maValueAnimator.setDuration(2000);
                        maValueAnimator.start();
                    }
                });
需要一个内部类
private static class LatLngEvaluator implements TypeEvaluator<LatLng> {
        // Method is used to interpolate the marker animation.

        private LatLng latLng = new LatLng();

        @Override
        public LatLng evaluate(float fraction, LatLng startValue, LatLng endValue) {
            latLng.setLatitude(startValue.getLatitude()
                    + ((endValue.getLatitude() - startValue.getLatitude()) * fraction));
            latLng.setLongitude(startValue.getLongitude()
                    + ((endValue.getLongitude() - startValue.getLongitude()) * fraction));
            return latLng;
        }
    }
marker的详细设置
IconFactory iconFactory1 = IconFactory.getInstance(this);
                Icon icon1 = iconFactory1.fromResource(R.mipmap.purple_marker);
                // marker view using all the different options available
                mapboxMap.addMarker(new MarkerViewOptions()
                        .position(new LatLng(29.619861, 106.515911))
                        .icon(icon1)
                        .rotation(70)//倾斜角度
                        .anchor(1f, 1f)
                        .alpha(0.5f)//透明度
                        .title("Hisense Arena")
                        .snippet("Olympic Blvd, Melbourne VIC 3001")
                        .infoWindowAnchor(0.5f, 0.5f)//infowindow的
.flat(false));//是否是平的anchor,这个东西我一直没搞清楚是什么效果,各种设置都没变化
infoWindowAnchor,这个也比较好理解,就是infowindow弹出与图标的相对位置

可以看到图标是倾斜的,另外,两个标记,上面那个的flat设置为false,下面的设置为了true
自定义的infowindow
marker点击出现的infowindow的自定义界面,如下
mapboxMap.addMarker(new MarkerOptions()
                        .position(new LatLng(29.619861, 106.515911))
                        .title("infowindow1"));
                mapboxMap.addMarker(new MarkerOptions()
                        .position(new LatLng(29.519861, 106.615911))
                        .title("infowindow2"));
                mapboxMap.addMarker(new MarkerOptions()
                        .position(new LatLng(29.719861, 106.415911))
                        .title("infowindow3"));
                mapboxMap.setInfoWindowAdapter(new MapboxMap.InfoWindowAdapter() {
                    @Nullable
                    @Override
                    public View getInfoWindow(@NonNull final Marker marker) {
                        LinearLayout parent = new LinearLayout(MarkerActivity.this);
                        parent.setLayoutParams(new LinearLayout.LayoutParams(ZXSystemUtil.dp2px(MarkerActivity.this, 200), ZXSystemUtil.dp2px(MarkerActivity.this, 80)));
                        parent.setOrientation(LinearLayout.HORIZONTAL);
                        parent.setBackgroundColor(ContextCompat.getColor(MarkerActivity.this, R.color.whitesmoke));
                        ImageView imageView = new ImageView(MarkerActivity.this);
                        TextView textView = new TextView(MarkerActivity.this);
                        switch (marker.getTitle()) {
                            case "infowindow1":
                                imageView.setImageDrawable(ContextCompat.getDrawable(MarkerActivity.this, R.mipmap.__picker_checkbox_marked));
                                break;
                            case "infowindow2":
                                imageView.setImageDrawable(ContextCompat.getDrawable(MarkerActivity.this, R.mipmap.__picker_ic_camera_p));
                                break;
                            case "infowindow3":
                                imageView.setImageDrawable(ContextCompat.getDrawable(MarkerActivity.this, R.mipmap.__picker_ic_broken_image_black_48dp));
                                break;
                            default:
                                break;
                        }
                        textView.setText(marker.getTitle());
                        textView.setOnClickListener(new View.OnClickListener() {
                            @Override
                            public void onClick(View view) {
                                ZXToastUtil.showToast(MarkerActivity.this, marker.getTitle()+"123");
                            }
                        });
                        parent.addView(imageView);
                        parent.addView(textView);
                        return parent;
                    }
                });
但是需要注意的是,这里的parent是无法设置点击事件的,也就是说infowindow内部的view的各种事件可以在这里实现,但是infowindow本身不能在这里设置点击事件,如果需要设置,需要使用另外一个方法,
mapboxMap.setOnInfoWindowClickListener(new MapboxMap.OnInfoWindowClickListener() {
                    @Override
                    public boolean onInfoWindowClick(@NonNull Marker marker) {
                        ZXToastUtil.showToast(MarkerActivity.this, marker.getTitle());
                        return true;
                    }
                });
同样的,还可以实现setOnInfoWindowLongClickListener和setOnInfoWindowCloseListener两个监听
地图定位
1.基础使用
//获取定位引擎并激活
        LocationSource locationEngine = LocationSource.getLocationEngine(this);
locationEngine.activate();fab.setOnClickListener(new View.OnClickListener() {
@Override
public void onClick(View view) {
if (mapboxMap != null) {
toggleGps();
}
}
});//开关定位
private void toggleGps() {
if (mapboxMap.isMyLocationEnabled()) {//已开启
enableLocation(false);//若已开启,就将它关闭
} else {//未开启
if (ZXPermissionUtil.checkLocationPermissions(this)) {
enableLocation(true);//若未开启,就在检查完权限后,将它打开
} else {
ZXPermissionUtil.requestLocationPermissions(this);
}
}
}里面有个判断语句
mapboxMap.isMyLocationEnabled()很好理解,就字面意思,判断定位是否开启。
如果开启,就关闭定位,如果未开启,就先检查权限,如果有权限就打开定位,如果没有权限就开启权限,里面的ZXPermissionUtil是我封装的权限工具,这里就不说的,你们使用checkPermission就可以了,后面有空再将我整合的工具类、view类、manager等拿出来分享。
enableLocation(true)//设置定位
private void enableLocation(boolean enable) {
if (enable) {
//获取上次定位参数,如果存在先直接使用
            final Location lastlocation = locationEngine.getLastLocation();
            if (lastlocation != null) {
                mapboxMap.animateCamera(CameraUpdateFactory.newLatLngZoom(new LatLng(lastlocation), 15), 1000);
            }
locationEngineListener = new LocationEngineListener() {
                @Override
                public void onConnected() {
                    //连接到定位服务,不需要操作
                }

                @Override
                public void onLocationChanged(Location location) {
                    if (location != null) {
                        mapboxMap.animateCamera(CameraUpdateFactory.newLatLngZoom(new LatLng(location), 15), 1000);
                        locationEngine.removeLocationEngineListener(this);
                    }
                }
            };
            //设置监听器
            locationEngine.addLocationEngineListener(locationEngineListener);
fab.setImageResource(R.drawable.ic_location_disabled_24dp);
} else {
fab.setImageResource(R.drawable.ic_my_location_24dp);
}
//添加或移除定位图层
        mapboxMap.setMyLocationEnabled(enable);
}这个就比较长了,慢慢看
//获取上次定位参数,如果存在先直接使用
final Location lastlocation = locationEngine.getLastLocation();
if (lastlocation != null) {
mapboxMap.animateCamera(CameraUpdateFactory.newLatLngZoom(new LatLng(lastlocation), 15), 1000);
}locationEngineListener = new LocationEngineListener() {
@Override
public void onConnected() {
//连接到定位服务,不需要操作
}
@Override
public void onLocationChanged(Location location) {
if (location != null) {
mapboxMap.animateCamera(CameraUpdateFactory.newLatLngZoom(new LatLng(location), 15), 1000);
locationEngine.removeLocationEngineListener(this);
}
}
};
//设置监听器
locationEngine.addLocationEngineListener(locationEngineListener);//添加或移除定位图层
mapboxMap.setMyLocationEnabled(enable);fab.setImageResource(R.drawable.ic_location_disabled_24dp);
fab.setImageResource(R.drawable.ic_my_location_24dp);@Override
protected void onStart() {
super.onStart();
mapView.onStart();
if (locationEngine != null && locationEngineListener != null) {
locationEngine.activate();
locationEngine.requestLocationUpdates();
locationEngine.addLocationEngineListener(locationEngineListener);
}
}
@Override
protected void onStop() {
super.onStop();
mapView.onStop();
if (locationEngine != null && locationEngineListener != null) {
locationEngine.removeLocationEngineListener(locationEngineListener);
locationEngine.removeLocationUpdates();
locationEngine.deactivate();
}
}
@Override
protected void onDestroy() {
super.onDestroy();
mapView.onDestroy();
// Ensure no memory leak occurs if we register the location listener but the call hasn't
// been made yet.
if (locationEngineListener != null) {
locationEngine.removeLocationEngineListener(locationEngineListener);
}
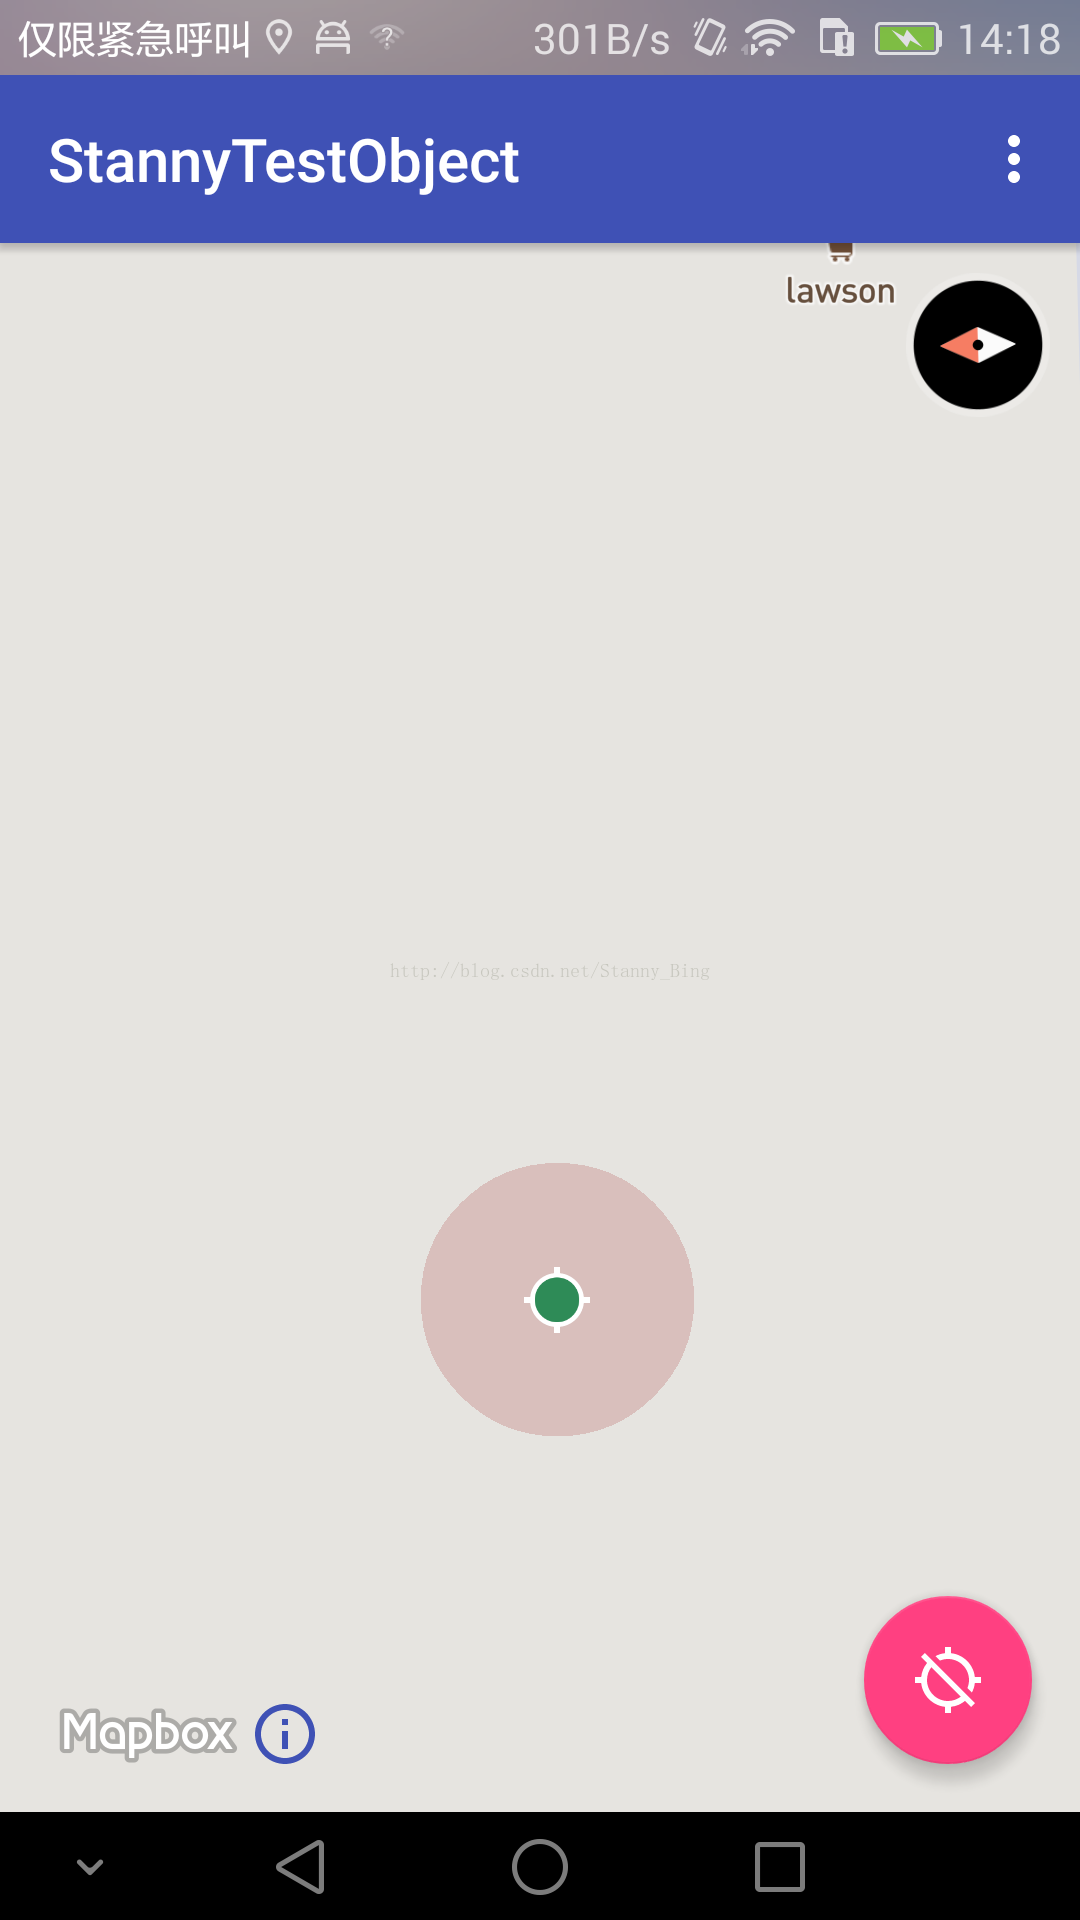
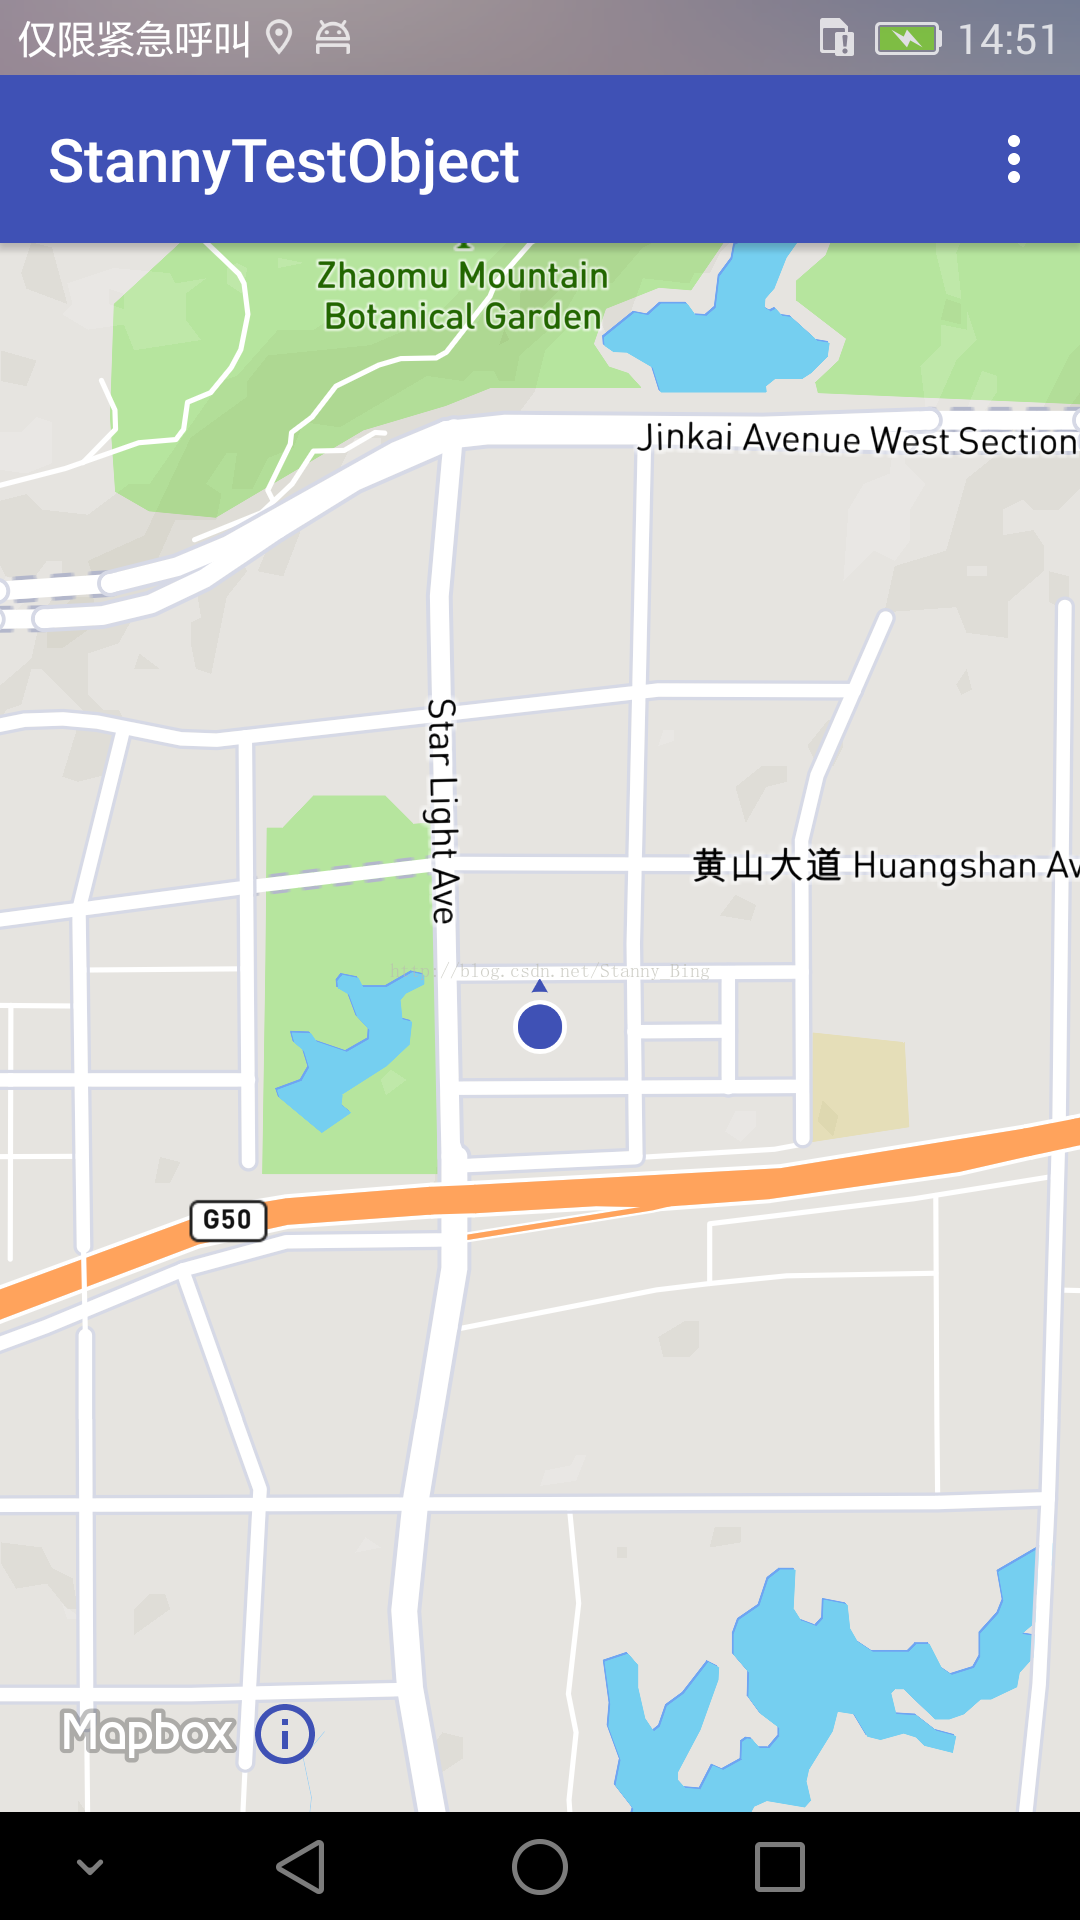
}设置定位图标的属性
设置定位图标的属性需要获取到一个MyLocationViewSetting的值
MyLocationViewSettings locationSettings = mapboxMap.getMyLocationViewSettings();
                locationSettings.setBackgroundDrawable(ContextCompat.getDrawable(LocationActivity.this, R.drawable.ic_my_location_24dp), new int[]{20, 20, 20, 20});
                locationSettings.setForegroundTintColor(ContextCompat.getColor(this, R.color.seagreen));
                locationSettings.setAccuracyTintColor(ContextCompat.getColor(this,R.color.brown));
                locationSettings.setAccuracyAlpha(50);
                locationSettings.setTilt(30);
如上,获取到后,可以设置定位图标的各种属性,第一个是图片不再多说
setForegroundTintColor,这个是用于设置定位图标中心圆的颜色
setAccuracyTintColor,这个是用于设置定位图标范围框的颜色
setAccuracyAlpha,设置范围框的透明度
setTilt,设置倾斜角,上面用过这个参数
注意,设置drawable同时还设置了padding
地图跟随
地图跟随,就是tracking,如下
TrackingSettings trackingSettings = mapboxMap.getTrackingSettings();
                // 让地图始终以定位点为中心,无法滑动
                trackingSettings.setDismissAllTrackingOnGesture(false);
                // 启用位置和方位跟踪
                trackingSettings.setMyLocationTrackingMode(MyLocationTracking.TRACKING_FOLLOW);
                trackingSettings.setMyBearingTrackingMode(MyBearingTracking.COMPASS);
获取到一个trackingSetting对象,这个对象可用于设置地图跟随的相关属性
首先是setDissmissAllTrackingOnGesture(false),就像我注释说的,是将地图的中心点就固定了,无法移动,只能放大缩小
然后是setMyLocationTrackingMode,这个是设置地图位置模式,TRACKING_FOLLOW就是跟随的意思,就是说如果自身位置移动了,地图中心点也会跟着变化的意思
最后是setMyBearingTrackingMode,这个是设置方位的跟踪模式,有COMPASS,GPS等,值得注意的是,不知道是不是我在室内的原因,这方向箭头只能指向两端两个方位,转动手机到某个位置就直接旋转180度,而不是随着手机转动而慢慢转动角度,我感觉是室内,因为我这gps一向不咋地,毕竟总觉得要是这就是mapbox自带的,也太坑爹了。


 2674
2674


 被折叠的 条评论
为什么被折叠?
被折叠的 条评论
为什么被折叠?
 到【灌水乐园】发言


