


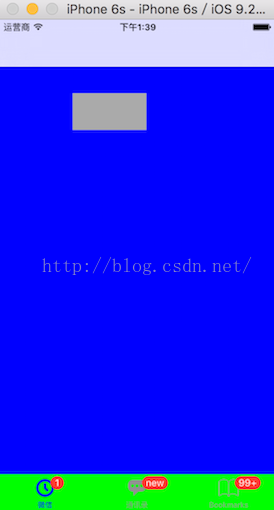
效果展示
1. 签tarBar协议
目的点击时tabBarItem.badgeValue = nil
<UITabBarControllerDelegate>
2.设置
self.window= [[UIWindowalloc]initWithFrame:[[UIScreenmainScreen]bounds]];
self.window.backgroundColor= [UIColorwhiteColor];
[self.windowmakeKeyAndVisible];
[self.windowmakeKeyAndVisible];
// 微信部分
RootViewController*rootVC = [[RootViewControlleralloc]init];
UINavigationController *naVC = [[UINavigationControlleralloc]initWithRootViewController:rootVC];
// 设置内容
naVC.tabBarItem= [[UITabBarItemalloc]initWithTitle:@"微信"image:[UIImageimageNamed:@"clock"]tag:1000];
// 提示信息
naVC.tabBarItem.badgeValue= @"1";
UINavigationController *naVC = [[UINavigationControlleralloc]initWithRootViewController:rootVC];
// 设置内容
naVC.tabBarItem= [[UITabBarItemalloc]initWithTitle:@"微信"image:[UIImageimageNamed:@"clock"]tag:1000];
// 提示信息
naVC.tabBarItem.badgeValue= @"1";
// 通讯录部分
firstViewController*firstVC = [[firstViewControlleralloc]init];
UINavigationController *firstnaVC = [[UINavigationControlleralloc]initWithRootViewController:firstVC];
firstnaVC.tabBarItem= [[UITabBarItemalloc]initWithTitle:@"通讯录"image:[UIImageimageNamed:@"chat2"]selectedImage:[UIImageimageNamed:@"gear"]];
firstnaVC.tabBarItem.badgeValue= @"new";
UINavigationController *firstnaVC = [[UINavigationControlleralloc]initWithRootViewController:firstVC];
firstnaVC.tabBarItem= [[UITabBarItemalloc]initWithTitle:@"通讯录"image:[UIImageimageNamed:@"chat2"]selectedImage:[UIImageimageNamed:@"gear"]];
firstnaVC.tabBarItem.badgeValue= @"new";
// 第三部分
SecondViewController*secondVC = [[SecondViewControlleralloc]init];
UINavigationController *secondnaVC = [[UINavigationControlleralloc]initWithRootViewController:secondVC];
secondVC.tabBarItem= [[UITabBarItemalloc]initWithTabBarSystemItem:UITabBarSystemItemBookmarkstag:10000];
secondVC.tabBarItem.badgeValue= @"99+";
// 标签视图控制器,用来管理导航控制器的
UITabBarController *tabBars = [[UITabBarControlleralloc]init];
// 设置背景颜色
tabBars.tabBar.barTintColor= [UIColorgreenColor];
// 设置不半透明
tabBars.tabBar.translucent= NO;
// 设置选中按钮的颜色
tabBars.tabBar.tintColor= [UIColorblueColor];
// 给标签控制器指定子控制器
tabBars.viewControllers= [NSArrayarrayWithObjects:naVC,firstnaVC,secondnaVC,nil];
self.window.rootViewController= tabBars;
[tabBars release];
tabBars.delegate= self;
3.实现tarBar协议方法
//点击tabBar上按钮时触发
- (void)tabBarController:(UITabBarController*)tabBarController didSelectViewController:(UIViewController*)viewController{
NSLog(@"==%@",viewController);
UINavigationController*navc = (UINavigationController*)viewController;
navc.tabBarItem.badgeValue= nil;
- (void)tabBarController:(UITabBarController*)tabBarController didSelectViewController:(UIViewController*)viewController{
NSLog(@"==%@",viewController);
UINavigationController*navc = (UINavigationController*)viewController;
navc.tabBarItem.badgeValue= nil;
}


 2090
2090


 被折叠的 条评论
为什么被折叠?
被折叠的 条评论
为什么被折叠?
 到【灌水乐园】发言


