


关于片刻,它的根视图控制器有点非主流,并不是通常所见到的UITabbarController,然后在UITabbarController的子视图上添加带有UINavigationController的各种常规控制器(一般的有UIViewController,UITableViewController),而它的根视图并不是通常我们所说的容器控制器。而是一个UIViewController,在UIViewController上面有UIVIew,UITableView,还有播放器等视图。而通过点击UITableView上面的Cell可以跳转到不同的视图控制器。它的架构同现在所使用的QQ有点像,这里我们称它为抽屉控制器。
下面是片刻软件中的“抽屉控制器”
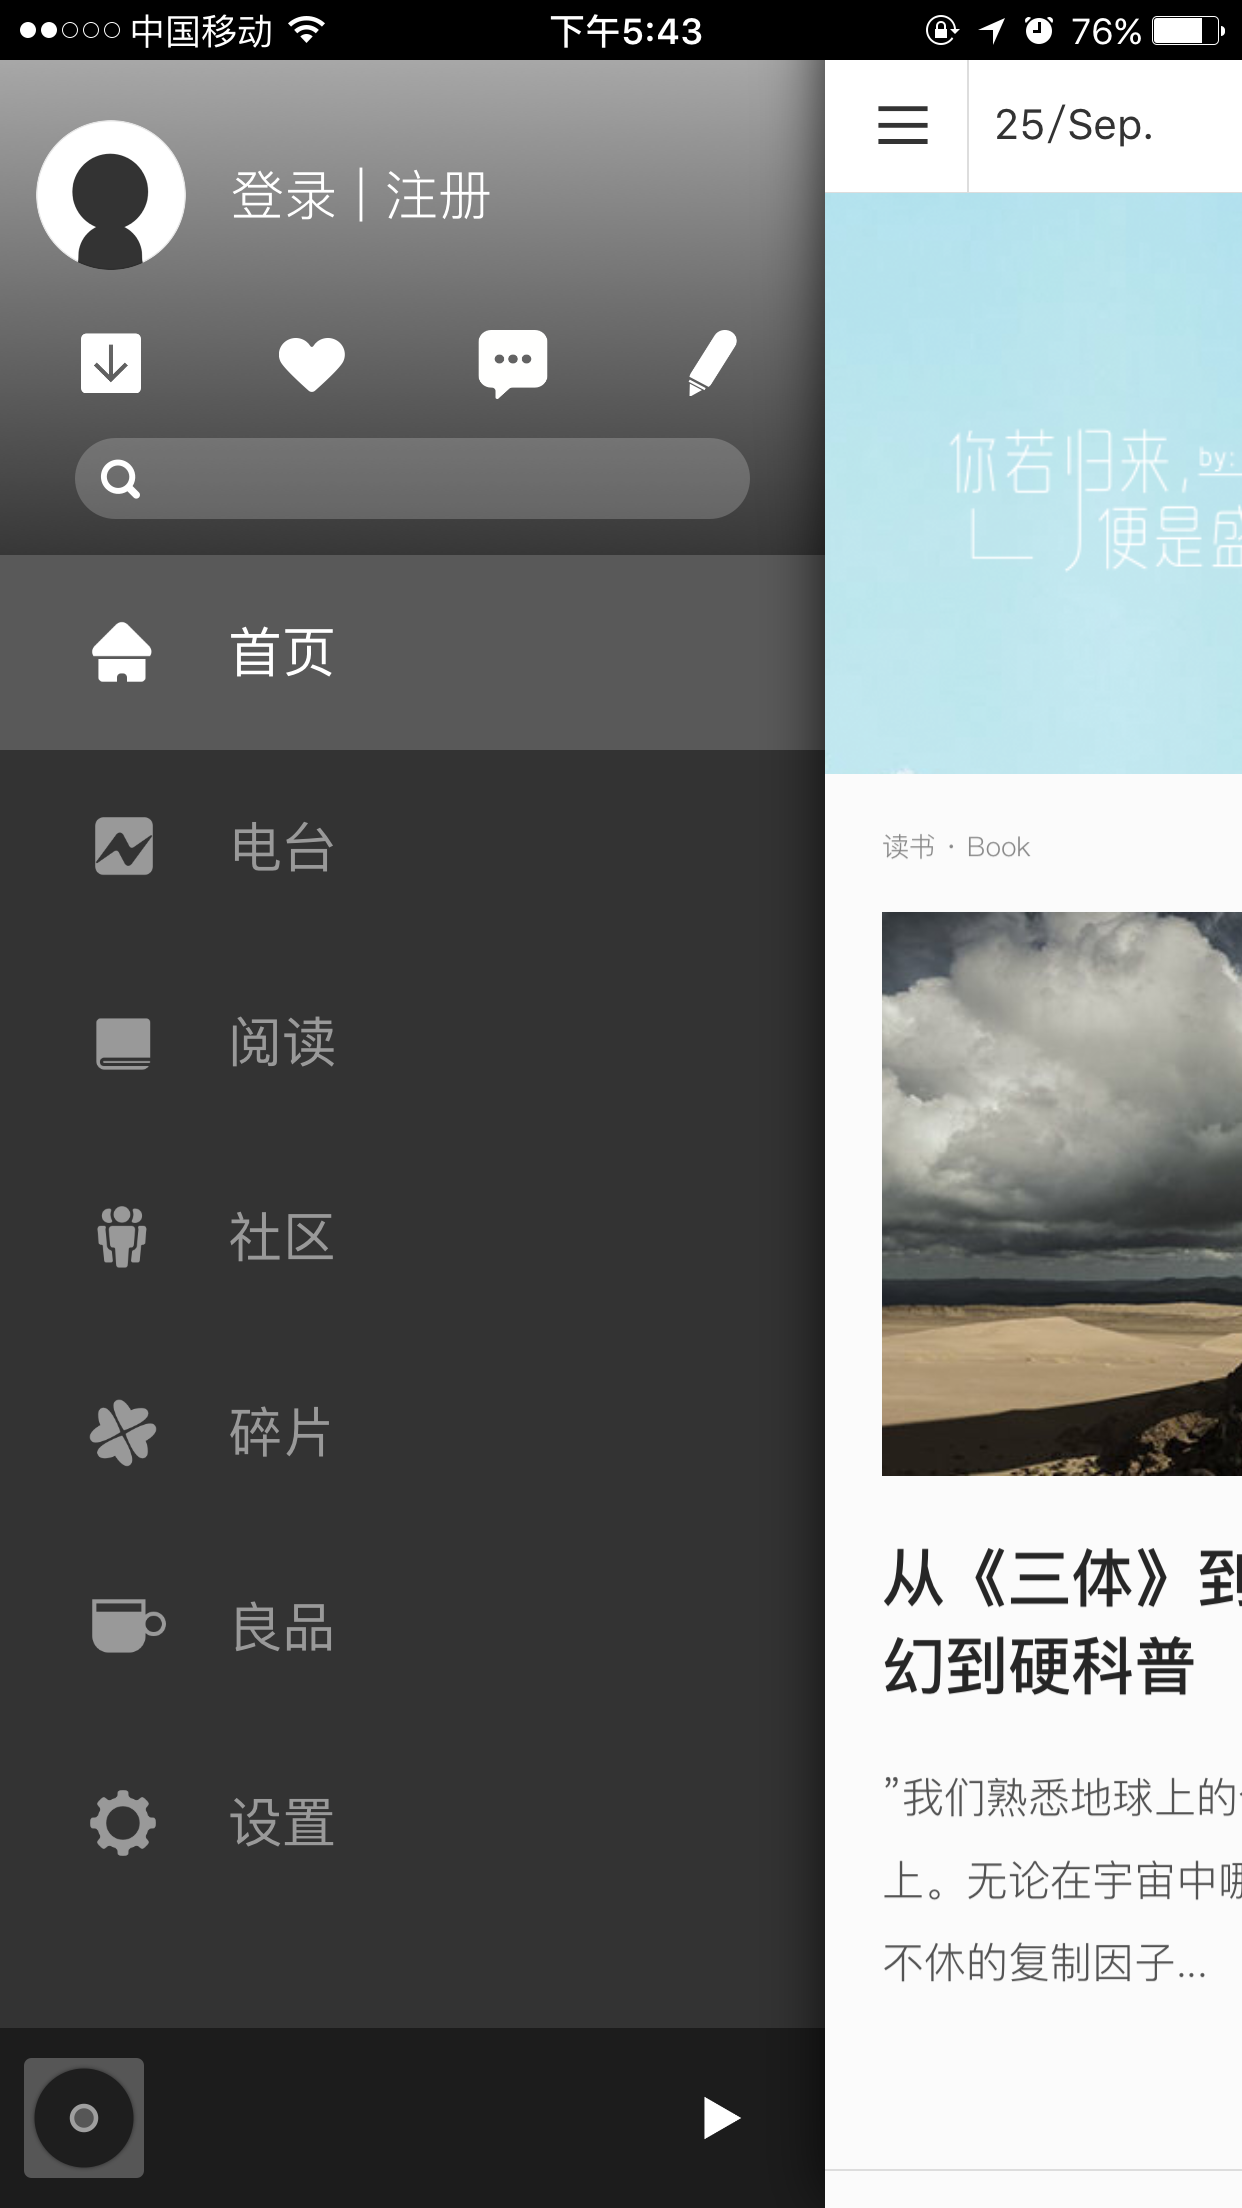
其实在写这个项目之前,我也试着写过如何实现这种抽屉效果的代码;首先你要明白的是,第一次进入的界面并不是根视图控制器所直接对应的主界面。
废话不多说,直接上代码。
根视图控制器的那个界面
// .h文件
#import <UIKit/UIKit.h>

@interface PKRootLeftViewController : UIViewController

@end

// .m文件
#import "PKRootLeftViewController.h"
#import "PKRootRightViewController.h" // 导入显示界面的控制器(并非根视图控制器)
@interface PKRootLeftViewController ()<UITableViewDataSource,UITableViewDelegate> // 下面UITableVIew必须要接受协议和数据源
@property (nonatomic, strong) PKRootRightViewController *rootRightVC;
@property (nonatomic, strong) UITableView *mainListView;// 主列表
@property (nonatomic, strong) NSArray *dataSourceArray;// 提供数据源
@end

@implementation PKRootLeftViewController

- (void)dealloc
{
// ARC和MRC下都不允许手动调用,但是可以重写,ARC重写的时候不可以出现[super dealloc]和release,一般用于移除观察者,代理对象置空等操作
    NSLog(@"%@被释放了",self);
}

- (NSArray *)dataSourceArray
{
    if (_dataSourceArray == nil) {
        self.dataSourceArray = @[@"电台",@"阅读",@"社区",@"良品"];
    }
    return _dataSourceArray;
}

- (NSInteger)tableView:(UITableView *)tableView numberOfRowsInSection:(NSInteger)section
{
    return [self.dataSourceArray count];
}


- (UITableViewCell *)tableView:(UITableView *)tableView cellForRowAtIndexPath:(NSIndexPath *)indexPath
{
    UITableViewCell *cell = [tableView dequeueReusableCellWithIdentifier:@"Cell" forIndexPath:indexPath];
    cell.textLabel.text = self.dataSourceArray[indexPath.row];
    return cell;
}


- (void)tableView:(UITableView *)tableView didSelectRowAtIndexPath:(NSIndexPath *)indexPath
{

    [self.rootRightVC changeViewWithIndex:indexPath.row];

}

- (void)viewDidLoad {
    [super viewDidLoad];

    self.mainListView = [[UITableView alloc]initWithFrame:CGRectMake(0, 200, SCREEN_WIDTH - 40, SCREEN_HEIGHT - 280) style:(UITableViewStylePlain)];
    self.mainListView.dataSource = self;
    self.mainListView.delegate = self;

    self.mainListView.tableFooterView = [[UIView alloc]initWithFrame:CGRectZero];// 处理多余的空格线

    [self.view addSubview:self.mainListView];

    [self.mainListView registerClass:[UITableViewCell class] forCellReuseIdentifier:@"Cell"];


// 添加右侧主页视图控制器(这里必须要将rootRightVC定义成属性,不然执行完[self.view addSubview:_rootRightVC.view];时rootRightVC就被释放掉了,你对_rootRightVC.view进行操作时很有可能崩溃,比如点击按钮的操作,target当时调用的self指的是_rootRightVC,而此时已经被释放,必然崩)
    _rootRightVC = [[PKRootRightViewController alloc]init];
// ARC里面,编译器(LLVM)会自动帮我们添加release代码,添加的时机就是这个对象出作用域的时候,所以我们的工程被编译成二进制文件的时候是有release代码的,只是我们看不见而已
    [self.view addSubview:_rootRightVC.view];

}
进入应用第一个显示的界面
.h文件
@interface PKRootRightViewController : UIViewController
- (void)changeViewWithIndex:(NSInteger)index; // 用于与Cell进行关联
- (void)changeFrame;
.m文件
#import "PKRootRightViewController.h"
#import "PKBaseViewController.h"
@interface PKRootRightViewController ()

@property(nonatomic, strong)NSArray *classArray;
@property(nonatomic, strong)PKBaseViewController *baseVC;
@end

@implementation PKRootRightViewController

- (PKBaseViewController *)baseVC
{
    if (_baseVC == nil) {
        self.baseVC = [[PKBaseViewController alloc]init];
    }
    return _baseVC;
}

- (NSArray *)classArray // 类名的数组,用来下面直接创建对应的对象
{
    if (_classArray == nil) {
        self.classArray = @[@"PKRadioViewController",@"PKReadMainViewController",@"PKGroupMainViewController",@"PKProductMainViewController"];
    }
    return _classArray;
}

- (void)viewDidLoad {
    [super viewDidLoad];
    self.view.backgroundColor = [UIColor orangeColor];

    self.baseVC = [[NSClassFromString(self.classArray[0]) alloc]init];
    self.baseVC.changeFrameVC = self;
    [self.view addSubview:self.baseVC.view];

}

- (void)changeFrame
{
//
    CGRect newFrame = self.view.frame;
    if (newFrame.origin.x == 0) {
        newFrame.origin.x = SCREEN_WIDTH - 40;
           }else
    {
        newFrame.origin.x = 0;
    }

    [UIView animateWithDuration:0.2 animations:^{
        self.view.frame = newFrame;
    }];

}

- (void)changeViewWithIndex:(NSInteger)index
{


 /*
    switch (index) {
        case 0:
        {
        // 创建电台控制器,把电台控制器的View添加到自己的视图上面


        }
            break;
        case 1:
        {
            // 创建阅读控制器,把阅读控制器的View添加到自己的视图上面

        }
            break;
        case 2:
        {
            // 创建社区控制器,把社区控制器的View添加到自己的视图上面

        }
            break;
        case 3:
        {
            // 创建良品控制器,把良品控制器的View添加到自己的视图上面

        }
            break;
        default:
            break;
    }
*/

    // 用NSClassFromString函数通过字符串获取到某个类,然后动态的创建不同的控制器,同时使用多态的思想,让父类的指针接受子类的对象。
    [self.baseVC.view removeFromSuperview];// 将上一次的view给删除掉
    self.baseVC = [[NSClassFromString(self.classArray[index]) alloc]init];
    self.baseVC.changeFrameVC = self;
    [self.view addSubview:self.baseVC.view];
    [self changeFrame];

}

@end
由于下面几个类@”PKRadioViewController”,@”PKReadMainViewController”,@”PKGroupMainViewController”,@”PKProductMainViewController”有共同的特征,所以创建了一个基类PKBaseViewController
.h 文件
#import <UIKit/UIKit.h>
#import "PKRootRightViewController.h"
@interface PKBaseViewController : UIViewController{
  @protected
    UIView *_topView;
    UILabel *_titleLabel;
}

@property (nonatomic, weak) PKRootRightViewController *changeFrameVC;
@property (nonatomic, strong) UILabel *titleLabel;
@property (nonatomic, strong) UIView *topView;

@end

.m文件
#import "PKBaseViewController.h"

@interface PKBaseViewController ()

@property (nonatomic, strong) UIButton *leftBtn;

@end

@implementation PKBaseViewController

- (UIView *)topView
{
    if (!_topView) {
        self.topView = [[UIView alloc]initWithFrame:CGRectMake(0, 20, SCREEN_WIDTH, 50)];

        [_topView addSubview:self.titleLabel];
         [self.view addSubview:_topView];
        // 创建左侧按钮
        _leftBtn = [UIButton buttonWithType:(UIButtonTypeSystem)];
        _leftBtn.frame = CGRectMake(5, 30, 30, 30);
        [_leftBtn setTitle:@"三" forState:(UIControlStateNormal)];
        [_leftBtn addTarget:self action:@selector(changViewFrame:) forControlEvents:(UIControlEventTouchUpInside)];
        [self.view addSubview:_leftBtn];

    }
    return _topView;
}

- (UILabel *)titleLabel
{
    if (!_titleLabel) {
        self.titleLabel = [[UILabel alloc]initWithFrame:CGRectMake(50, 10, 100, 30)];
    }
    return _titleLabel;
}

- (void)changViewFrame:(UIButton *)button
{
    // 改变位置

    [self.changeFrameVC changeFrame];


}

- (void)viewDidLoad {
    [super viewDidLoad];
    // Do any additional setup after loading the view.
    NSLog(@"%@",self.topView);//这行代码最为关键,因为上面采用懒加载,所以必须要调用topView的GET方法,它才会创建!!!!!


    self.topView.backgroundColor = [UIColor whiteColor];
}


 5017
5017


 被折叠的 条评论
为什么被折叠?
被折叠的 条评论
为什么被折叠?
 到【灌水乐园】发言


