


1. 介绍
虽然Skyline TE Pro对WMS和WMTS服务的加载有对应的功能,但在二次开发接口中,除了WFS服务加载有说明之外,其它服务的加载并没有具体说明或单独接口, 单纯的使用加载栅格图像的方法Create.CreateImageryLayer来实现,并不能正常展示WMS服务,甚至完全展示不出来。需要额外设定相关参数,使用Create. CreateImageryLayer方法,才能加载WMS服务到三维上。
2. 方法
加载WMS服务,首先需要得到WMS服务的争取地址,后面例子会用到网络上的一个WMS服务地址:http://demo.cubewerx.com/demo/cubeserv/simple? request=GetMap&Version=1.1.1&Service=WMS&SRS=EPSG:4326&Layers=Foundation.combo&Styles=cubewerx&Format=image/jpeg&BBOX=-180.000000, -90.000000,180.000000,90.000000&WIDTH=256&HEIGHT=256 HTTP/1.1。 其次,设定加载WMS的相关参数,调用Create.CreateImageryLayer来加载WMS服务。
3. 示例代码
3.1. 得到服务地址
/**
*
*添加WMS服务
*
*/
function AddWMSService(){
    setTimeout(function(){
    var url= "http://demo.cubewerx.com/demo/cubeserv/simple?request=GetMap&Version=1.1.1&Service=WMS&SRS=EPSG:4326&Layers=Foundation.combo&Styles=cubewerx&Format=image/jpeg&BBOX=-180.000000,-90.000000,180.000000,90.000000&WIDTH=256&HEIGHT=256 HTTP/1.1";
    CreatWMSlayer(url);
        },3000);
}
3.2. 设置WMS加载参数并使用CreateImageryLayer加载WMS
/**
*
*设置WMS服务加载参数,加载wms图层
*
*/
function CreatWMSlayer(r) {
     var box = r.split("BBOX=")[1].split(',');
     //var LayerName = r.split("Layers=")[1].split('&')[0];
     var LayerName = "WMS服务"
     var box3 = box[3].split('&')[0]

     var buffer='<EXT><ExtInfo><![CDATA[';
     buffer+='[INFO]\n';
     buffer+='MPP=2.68220901489258E-06\n';
     buffer+='Url=' + r + '\n';
     //定义 加载图片大小
     buffer+='xul=' + box[0] + '\n';
     buffer+='ylr=' + box[1] + '\n';
     buffer+='xlr=' + box[2] + '\n';
     buffer+='yul=' + box3 + '\n';
     buffer+=']]></ExtInfo><ExtType>wms</ExtType></EXT>';
     SGWorld65.Creator.CreateImageryLayer(LayerName, box[0], box3, box[2], box[1], buffer, "gisplg.rct", "", LayerName)
}
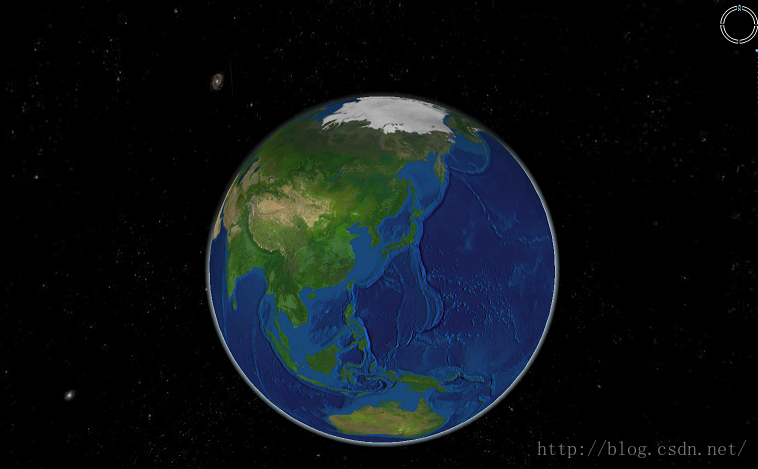
4. 运行效果
4.1. 原图
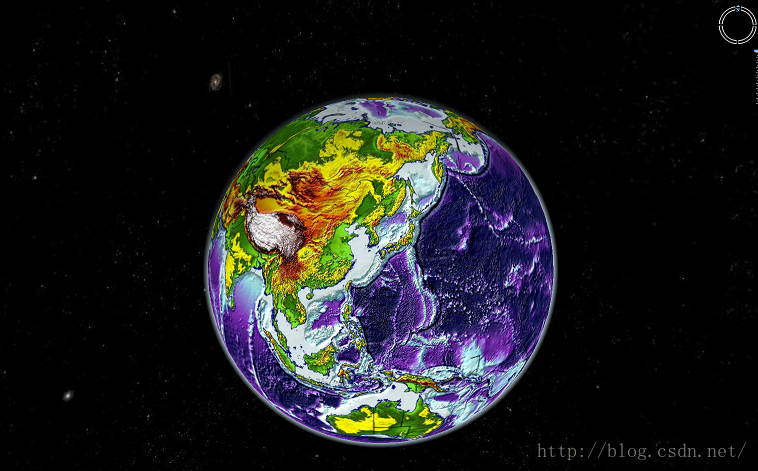
4.2. 加载WMS后


 3847
3847


 被折叠的 条评论
为什么被折叠?
被折叠的 条评论
为什么被折叠?
 到【灌水乐园】发言


