


之前用的是百度地图,最后上架打包时提示百度的类库在swift中未完全编译,上架时必须取消自动bitcode功能。
于是打算用系统自带的地图取代原来的百度地图,其实也不需要该多少代码,百度地图的类名往往也有对应的系统地图类名,只是加了个“B”,例如:
多边形类:MKPolygon,在百度地图改成了:BMKPolygon。
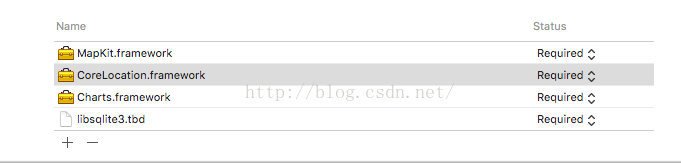
首先去掉百度类库framework,加上系统地图类库MapKit.framework:
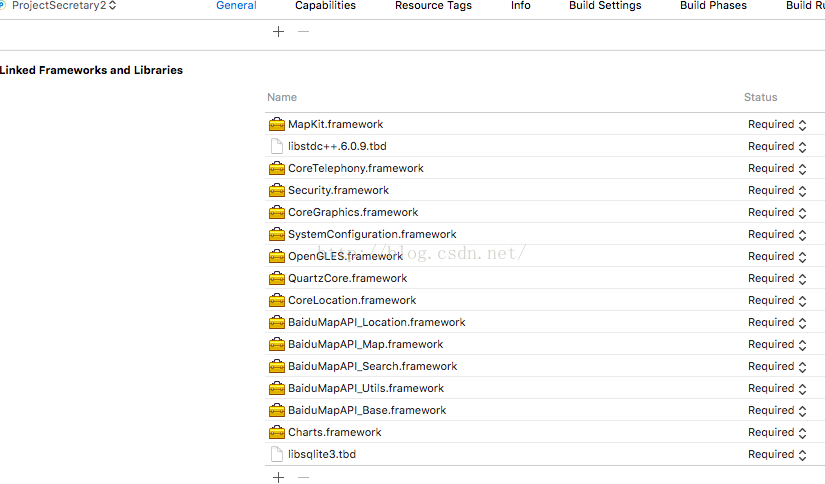
去掉:baidumap开头的这几个, 以及百度要用,但是我需要的QuartzCore.framework、OpenGLES.framework、SystemConfiguration.framework、CoreGraphics.framework、Security.framework等,
然后把项目目录下的百度文件删了。。。还有桥接文件里的几个头文件
然后定位跟踪和绘制矩形代码:
import UIKit
import MapKit
import CoreLocation
class BaiduMapViewController: UIViewController,MKMapViewDelegate {

    @IBOutlet weak var iosmap: MKMapView!
    var locationManager:CLLocationManager!
    var centerx:Double?
    var centery:Double?
    override func viewDidLoad() {
        super.viewDidLoad()
        iosmap.mapType = .Standard
        iosmap.delegate = self
        iosmap.showsBuildings = true
        if CLLocationManager.locationServicesEnabled(){
            iosmap.setUserTrackingMode(MKUserTrackingMode.Follow, animated: true)
            self.locationManager=CLLocationManager()
            locationManager.requestWhenInUseAuthorization()
            locationManager.requestAlwaysAuthorization()
        }
        //上班地点区域
        addPloygon()
    }
    //跟踪用户位置 并调整地图范围
    func mapView(mapView: MKMapView, didUpdateUserLocation userLocation: MKUserLocation) {
        if  let loc=userLocation.location {
            self.iosmap.centerCoordinate = loc.coordinate
            let viewregion=MKCoordinateRegionMakeWithDistance(loc.coordinate, 10000, 10000)
            self.iosmap.setRegion(viewregion, animated: true)
        }
    }
    //添加矩形区域
    func addPloygon (){
        //左下
        let x1 = 116.320313
        let y1 = 39.906578
        //右上
        let x2 = 116.340723
        let y2 = 39.91869
        // 添加多边形覆盖物
        var coords = [CLLocationCoordinate2D]()
        coords.append(CLLocationCoordinate2DMake(y1, x1))
        coords.append(CLLocationCoordinate2DMake(y!, x2))
        coords.append(CLLocationCoordinate2DMake(y2, x2))
        coords.append(CLLocationCoordinate2DMake(y2, x1))

        let  polygon = MKPolygon(coordinates: &coords, count:  Int(coords.count))
        self.iosmap.addOverlay(polygon)

    }
//矩形的样式
func mapView(mapView: MKMapView, rendererForOverlay overlay: MKOverlay) -> MKOverlayRenderer {
    if overlay is MKPolygon {
        let polygonView = MKPolygonRenderer(overlay: overlay)
        polygonView.strokeColor = UIColor.redColor()

        return polygonView
    }
    return MKOverlayRenderer()
}

}


 6263
6263


 被折叠的 条评论
为什么被折叠?
被折叠的 条评论
为什么被折叠?
 到【灌水乐园】发言


