


OkHttp 相较于其它的实现有以下的优点:
1. 支持SPDY,允许连接同一主机的所有请求分享一个socket。 如果SPDY不可用,会使用连接池减少请求延迟。 使用GZIP压缩下载内容,且压缩操作对用户是透明的。 利用响应缓存来避免重复的网络请求。 当网络出现问题的时候,OKHttp会依然有效,它将从常见的连接问题当中恢复。 如果你的服务端有多个IP地址,当第一个地址连接失败时,OKHttp会尝试连接其他的地址,这对IPV4和IPV6以及寄宿在多个数据中心的服务而言,是非常有必要的。
下面就是我简单的写的一个登录注册的例子,供大家参考:
首先需要导入okhttp架包:

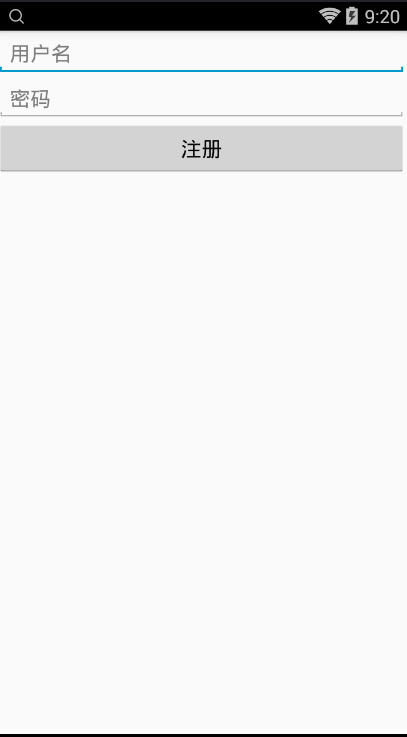
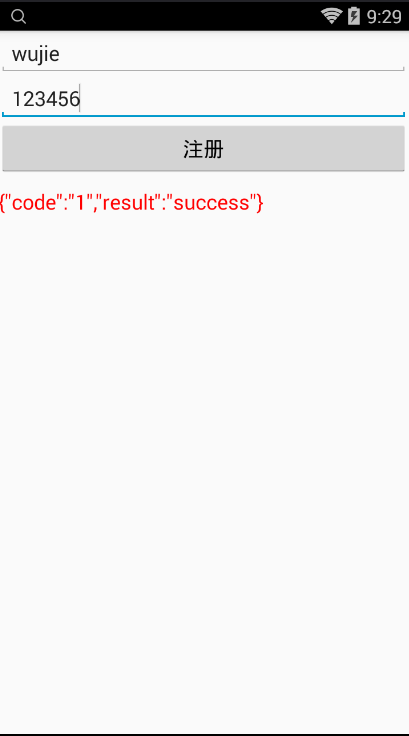
运行界面展示:
RegisterActivity代码:
package wujie.com.okhttp;

import android.app.Activity;
import android.os.Bundle;
import android.os.Handler;
import android.os.Message;
import android.util.Log;
import android.view.View;
import android.widget.Button;
import android.widget.EditText;
import android.widget.TextView;

import com.squareup.okhttp.FormEncodingBuilder;
import com.squareup.okhttp.OkHttpClient;
import com.squareup.okhttp.Request;
import com.squareup.okhttp.RequestBody;
import com.squareup.okhttp.Response;

import java.io.IOException;

/**
 * Created by wujie on 2016/10/24.
 */
public class RegisterActivity  extends Activity{
    private Button reg;
    private EditText name,pwd;
    private String name1,pwd1;
    private TextView text1;
    final OkHttpClient client = new OkHttpClient();

    private Handler mHandler = new Handler(){
        @Override
        public void handleMessage(Message msg){
            if(msg.what==1){
         String qq = (String) msg.obj;
                Log.i("WUJIE", qq);
                text1.setText(qq);
            }

        }
    };
    @Override
    protected void onCreate(Bundle savedInstanceState) {
        super.onCreate(savedInstanceState);
      setContentView(R.layout.register);
/**
 * 初始化数据
 */
        name= (EditText) findViewById(R.id.name);
        pwd= (EditText) findViewById(R.id.pwd);
        reg= (Button) findViewById(R.id.register);
        text1= (TextView) findViewById(R.id.textview);
/**
 * 注册按钮监听
 */

        reg.setOnClickListener(new View.OnClickListener() {
            @Override
            public void onClick(View v) {
                //获取相关参数
                name1=name.getText().toString().trim();
                pwd1=pwd.getText().toString().trim();
                //通过okhttp发起post请求
                postRequest(name1,pwd1);

            }
        });

    }

    /**
     * post请求后台
     * @param name
     * @param pwd
     */
    private void postRequest(String name,String pwd)  {
         //建立请求表单,添加上传服务器的参数
        RequestBody formBody = new FormEncodingBuilder()
                .add("name",name)
                .add("pwd",pwd)
                .add("method","okhttpreg")
                .build();
         //发起请求
        final Request request = new Request.Builder()
                .url("http://192.168.1.101:8080/Ai/LoginServlet")
                .post(formBody)
                .build();
        //新建一个线程,用于得到服务器响应的参数
        new Thread(new Runnable() {
            @Override
            public void run() {
                Response response = null;
                try {
                    //回调
                    response = client.newCall(request).execute();
                    if (response.isSuccessful()) {
                      //将服务器响应的参数response.body().string())发送到hanlder中,并更新ui
                        mHandler.obtainMessage(1, response.body().string()).sendToTarget();

                    } else {
                        throw new IOException("Unexpected code:" + response);
                    }
                } catch (IOException e) {
                    e.printStackTrace();
                }
            }
        }).start();

    }

}
布局文件register.xml:
<?xml version="1.0" encoding="utf-8"?>
<LinearLayout xmlns:android="http://schemas.android.com/apk/res/android"
    android:orientation="vertical"
    android:layout_width="match_parent"
    android:layout_height="match_parent"
    >
<EditText
    android:layout_width="match_parent"
    android:layout_height="wrap_content"
    android:id="@+id/name"
    android:hint="用户名"/>
    <EditText
        android:layout_width="match_parent"
        android:layout_height="wrap_content"
        android:id="@+id/pwd"
        android:hint="密码"/>
    <Button
        android:layout_width="match_parent"
        android:layout_height="wrap_content"
        android:id="@+id/register"
        android:text="注册"/>
    <TextView
        android:layout_width="match_parent"
        android:layout_height="wrap_content"
        android:id="@+id/textview"
        android:textColor="#ff0000"
        android:textSize="18sp"
        android:paddingTop="10dp"/>
</LinearLayout>
网络权限:
<uses-permission android:name="android.permission.INTERNET"></uses-permission>服务端接口代码,由于时间过得比较久了,以前的代码找不到了,本人就重新写了一个注册的接口,供大家参考
谢谢大家的支持!


 6609
6609


 被折叠的 条评论
为什么被折叠?
被折叠的 条评论
为什么被折叠?
 到【灌水乐园】发言


