


最近研究了一下像素级的触摸处理,有时候我们用一个不规则的图形作为一个按钮,这个不规则的图形是一张矩形的png图片,很可能图片的实际有效的显示内容只占整个png图片的很小一部分,剩下的大部分都是png图片的透明区域,我们想把这部分透明区域过滤掉,实现一个触摸到真实的内容才会有按钮响应的效果。
刚开始试图通过CCSprite直接获取到纹理的像素信息,但是cocos2d-x并没有给我们提供直接通过CCSprite获取像素信息的接口,研究了几个网上的Demo,发现通过使用RenderTexture重绘可以实现这一效果,下面把代码贴出来。
- #include "HelloWorldScene.h"
- #include "SimpleAudioEngine.h"
- using namespace cocos2d;
- using namespace CocosDenshion;
- CCScene* HelloWorld::scene()
- {
- // 'scene' is an autorelease object
- CCScene *scene = CCScene::create();
- // 'layer' is an autorelease object
- HelloWorld *layer = HelloWorld::create();
- // add layer as a child to scene
- scene->addChild(layer);
- // return the scene
- return scene;
- }
- bool HelloWorld::init()
- {
- if (!CCLayer::init()){
- return false;
- }
- this->setTouchEnabled(true);
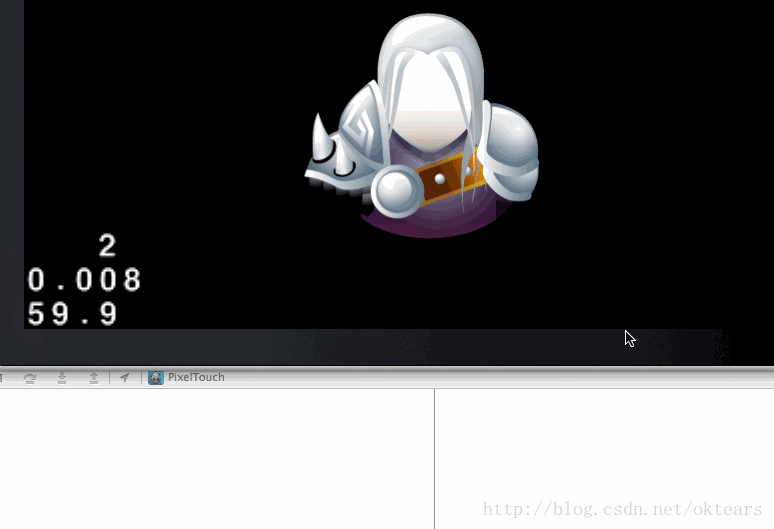
- this->m_imgMan = CCSprite::create("man.png");
- this->m_imgMan->setPosition(ccp(400, 200));
- this->addChild(this->m_imgMan, 1);
- this->m_pRenderTexture = CCRenderTexture::create(this->m_imgMan->getContentSize().width, this->m_imgMan->getContentSize().height, kCCTexture2DPixelFormat_RGBA8888);
- this->m_pRenderTexture->ignoreAnchorPointForPosition(true);
- this->m_pRenderTexture->setPosition(ccp(400, 200));
- this->m_pRenderTexture->setAnchorPoint(CCPointZero);
- this->addChild(this->m_pRenderTexture, 0, 1);
- return true;
- }
- bool HelloWorld::ccTouchBegan(cocos2d::CCTouch *pTouch, cocos2d::CCEvent *pEvent) {
- bool isTouched = false;
- CCPoint touchPoint = pTouch->getLocationInView();
- CCPoint glPoint = CCDirector::sharedDirector()->convertToGL(touchPoint);
- if (this->m_imgMan->boundingBox().containsPoint(glPoint)) {
- ccColor4B color4B = {0, 0, 0, 0};
- CCPoint nodePos = this->m_imgMan->convertTouchToNodeSpace(pTouch);
- unsigned int x = nodePos.x;
- unsigned int y = this->m_imgMan->getContentSize().height - nodePos.y;
- CCPoint point = this->m_imgMan->getPosition();
- //开始准备绘制
- this->m_pRenderTexture->begin();
- //绘制使用的临时精灵,与原图是同一图片
- CCSprite* pTempSpr = CCSprite::createWithSpriteFrame(this->m_imgMan->displayFrame());
- pTempSpr->setPosition(ccp(pTempSpr->getContentSize().width / 2, pTempSpr->getContentSize().height / 2));
- //绘制
- pTempSpr->visit();
- //结束绘制
- this->m_pRenderTexture->end();
- //通过画布拿到这张画布上每个像素点的信息,封装到CCImage中
- CCImage* pImage = this->m_pRenderTexture->newCCImage();
- //获取像素数据
- unsigned char* data_ = pImage->getData();
- unsigned int *pixel = (unsigned int *)data_;
- pixel = pixel + (y * (int)pTempSpr->getContentSize().width) * 1 + x * 1;
- //R通道
- color4B.r = *pixel & 0xff;
- //G通道
- color4B.g = (*pixel >> 8) & 0xff;
- //B通过
- color4B.b = (*pixel >> 16) & 0xff;
- //Alpha通道,我们有用的就是Alpha
- color4B.a = (*pixel >> 24) & 0xff;
- CCLOG("当前点击的点的: alpha = %d", color4B.a);
- if (color4B.a > 50) {
- isTouched = true;
- } else {
- isTouched = false;
- }
- //绘制完成后清理画布的内容
- this->m_pRenderTexture->clear(0, 0, 0, 0);
- }
- if (this->m_pLabTips) {
- this->m_pLabTips->removeFromParentAndCleanup(true);
- this->m_pLabTips = NULL;
- }
- return isTouched;
- }
- void HelloWorld::ccTouchEnded(cocos2d::CCTouch *pTouch, cocos2d::CCEvent *pEvent) {
- if (this->m_pLabTips) {
- this->m_pLabTips->removeFromParentAndCleanup(true);
- this->m_pLabTips = NULL;
- }
- this->m_pLabTips = CCLabelTTF::create("点击到非透明的像素点", "Courier", 30);
- this->m_pLabTips->setAnchorPoint(CCPointZero);
- this->m_pLabTips->setPosition(ccp(300.0f, 100.0f));
- this->m_pLabTips->setColor(ccYELLOW);
- this->addChild(this->m_pLabTips, 1);
- }
- void HelloWorld::registerWithTouchDispatcher() {
- CCDirector::sharedDirector()->getTouchDispatcher()->addTargetedDelegate(this, CCLayer::getTouchPriority(), false);
- }
这里我们把alpha通道的值小于50的像素点都视为同名的点,当点击到了透明的黑色区域时,屏幕上不显示任何文字,点击到有色区域时,观察打印日志信息:
实现的原理:我通过点击的时候把图片进行重绘,重绘的过程中,可以通过RenderTexture也就是画布,把整个画布上的像素点信息全部拿到,我让绘制的内容和画布的大小是一样的,所以就能保证画布上的每一个像素点就是我想要绘制的图片的像素点,然后通过判断像素点的alpha通道值,来确定这个点是否是透明色的,如果是透明色则不做触摸响应。
本文由CC原创总结,如需转载请注明出处:
http://blog.csdn.net/oktears/article/details/37993871


 2169
2169


 被折叠的 条评论
为什么被折叠?
被折叠的 条评论
为什么被折叠?
 到【灌水乐园】发言


