


CentOS安装配置Nginx服务器
本文参考http://www.runoob.com/linux/nginx-install-setup.html编写
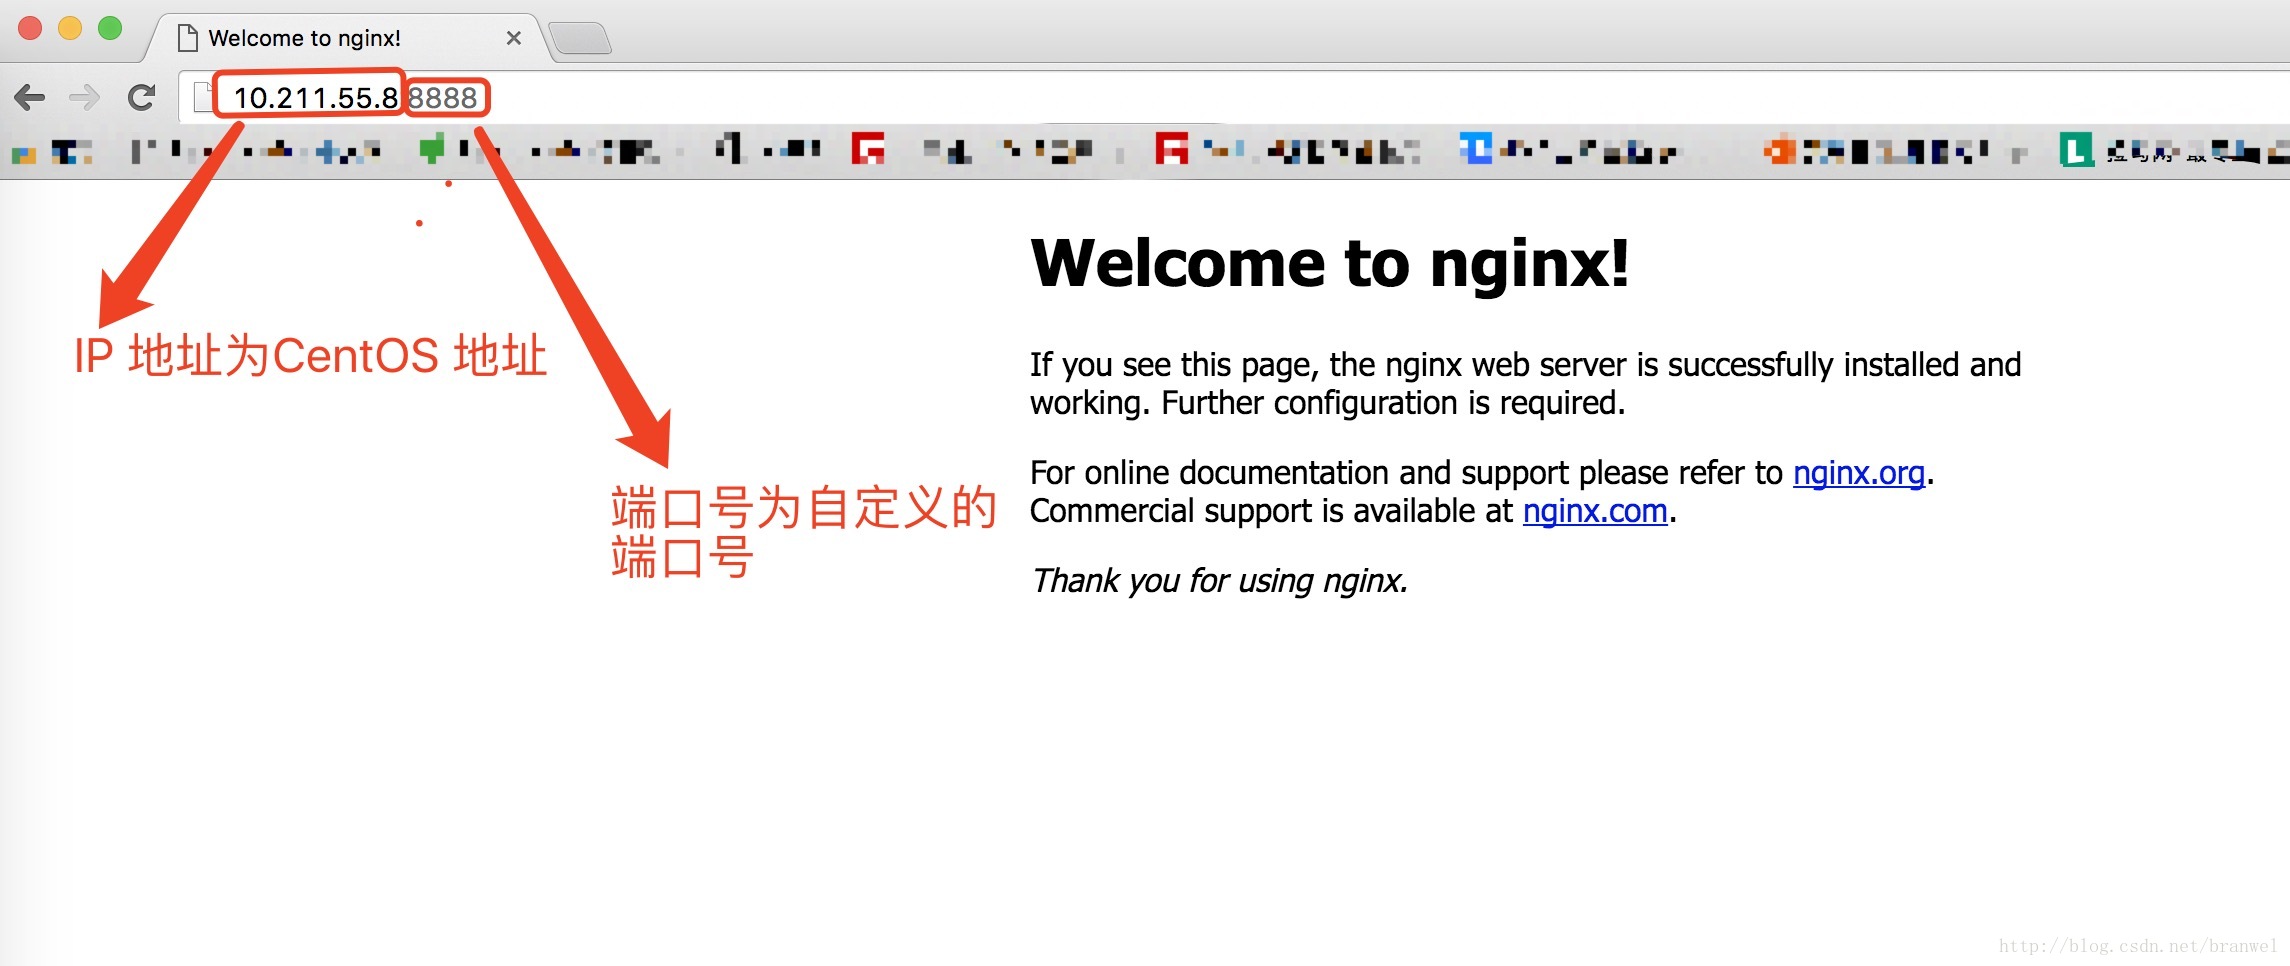
安装成功图示

搭建环境
- CentOS Linux release 7.3.1611 (Core) (64)
查看系统版本
- 查看版本: cat /etc/redhat-release
- 查看64or32:getconf LONG_BIT
安装步骤:
安装过程可能存在权限问题,可以使用root用户或命令前添加sudo
安装编译工具及库文件:
yum -y install make zlib zlib-devel gcc-c++ libtool openssl openssl-devel如果这个命令没法运行出现
Another app is currently holding the yum lock; waiting for it to exit… The other application is: PackageKit Memory : 141 M RSS (546 MB VSZ) Started: Mon Apr 10 17:56:46 2017 - 01:23 ago
运行下面命令将yum暂定掉
pkill yum安装PCRE:
cd /usr/local/src/wget http://downloads.sourceforge.net/project/pcre/pcre/8.35/pcre-8.35.tar.gz解压安装包:
tar zxvf pcre-8.35.tar.gz进入安装包目录:
cd pcre-8.35编译安装:
./configuremake && make install
查看pcre版本:
pcre-config --version下载Nginx:
wget http://nginx.org/download/nginx-1.6.2.tar.gz解压安装包:
tar zxvf nginx-1.6.2.tar.gz进入安装包目录:
cd nginx-1.6.2编译安装:
./configure --prefix=/usr/local/webserver/nginx --with-http_stub_status_module --with-http_ssl_module --with-pcre=/usr/local/src/pcre-8.35安装nginx在/usr/local/webserver/nginx 目录下,该目录可以自定义。
make && make install
查看nginx版本:
/usr/local/webserver/nginx/sbin/nginx -v创建nginx用户:
/usr/sbin/groupadd wwwwww可自定义
/usr/sbin/useradd -g www www第一个www为用户组 第二个www为用户名 两个参数都可自定义
修改nginx.conf 文件自定义nginx启动参数
cd /usr/local/webserver/nginx/conf/rm nginx.conf删除原来的nginx.conf 配置文件
vim nginx.conf将一下内容粘贴到nginx.conf文件里
user www www;#前面自定义的用户组用户名
worker_processes 2; #设置值和CPU核心数一致
error_log /usr/local/webserver/nginx/logs/nginx_error.log crit; #日志位置和日志级别
pid /usr/local/webserver/nginx/nginx.pid;

#Specifies the value for maximum file descriptors that can be opened by this process.

worker_rlimit_nofile 65535;
events
{
  use epoll;
  worker_connections 65535;
}
http
{
  include mime.types;
  default_type application/octet-stream;
  log_format main  '$remote_addr - $remote_user [$time_local] "$request" '
               '$status $body_bytes_sent "$http_referer" '
               '"$http_user_agent" $http_x_forwarded_for';


#charset gb2312;


  server_names_hash_bucket_size 128;
  client_header_buffer_size 32k;
  large_client_header_buffers 4 32k;
  client_max_body_size 8m;

  sendfile on;
  tcp_nopush on;
  keepalive_timeout 60;
  tcp_nodelay on;
  fastcgi_connect_timeout 300;
  fastcgi_send_timeout 300;
  fastcgi_read_timeout 300;
  fastcgi_buffer_size 64k;
  fastcgi_buffers 4 64k;
  fastcgi_busy_buffers_size 128k;
  fastcgi_temp_file_write_size 128k;
  gzip on;
  gzip_min_length 1k;
  gzip_buffers 4 16k;
  gzip_http_version 1.0;
  gzip_comp_level 2;
  gzip_types text/plain application/x-javascript text/css application/xml;
  gzip_vary on;

  #limit_zone crawler $binary_remote_addr 10m;
 #下面是server虚拟主机的配置
 server
  {
    listen 8888;#监听端口
    server_name localhost;#域名
    index index.html index.htm index.php;
    root /usr/local/webserver/nginx/html;#站点目录
      location ~ .*\.(php|php5)?$
    {
      #fastcgi_pass unix:/tmp/php-cgi.sock;
      fastcgi_pass 127.0.0.1:9000;
      fastcgi_index index.php;
      include fastcgi.conf;
    }
    location ~ .*\.(gif|jpg|jpeg|png|bmp|swf|ico)$
    {
      expires 30d;
  # access_log off;
    }
    location ~ .*\.(js|css)?$
    {
      expires 15d;
   # access_log off;
    }
    access_log off;
  }

}
检查配置文件nginx.conf 是否正确:
cd /usr/local/webserver/nginx/sbin/./nginx -t启动nginx:
./nginxnginx其他命令:
./nginx -t #检查nginx.conf配置文件是否正确
./nginx -s reload #重新载入配置文件
./nginx -s reopen #重启nginx
./nginx -s stop  #停止nginx
关闭CentOS防火墙:
service iptables stop防火墙其他命令:
servive iptables status #查看防火墙状态
service iptables start #启动防火墙
service iptables stop #关闭防火墙
service iptables restart #重启防火墙
登录nginx服务器:
在浏览器输入CentOS的IP地址+端口号,如下图所示:
补充其他命令
- lsof -i :8888 #查看端口号8888下运行的进程
- ps -ef | grep nginx #查看所有与nginx相关的进程
- kill -9 8888 #杀死pid为8888的进程
- pkill nginx #杀死所有与nginx相关的进程
注:
本文属于作者原创,如需转载,请注明。
内部如果引用的文字,连接,图片等资源存在侵犯原作者的情况,请联系本人,立即删除。


 354
354

 被折叠的 条评论
为什么被折叠?
被折叠的 条评论
为什么被折叠?
 到【灌水乐园】发言


