


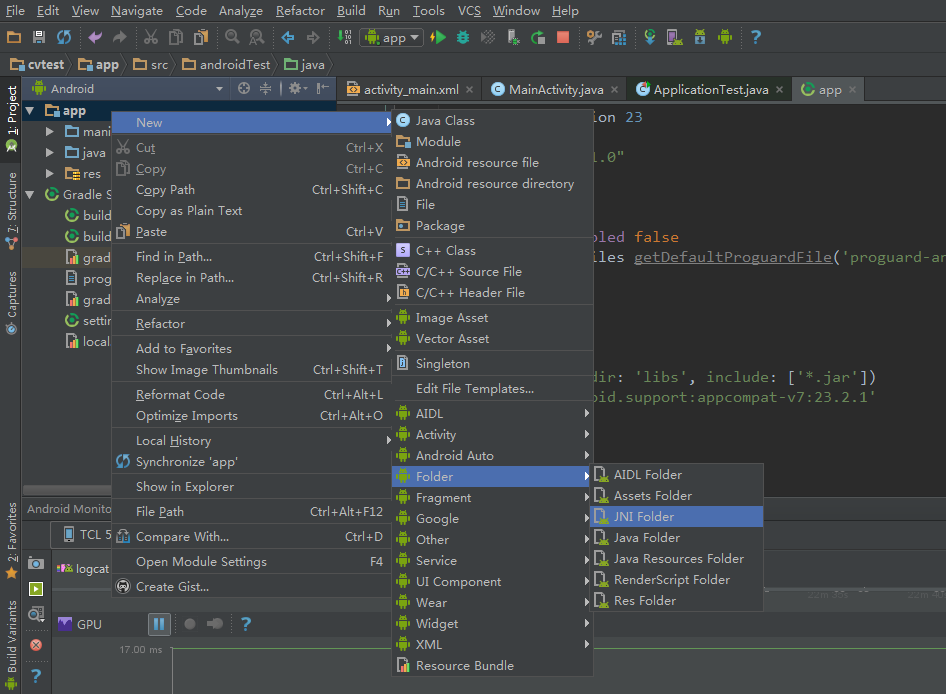
1. 新建一个工程,并添加JNI文件夹。
![]()
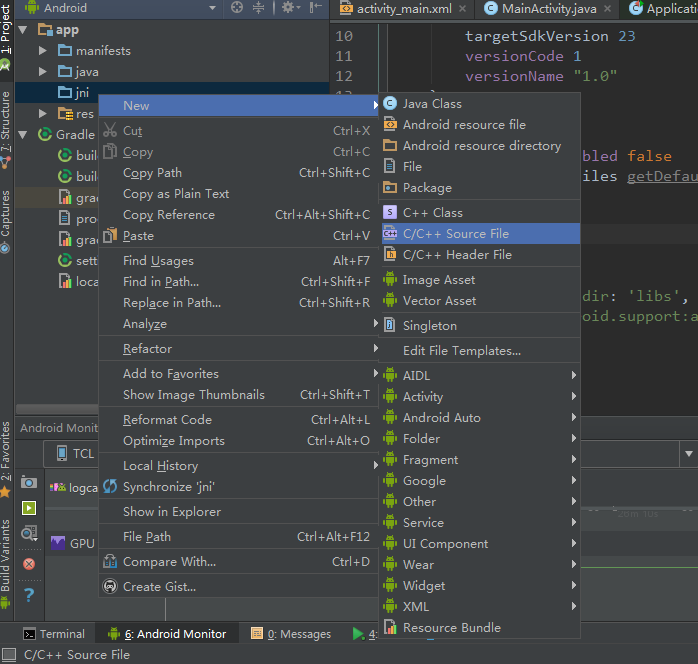

2. 在生成的jni文件夹中添加cpp文件。
3. 在添加的cpp文件添加代码。
这里我们采用动态注册的方式来
添加jni函数,比较方便,不需要用javah生成.h文件
#include <jni.h>
#include <android/log.h>
#include <assert.h>
#include <stdio.h>
/* 输出Log的宏 */
#ifndef LOG
#define LOG_TAG "imgprocess"
#define ALOGD(...) \
            __android_log_print(ANDROID_LOG_DEBUG, LOG_TAG, __VA_ARGS__);
#define ALOGE(...) \
            __android_log_print(ANDROID_LOG_ERROR, LOG_TAG, __VA_ARGS__);
#define ALOGV(...) \
            __android_log_print(ANDROID_LOG_VERBOSE, LOG_TAG, __VA_ARGS__);
#endif LOG
#ifndef NELEM
# define NELEM(x) ((int) (sizeof(x) / sizeof((x)[0])))
#endif
jstring native_hello(JNIEnv* env, jobject thiz)
{
    return env ->NewStringUTF("hello world from jni~");
}
//native函数所在java类的位置
static const char *classPathName = "com/test/hc/MainActivity";
// 映射表,这里将我们java函数和c函数对应起来
static JNINativeMethod gMethods[] = {
        {"native_hello", "()Ljava/lang/String;", (void*)native_hello},
};
int registerNativeMethods(JNIEnv* env, const char* className,
                                    JNINativeMethod* gMethods, int numMethods)
{
    jclass clazz;
    clazz = env->FindClass(className);
    if (clazz == NULL) {
        ALOGE("Native registration unable to find class '%s'", className);
        return JNI_FALSE;
    }
    if (env->RegisterNatives(clazz, gMethods, numMethods) < 0) {
        ALOGE("RegisterNatives failed for '%s'", className);
        return JNI_FALSE;
    }
    return JNI_TRUE;
}
//static
int register_my_jni_methods(JNIEnv* env)
{
    return registerNativeMethods(env, classPathName, gMethods, NELEM(gMethods));
}
// 在我们load该so库的时候,JNI_OnLoad将会自动被调用,来注册JNI函数
jint JNI_OnLoad(JavaVM* vm, void*)
{
    JNIEnv* env = NULL;
    jint result = -1;
    if (vm->GetEnv((void**) &env, JNI_VERSION_1_4) != JNI_OK) {
        ALOGE("ERROR: GetEnv failed\n");
        goto bail;
    }
    assert(env != NULL);
    if (register_my_jni_methods(env) < 0) {
        ALOGE("ERROR: native registration failed\n");
        goto bail;
    }
    ALOGE("SUCCESS: native registration successed\n");
    result = JNI_VERSION_1_4;
    bail:
    return result;
}
4. 在app的build.properties如下位置,添加ndk编译项
moduleName:生成so库的名字
ldLibs:链接时使用的库,由于我们要打印log,所以需要引用
abiFilters:生成哪些abi体系架构的so库
5.
在
gradle.properties
中添加android.useDeprecatedNdk=true
不然会出现如下错误:
Error:(14, 0) Error: NDK integration is deprecated in the current plugin. Consider trying the new experimental plugin. For details, see http://tools.android.com/tech-docs/new-build-system/gradle-experimental. Set "android.useDeprecatedNdk=true" in gradle.properties to continue using the current NDK integration.
6. 在local.properties中配置ndk路径

7. 在MainActivity载入so库,并声明native函数

8. 运行的时候发现NDK报错,这是NDK在windows下的一个bug,当仅仅编译一个文件的时候就会出现此问题,解决办法是再往jni文件夹加入一个空的cpp文件即可,ndk生成的so文件在app/build/intermediates/ndk/debug/lib目录下,会自动打包到apk中:
最后运行结果如图:


 3074
3074

 被折叠的 条评论
为什么被折叠?
被折叠的 条评论
为什么被折叠?
 到【灌水乐园】发言


