


 本文档提供了在CentOS 6系统上安装GitLab CE的详细步骤,包括硬件要求、依赖项安装、包服务器配置及GitLab启动配置等关键信息。
1.官网
https://about.gitlab.com/downloads/#centos6
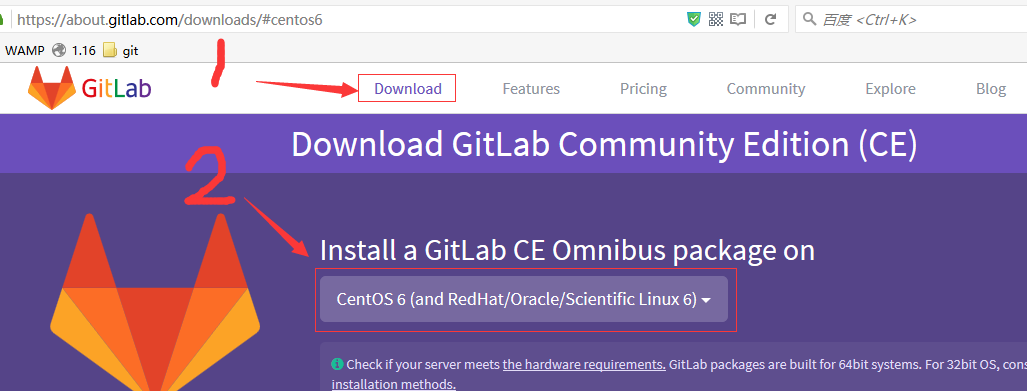
1.点击“Download”。
2.选择你要安装的环境
以下是官方安装说明:
Install a GitLab CE Omnibus package on
Check if your server meets the hardware requirements. GitLab packages are built for 64bit systems. For 32bit OS, consider alternative installation methods.
1. Install and configure the necessary dependencies
If you install Postfix to send email please select ‘Internet Site’ during setup. Instead of using Postfix you can also use Sendmail or configure a custom SMTP server and configure it as an SMTP server.
On Centos 6 and 7, the commands below will also open HTTP and SSH access in the system firewall.
sudo yum install curl openssh-server openssh-clients postfix cronie
sudo service postfix start
sudo chkconfig postfix on
sudo lokkit -s http -s ssh
2.Add the GitLab package server and install the package
curl -sS https://packages.gitlab.com/install/repositories/gitlab/gitlab-ce/script.rpm.sh | sudo bash
sudo yum install gitlab-ce
If you are not comfortable installing the repository through a piped script, you can find the entire script here and select and download the package manually and install using
curl -LJO https://packages.gitlab.com/gitlab/gitlab-ce/packages/el/6/gitlab-ce-XXX.rpm/download
rpm -i gitlab-ce-XXX.rpm
3.Configure and start GitLab
sudo gitlab-ctl reconfigure4.Browse to the hostname and login
On your first visit, you’ll be redirected to a password reset screen to provide the password for the initial administrator account. Enter your desired password and you’ll be redirected back to the login screen.
The default account’s username is root. Provide the password you created earlier and login. After login you can change the username if you wish.
For configuration and troubleshooting options please see the Omnibus GitLab documentation
If you are located in China, try using https://mirror.tuna.tsinghua.edu.cn/help/gitlab-ce/
翻译:
安装一个GitLab CE综合方案
检查如果您的服务器与硬件需求。GitLab包是64位系统的构建。对于32位操作系统,请考虑选择安装方法。
1。安装和配置必要的依赖关系
如果你安装后缀来发送电子邮件时请选择“网站”设置。而不是使用后缀还可以使用Sendmail或配置自定义SMTP服务器和配置一个SMTP服务器。
在Centos 6和7,下面的命令将打开HTTP和SSH访问系统中的防火墙。
sudo yum install curl openssh-server openssh-clients postfix cronie
sudo service postfix start
sudo chkconfig postfix on
sudo lokkit -s http -s ssh
2。添加GitLab包服务器和安装包
curl -sS https://packages.gitlab.com/install/repositories/gitlab/gitlab-ce/script.rpm.sh | sudo bash
sudo yum install gitlab-ce
如果你不舒适的通过一个管道安装存储库脚本,您可以在这里找到完整的脚本并选择手动下载包和安装使用
curl -LJO https://packages.gitlab.com/gitlab/gitlab-ce/packages/el/6/gitlab-ce-XXX.rpm/download
rpm -i gitlab-ce-XXX.rpm
3。配置和启动GitLab
sudo gitlab-ctl reconfigure4。浏览到主机名和登录
在你的第一次访问,您将被重定向到一个密码重置屏幕提供初始的管理员帐户的密码。输入你想要的密码,您将被重定向到登录屏幕。
默认账户的用户名是root。提供您之前创建的密码和登录。登录后您可以更改用户名,如果你的愿望。
的配置和故障排除选项,请参见综合GitLab文档
如果你是位于中国,尝试使用https://mirror.tuna.tsinghua.edu.cn/help/gitlab-ce/
访问:https://mirror.tuna.tsinghua.edu.cn/help/gitlab-ce/
Gitlab Community Edition 镜像使用帮助
注意: gitlab-ce 镜像仅支持 x86-64 架构
Debian/Ubuntu 用户
首先信任 GitLab 的 GPG 公钥:
curl https://packages.gitlab.com/gpg.key 2> /dev/null | sudo apt-key add - &>/dev/null再选择你的 Debian/Ubuntu 版本,文本框中内容写进 /etc/apt/sources.list.d/gitlab-ce.list
你的Debian/Ubuntu版本:
文本框:
deb https://mirrors.tuna.tsinghua.edu.cn/gitlab-ce/debian jessie main安装 gitlab-ce:
sudo apt-get update
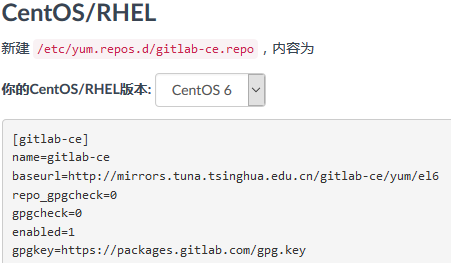
sudo apt-get install gitlab-ceCentOS/RHEL
新建 /etc/yum.repos.d/gitlab-ce.repo,内容为
你的CentOS/RHEL版本: CentOS6
[gitlab-ce]
name=gitlab-ce
baseurl=http://mirrors.tuna.tsinghua.edu.cn/gitlab-ce/yum/el6
repo_gpgcheck=0
gpgcheck=0
enabled=1
gpgkey=https://packages.gitlab.com/gpg.key
再执行
sudo yum makecache
sudo yum install gitlab-ce
2.具体操作
说明:以下是32位系统装gitlab踩坑过程,32位是装不了gitlab的!!!建议直接换64位的!
以下仅仅记录踩坑过程,实际操作中不要这样操作!!再说一遍:换64位系统!!
sudo yum install curl openssh-server openssh-clients postfix cronie
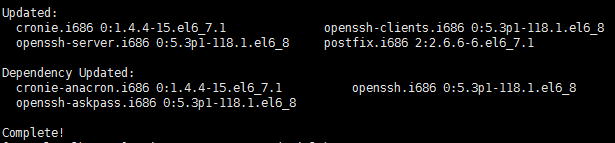
sudo service postfix start这里如果报错:

解决办法:
which postfix
/usr/sbin/postfix

/usr/sbin/postfix: error while loading shared libraries: libmysqlclient.so.16: cannot open shared object file: No such file or directory
看看你的“libmysqlclient_r.so”是什么版本:
cd /usr/local/mysql/lib
ll
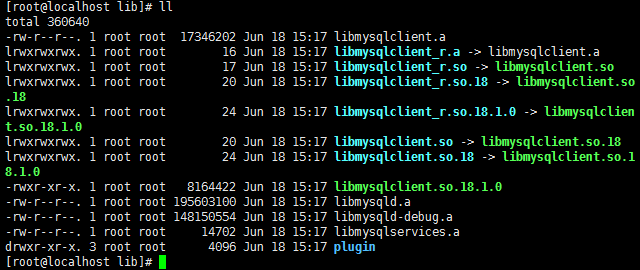
你的是18,而它要的是16说明是需要老版本的包。
接下来安装MySQL兼容包:
下载地址:
http://downloads.mysql.com/archives/get/file/MySQL-shared-compat-5.5.48-1.el6.x86_64.rpm

用ftp工具把该rpm包传到:/usr/local/src/
cd /usr/local/src
rpm –ivh MySQL-shared-compat-5.5.48-1.el6.x86_64.rpm
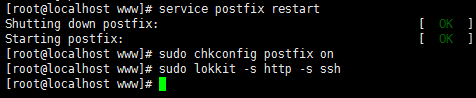
sudo service postfix start
sudo chkconfig postfix on
sudo lokkit -s http -s ssh
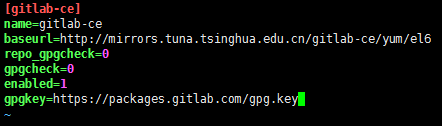
vim /etc/yum.repos.d/gitlab-ce.repo说明:
我这里以CentOS6来演示,如果你不是该版本去选择对应版本下载
链接:https://mirror.tuna.tsinghua.edu.cn/help/gitlab-ce/
[gitlab-ce]
name=gitlab-ce
baseurl=http://mirrors.tuna.tsinghua.edu.cn/gitlab-ce/yum/el6
repo_gpgcheck=0
gpgcheck=0
enabled=1
gpgkey=https://packages.gitlab.com/gpg.key
将上边文本框里内容复制进去
sudo yum makecache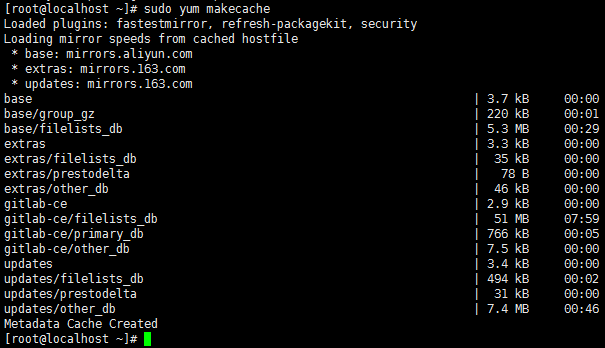
安装东西较多,需要时间稍长点。。。。。。
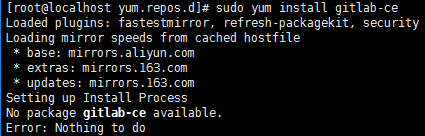
sudo yum install gitlab-ce如果你的系统是32位,会出现以下致命错误!!!换64位系统!!!
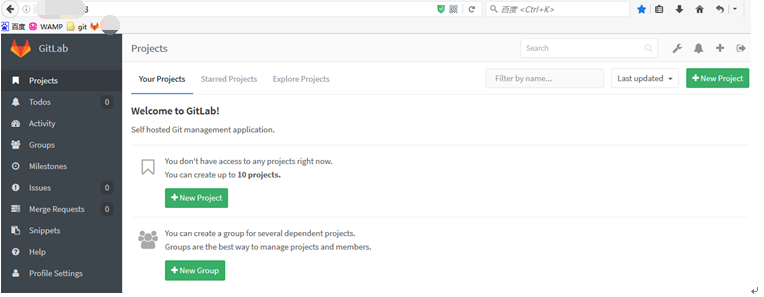
sudo gitlab-ctl reconfigure访问http://localhost
即可访问到gitlab (远程访问IP)
注意:如果nginx配置了默认80端口会访问不到,为了测试我这里先关闭nginx,清除浏览器缓存,再访问。
第一次访问时间比较长。进去以后必须修改默认账户root的密码,最少8位。以后可以修改账户名和密码。
问题:
出现页面502
原因:由于unicorn默认使用的是8080端口。
解决办法:打开/etc/gitlab/gitlab.rb,打开# unicorn[‘port’] = 8080 的注释,将8080修改为9090,保存后运行
sudo gitlab-ctl reconfigure修改默认80端口
vim /etc/gitlab/gitlab.rb修改external_url ‘http://localhost:8888’ 保存退出。
刷新配置:
sudo gitlab-ctl reconfigure如果端口修改后无法访问,请检查防火墙是否关闭。
另附gitlab重启命令(可以不执行)。
sudo gitlab-ctl restart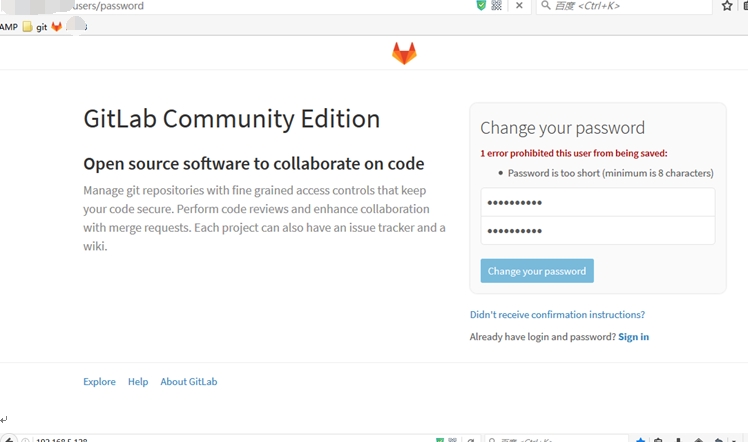
安装git
yum –y install git


 6万+
6万+


 到【灌水乐园】发言


