


作为一个程序狗就是要不断去学习新的东西,真是哗了哈士奇了.
吐槽了一下,步入正题,最近都在研究react-native,记录一下期间遇到的坑
首先,搭建环境变量我就不扯犊子了,jdk,Android sdk 什么乱七八糟的东西就不说了,Android程序狗的我就安装了个node.js,就可以开搞了.
ok,新建一个Android工程.点开命令行
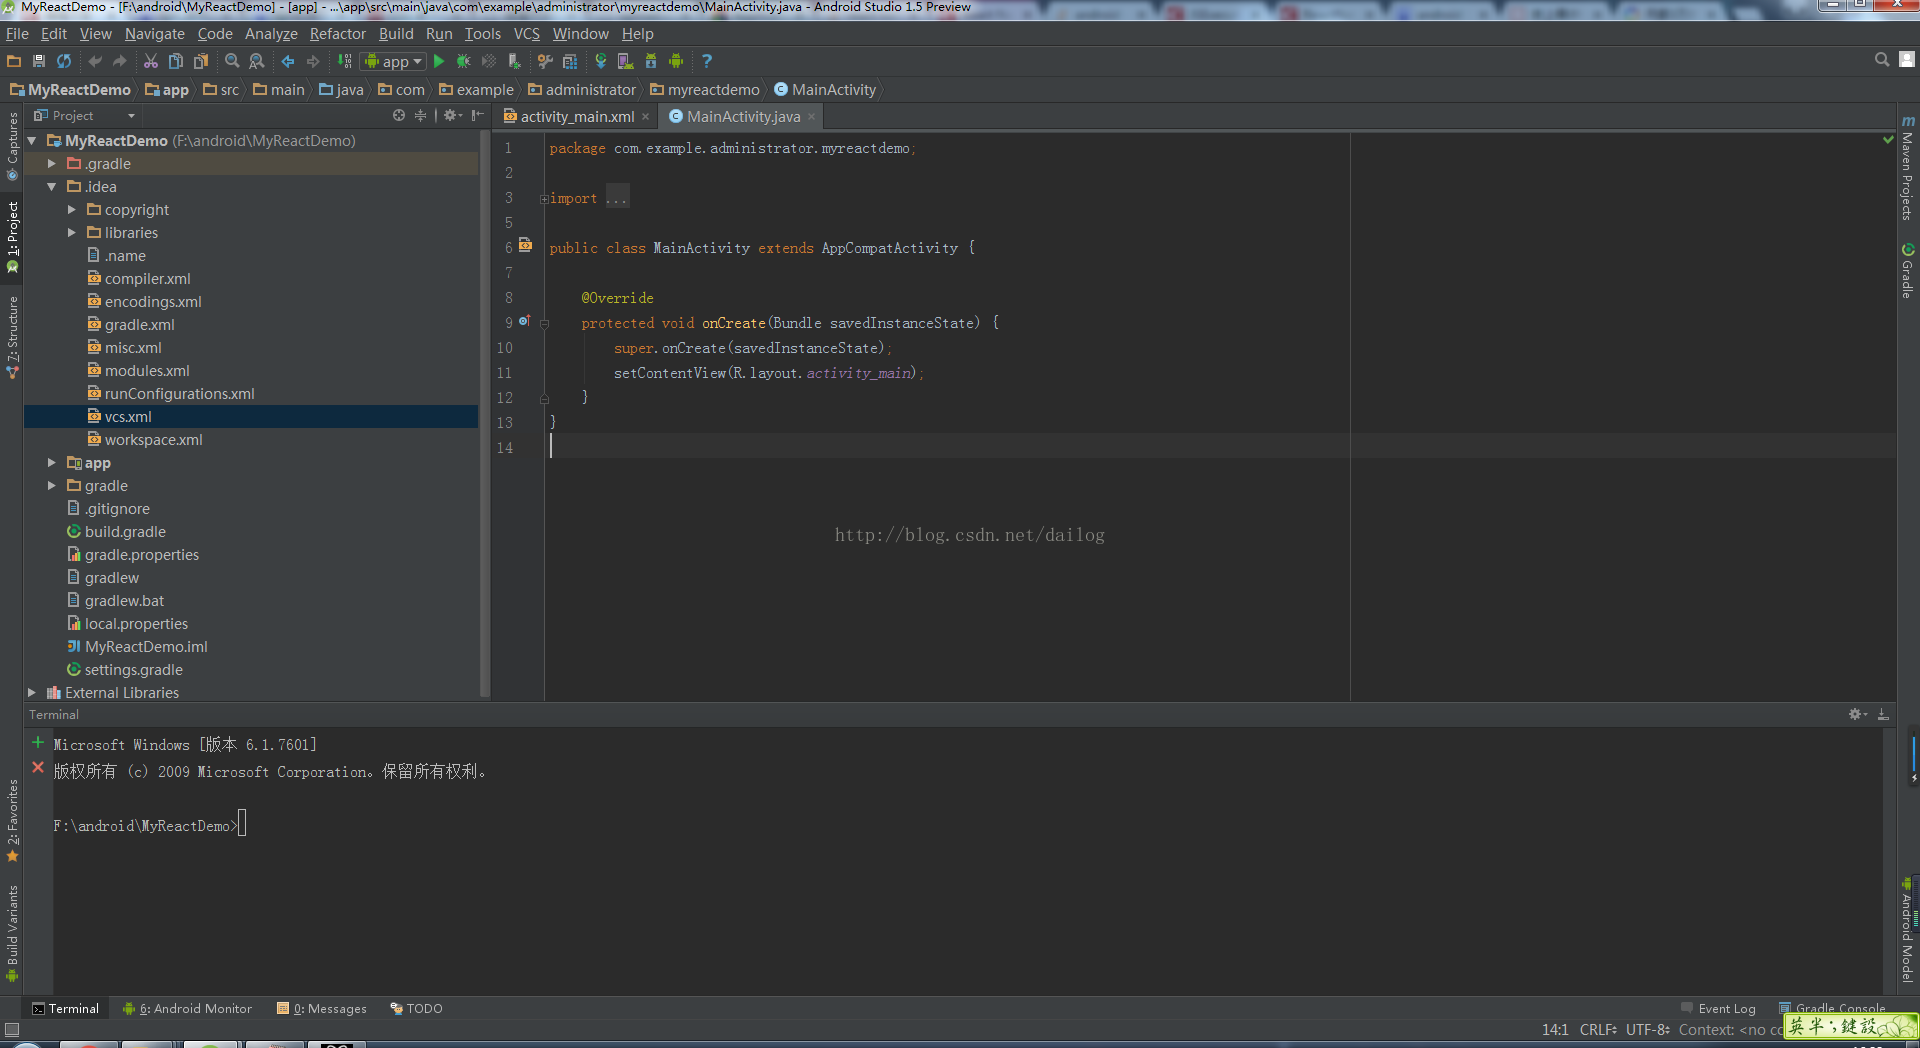
输入npm init根据默认提示输入一些基本的东西,目的是创建需要的package.json
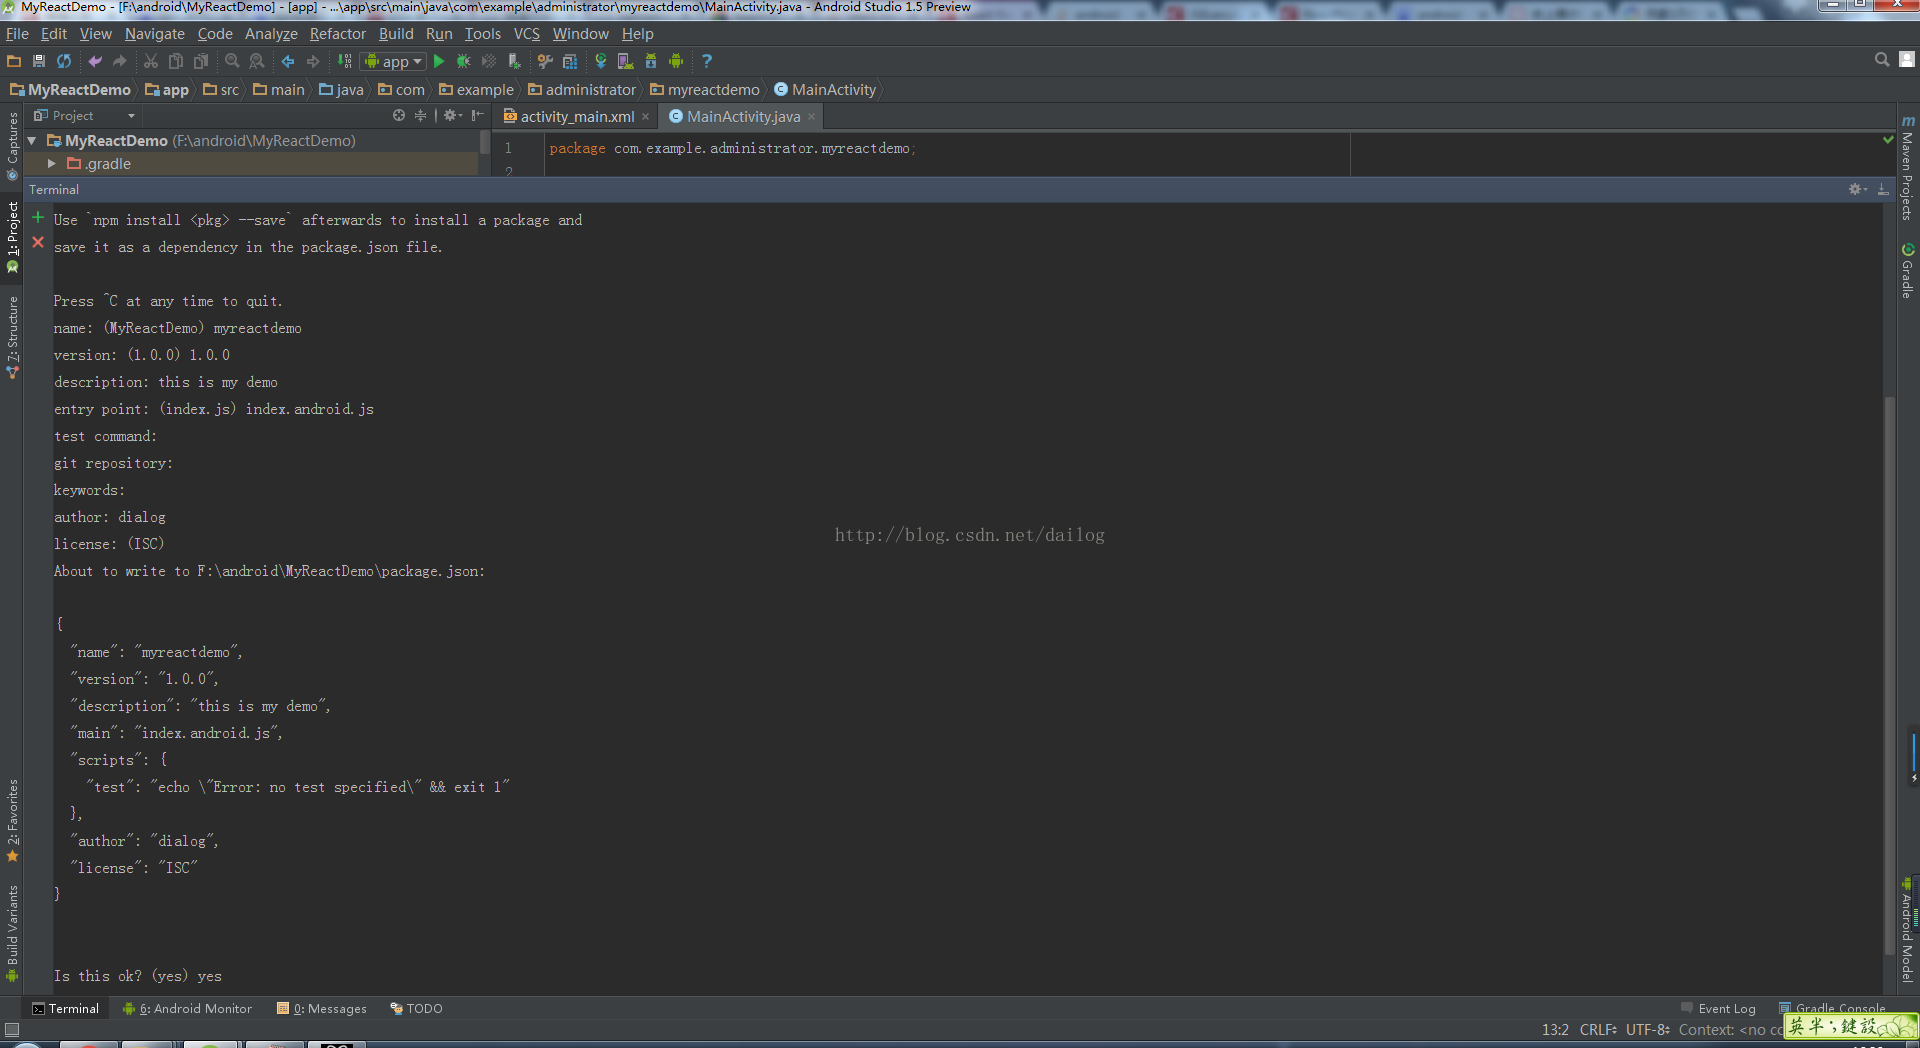
根据提示输入即可,注意name 不支持大写,完事输入yes就ok了
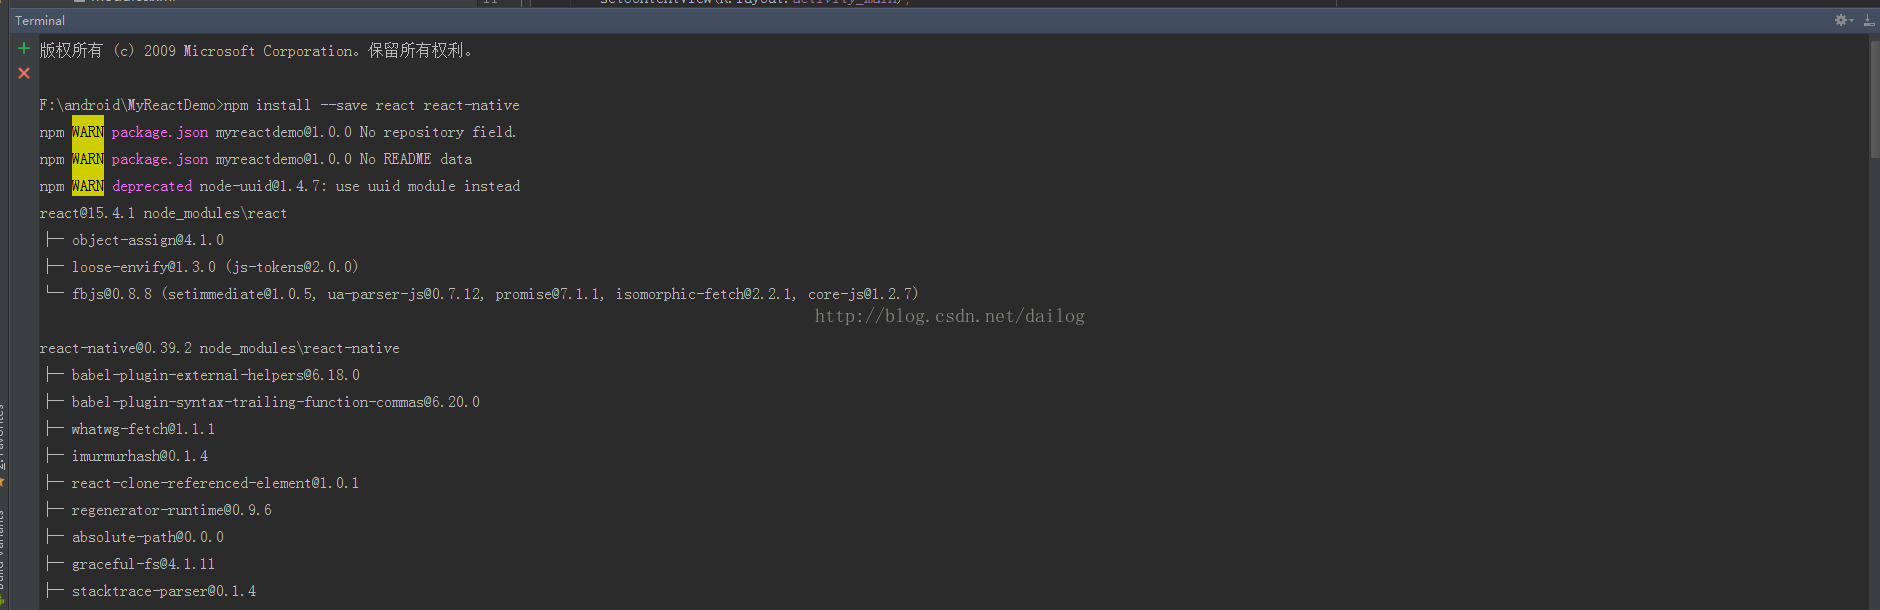
接着输入
npm install --save react react-native时间可能会长一点,耐心等待
OK了之后看网上很多是输入
curl -o .flowconfig https://raw.githubusercontent.com/facebook/react-native/master/.flowconfig度娘是很强大的,ok,浏览器输入,把内容复制了,在工程新建一个文件复制进去就ok了,你也可以复制下面的代码
[ignore]
; We fork some components by platform
.*/*[.]android.js

; Ignore "BUCK" generated dirs
<PROJECT_ROOT>/\.buckd/

; Ignore unexpected extra "@providesModule"
.*/node_modules/.*/node_modules/fbjs/.*

; Ignore duplicate module providers
; For RN Apps installed via npm, "Libraries" folder is inside
; "node_modules/react-native" but in the source repo it is in the root
.*/Libraries/react-native/React.js
.*/Libraries/react-native/ReactNative.js

[include]

[libs]
node_modules/react-native/Libraries/react-native/react-native-interface.js
node_modules/react-native/flow
flow/

[options]
module.system=haste

experimental.strict_type_args=true

munge_underscores=true

module.name_mapper='^image![a-zA-Z0-9$_-]+$' -> 'GlobalImageStub'
module.name_mapper='^[./a-zA-Z0-9$_-]+\.\(bmp\|gif\|jpg\|jpeg\|png\|psd\|svg\|webp\|m4v\|mov\|mp4\|mpeg\|mpg\|webm\|aac\|aiff\|caf\|m4a\|mp3\|wav\|html\|pdf\)$' -> 'RelativeImageStub'

suppress_type=$FlowIssue
suppress_type=$FlowFixMe
suppress_type=$FixMe

suppress_comment=\\(.\\|\n\\)*\\$FlowFixMe\\($\\|[^(]\\|(\\(>=0\\.\\(3[0-5]\\|[1-2][0-9]\\|[0-9]\\).[0-9]\\)? *\\(site=[a-z,_]*react_native[a-z,_]*\\)?)\\)
suppress_comment=\\(.\\|\n\\)*\\$FlowIssue\\((\\(>=0\\.\\(3[0-5]\\|1[0-9]\\|[1-2][0-9]\\).[0-9]\\)? *\\(site=[a-z,_]*react_native[a-z,_]*\\)?)\\)?:? #[0-9]+
suppress_comment=\\(.\\|\n\\)*\\$FlowFixedInNextDeploy

unsafe.enable_getters_and_setters=true

[version]
^0.35.0
下一步修改package.json里面的东西
{
  "name": "myreactdemo",
  "version": "1.0.0",
  "description": "this is my demo",
  "main": "index.android.js",
  "scripts": {
    "start": "node node_modules/react-native/local-cli/cli.js start",
    "bundle-android": "react-native bundle --platform android --dev false --entry-file index.android.js --bundle-output app/src/main/assets/index.android.bundle --sourcemap-output app/src/main/assets/index.android.map --assets-dest android/app/src/main/res/"
  },
  "author": "dialog",
  "license": "ISC",
  "dependencies": {
    "react": "^15.4.1",
    "react-native": "^0.39.2"
  }
}'use strict';
import React from 'react';
import {
AppRegistry,
StyleSheet,
Text,
View
} from 'react-native';
class HelloWorld extends React.Component {
render() {
return (
<View style={styles.container}>
<Text style={styles.hello}>Hello, World</Text>
</View>
)
}
}
var styles = StyleSheet.create({
container: {
flex: 1,
justifyContent: 'center',
},
hello: {
fontSize: 20,
textAlign: 'center',
margin: 10,
},
});
AppRegistry.registerComponent('HelloWorld', () => HelloWorld);现在工程的build.gradle中添加
allprojects {
    repositories {
        jcenter()
        maven {
            // All of React Native (JS, Android binaries) is installed from npm
            url "$rootDir/node_modules/react-native/android"
        }
    }
}
项目build.gradle我就直接贴代码了
apply plugin: 'com.android.application'

android {
    compileSdkVersion 23
    buildToolsVersion "23.0.1"

    defaultConfig {
        applicationId "com.example.administrator.myreactdemo"
        minSdkVersion 17
        targetSdkVersion 23
        versionCode 1
        versionName "1.0"
        ndk {
            abiFilters "armeabi-v7a", "x86"
        }
    }
    buildTypes {
        release {
            minifyEnabled false
            proguardFiles getDefaultProguardFile('proguard-android.txt'), 'proguard-rules.pro'
        }
    }
}

dependencies {
    compile fileTree(dir: 'libs', include: ['*.jar'])
    testCompile 'junit:junit:4.12'
    compile 'com.android.support:appcompat-v7:23.4.0'
    compile "com.facebook.react:react-native:+"
}
android.useDeprecatedNdk=true当然要加网络权限,
<activity android:name="com.facebook.react.devsupport.DevSettingsActivity"/>接下来就是mainactivity了,不多说直接上代码,就是这么暴力
package com.example.administrator.myreactdemo;
import android.app.Activity;
import android.os.Bundle;
import com.facebook.react.ReactInstanceManager;
import com.facebook.react.ReactRootView;
import com.facebook.react.common.LifecycleState;
import com.facebook.react.modules.core.DefaultHardwareBackBtnHandler;
import com.facebook.react.shell.MainReactPackage;
public class MainActivity extends Activity implements DefaultHardwareBackBtnHandler {
//
// @Override
// protected void onCreate(Bundle savedInstanceState) {
// super.onCreate(savedInstanceState);
// setContentView(R.layout.activity_main);
// }
private ReactRootView mReactRootView;
private ReactInstanceManager mReactInstanceManager;
@Override
protected void onCreate(Bundle savedInstanceState) {
super.onCreate(savedInstanceState);
mReactRootView = new ReactRootView(this);
mReactInstanceManager = ReactInstanceManager.builder()
.setApplication(getApplication())
.setBundleAssetName("index.android.bundle")
.setJSMainModuleName("index.android")
.addPackage(new MainReactPackage())
/**
* http://stackoverflow.com/questions/37951246/react-native-cannot-find-development-server-integrating-existing-android-app
* 调试模式下,建议直接写成 true 吧,我就因为这个错误,调了两天原因
*/
// .setUseDeveloperSupport(BuildConfig.DEBUG)
.setUseDeveloperSupport(true)
.setInitialLifecycleState(LifecycleState.RESUMED)
.build();
mReactRootView.startReactApplication(mReactInstanceManager, "HelloWorld", null);
setContentView(mReactRootView);
}
@Override
public void invokeDefaultOnBackPressed() {
super.onBackPressed();
}
@Override
protected void onPause() {
super.onPause();
if (mReactInstanceManager != null) {
mReactInstanceManager.onHostPause();
}
}
@Override
protected void onResume() {
super.onResume();
if (mReactInstanceManager != null) {
mReactInstanceManager.onHostResume(this, this);
}
}
@Override
public void onBackPressed() {
if (mReactInstanceManager != null) {
mReactInstanceManager.onBackPressed();
} else {
super.onBackPressed();
}
}
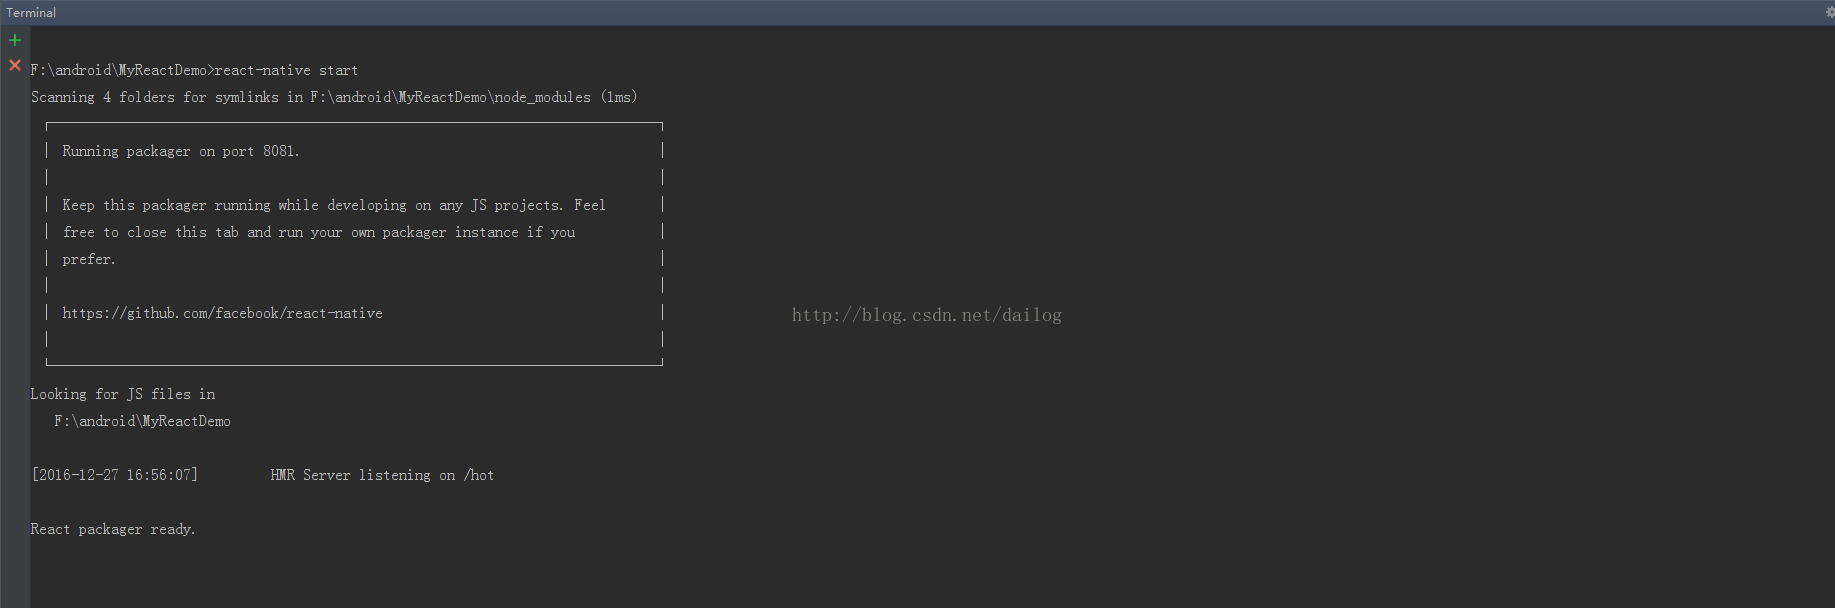
}ok,启动服务
react-native startF:\android\MyReactDemo>react-native start
module.js:327
throw err;
^
Error: Cannot find module 'invariant'
at Function.Module._resolveFilename (module.js:325:15)
at Function.Module._load (module.js:276:25)
at Module.require (module.js:353:17)
at require (internal/module.js:12:17)
at Object.<anonymous> (F:/android/MyReactDemo/node_modules/react-native/packager/react-packager/src/node-haste/Module.js:18:19)
at Module._compile (module.js:409:26)
at loader (F:\android\MyReactDemo\node_modules\react-native\node_modules\babel-register\lib\node.js:144:5)
at Object.require.extensions.(anonymous function) [as .js] (F:\android\MyReactDemo\node_modules\react-native\node_modules\babel-register\lib\node.js:154:7)
at Module.load (module.js:343:32)
at Function.Module._load (module.js:300:12)
暴力点输入
npm install --save invariant
ok,起来了.运行项目到真机,不要激动,因为运行app报错了.这特么就尴尬了
淡定,摇一摇手机Devsetting里面修改ip到本机,虚拟机的话就直接localhost了.如上图所示,服务器端口8081.
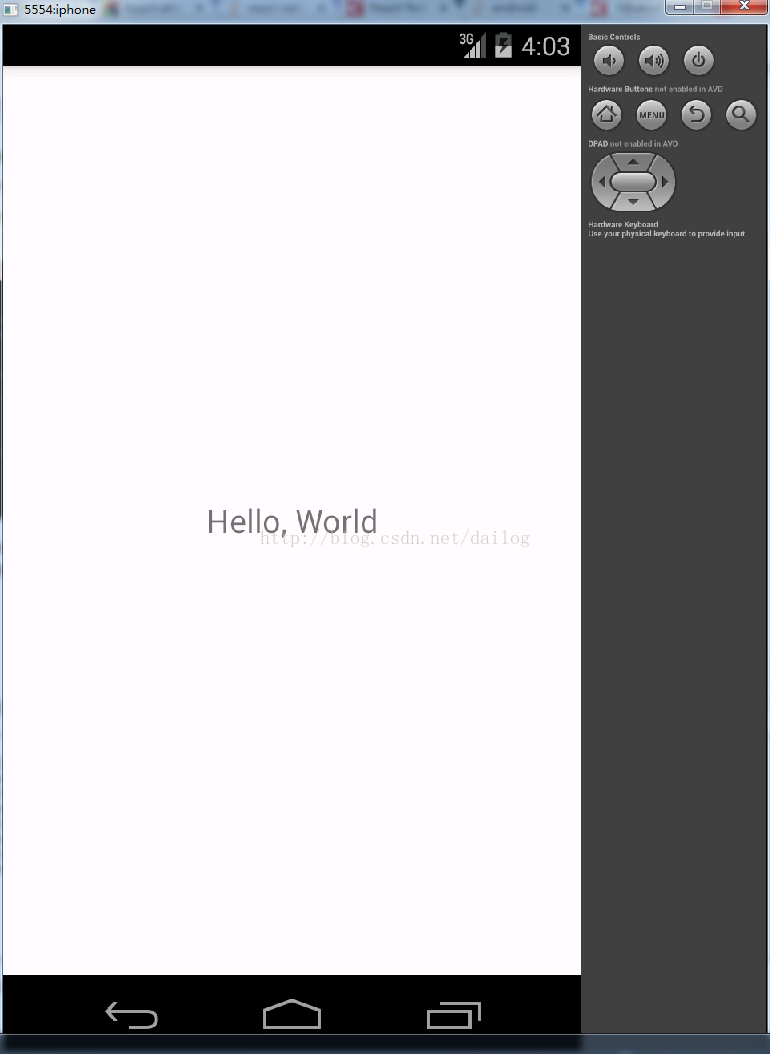
ok.终于特么的见到helloWorld了.后续再会写一些布局样式等博客.THX.


 4720
4720


 被折叠的 条评论
为什么被折叠?
被折叠的 条评论
为什么被折叠?
 到【灌水乐园】发言


