


采集更大的图像
为了解决大小限制,从Android 1.5开始,在大多数机器上,我们传入一个extra到激活相机应用的Intent中。此extra的名字在MediaStore类中定义为EXTRA_OUTPUT。它的值(extra以名称-值对的形式存在)以URI的形式,为相机应用指定了拍摄的图像保存的地方。
下面的代码段要求相机应用将图像保存到设备的SD卡,文件名为myfavoritepicture.png。
String imageFilePath = Environment.getExternalStorageDirectory().getAbsolutePath()
    + "/myfavoritepicture.jpg";
File imageFile = new File(imageFilePath);
Uri imageFileUri = Uri.fromFile(imageFile);
Intent i = new Intent(android.provider.MediaStore.ACTION_IMAGE_CAPTURE);
i.putExtra(android.provider.MediaStore.EXTRA_OUTPUT, imageFileUri);
startActivityForResult(i, CAMERA_RESULT);
注意:上述创建图像文件URI的代码段可以简化如下:
imageFileUri = Uri.parse("file:///sdcard/myfavoritepicture.jpg");
虽然在实践中,所示的方法设备无关性更强,而且当SD卡的命名规则或者URI的语法因本地系统改变时,仍然能够兼容。显示大图像
加载和显示图像涉及大量使用内存。例如,HTC G1手机拥有一个320万像素的摄像头。320M像素的摄像头,拍摄的图像通常为2048x1536像素。显示32位的这样大小的图像需要多达100663kb,大约13MB的内存。虽然不能肯定我们的应用就会耗尽内存,但是它显然使内存耗尽的可能性大大增加了。
Android给我们提供了一个名为BitmapFactory的工具类,它提供了一系列的静态方法从各种源加载位图图像。我们的需求是从文件加载图像,并把它显示在我们最初的activity中。幸运的是,BitmapFactory提供的加载方法都接受BitmapFactory.Options类,它允许我们定义将位图读入到内存的方式。具体来说,我们可以设置BitmapFactory加载图像的采样大小。指定BitmapFactory.Options类的inSampleSize参数,得到的位图图像将为原图大小inSampleSize分之一。例如,像我在这里做的,inSampleSize设置为8,将生成一个原图1/8大小的图像。
BitmapFactory.Options bmpFactoryOptions = new BitmapFactory.Options();
bmpFactoryOptions.inSampleSize = 8;
Bitmap bmp = BitmapFactory.decodeFile(imageFilePath, bmpFactoryOptions);
imv.setImageBitmap(bmp);
这是一个快速加载大图像的方法,但是没有考虑图像的原始大小以及屏幕的大小。如果我们缩放图像使之适应我们的屏幕,那就更好了。
下面的代码段说明了如何使用屏幕的大小确定加载图像时的采样值。当我们采用这些方法时,图像能够确保尽可能的填充屏幕。然而,如果图像的任一维度只显示100像素,则这个值将用来替换屏幕的维度。获取显示屏维度的代码如下:
Display currentDisplay = getWindowManager().getDefaultDisplay();
int dw = currentDisplay.getWidth();
int dh = currentDisplay.getHeight();
需要计算,才能得出图像的尺寸。为此,我们使用BitmapFactory和BitmapFactory.Options来帮忙。将BitmapFactory.Options.inJustDecodeBounds的值设置为true。这会告知BitmapFactory只需给出图像大小信息,无需解码图像本身。当我们使用这个方法时,BitmapFactory将给BitmapFactory.Options.outHeight和BitmapFactory.Options.outWidth两个变量赋值。
//加载图像的外形尺寸,而非图像本身
BitmapFactory.Options bmpFactoryOptions = new BitmapFactory.Options();
bmpFactoryOptions.inJustDecodeBounds = true;
Bitmap bmp = BitmapFactory.decodeFile(imageFilePath, bmpFactoryOptions);
int heightRatio = (int)Math.ceil(bmpFactoryOptions.outHeight/(float)dh);

int widthRatio = (int)Math.ceil(bmpFactoryOptions.outWidth/(float)dw);
Log.v("HEIGHTRATIO",""+heightRatio);
Log.v("WIDTHRATIO",""+widthRatio);
用图像的高度和宽度分别除以显示屏的高度和宽度,得到高度比和宽度比。然后,我们其中较大的那个作为缩放的比值。将这个比值赋给BitmapFactory.Options.inSampleSize变量,就可以得到一个加载到内存,大小接近我们所需的图像—在本例中,接近屏幕大小。
//如果两个比值都大于1,
//那么图像的某一边大于屏幕
if (heightRatio > 1 && widthRatio > 1)  {
    if (heightRatio > widthRatio)  {
        //高度比较大,以它进行缩小
        bmpFactoryOptions.inSampleSize = heightRatio;
    }
    else  {
        //宽度比较大,以它进行缩小
        bmpFactoryOptions.inSampleSize = widthRatio;
    }
}
// 真正解码图像
bmpFactoryOptions.inJustDecodeBounds = false;
bmp = BitmapFactory.decodeFile(imageFilePath, bmpFactoryOptions);
这里是通过Intent使用内置相机应用,并显示所得图片的完整例子代码。图1-3 显示了此示例产生的,满屏大小的图像。
package com.apress.proandroidmedia.ch1.sizedcameraintent;
import java.io.File;
import android.app.Activity;
import android.content.Intent;
import android.graphics.Bitmap;
import android.graphics.BitmapFactory;
import android.net.Uri;
import android.os.Bundle;
import android.os.Environment;
import android.util.Log;
import android.view.Display;
import android.widget.ImageView;

public class SizedCameraIntent extends Activity {
    final static int CAMERA_RESULT = 0;
    ImageView imv;  String imageFilePath;

    @Override  public void onCreate(Bundle savedInstanceState) {
        super.onCreate(savedInstanceState);
        setContentView(R.layout.main);
        imageFilePath = Environment.getExternalStorageDirectory().getAbsolutePath()
            + "/myfavoritepicture.jpg";
        File imageFile = new File(imageFilePath);
        Uri imageFileUri = Uri.fromFile(imageFile);
        Intent i = new Intent(android.provider.MediaStore.ACTION_IMAGE_CAPTURE);
        i.putExtra(android.provider.MediaStore.EXTRA_OUTPUT, imageFileUri);
        startActivityForResult(i,CAMERA_RESULT);
    }

    protected void onActivityResult(int requestCode, int resultCode, Intent intent) {
        super.onActivityResult(requestCode, resultCode, intent);
        if (resultCode == RESULT_OK)  {
            //取得ImageView的引用
            imv = (ImageView) findViewById(R.id.ReturnedImageView);

            Display currentDisplay = getWindowManager().getDefaultDisplay();
            int dw = currentDisplay.getWidth();
            int dh = currentDisplay.getHeight();

            //加载图片的尺寸信息,而非图像本身
            BitmapFactory.Options bmpFactoryOptions = new BitmapFactory.Options();
            bmpFactoryOptions.inJustDecodeBounds = true;
            Bitmap bmp = BitmapFactory.decodeFile(imageFilePath, bmpFactoryOptions);

            int heightRatio = (int)Math.ceil(bmpFactoryOptions.outHeight/(float)dh);
            int widthRatio = (int)Math.ceil(bmpFactoryOptions.outWidth/(float)dw);
            Log.v("HEIGHTRATIO",""+heightRatio);
            Log.v("WIDTHRATIO",""+widthRatio);

            // 如果两个比值都大于1,
            // 那么图像的某一边大于屏幕
            if (heightRatio > 1 && widthRatio > 1)  {
                if (heightRatio > widthRatio)  {
                    // 高度比较大,以它进行缩小
                    bmpFactoryOptions.inSampleSize = heightRatio;
                }
                else  {
                    // 宽度比较大,以它进行缩小
                    bmpFactoryOptions.inSampleSize = widthRatio;
                }
             }

             // 真正解码图像
             bmpFactoryOptions.inJustDecodeBounds = false;
             bmp = BitmapFactory.decodeFile(imageFilePath, bmpFactoryOptions);

             // 显示图像
             imv.setImageBitmap(bmp);
         }
    }
}
上述代码需要下面的 layout/main.xml文件:
<?xml version="1.0" encoding="utf-8"?>
<LinearLayout xmlns:android="http://schemas.android.com/apk/res/android"
    android:orientation="vertical"
    android:layout_width="fill_parent"
    android:layout_height="fill_parent" >

    <ImageView android:id="@+id/ReturnedImageView"
        android:layout_width="wrap_content"
        android:layout_height="wrap_content">
    </ImageView>
</LinearLayout> 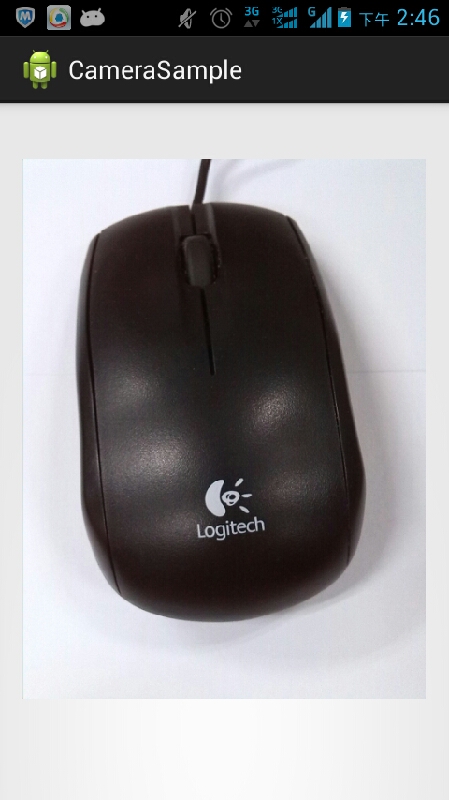
图1-3. 返回的满屏大小图像显示在ImageView中


 446
446


 被折叠的 条评论
为什么被折叠?
被折叠的 条评论
为什么被折叠?
 到【灌水乐园】发言


