


前面两天,我们已经学会了先把Android开发运行起来,并且了解了一些关于布局的原理,现在我们需要往工程里添加一些控件
当你新建了一个的文件( File →New→Project 建立一个Application Project 名字我就以HelloWorld为例 一直 next 到组后一页 finish )
这样一个全新的应用程序就完成了
但是现在程序只有一个简单的文档“HelloWorld”
是不是觉得很单调
这里你可以设置字体的颜色和大小
<TextView
        android:layout_width="wrap_content"
        android:layout_height="wrap_content"
        android:textColor="#FF0000"
        android:textSize="30dip"
        android:text="@string/hello_world" />
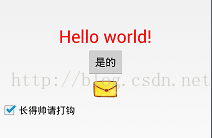
我们还可以添加一些控件,比如说一个按钮
   <Button
        android:id="@+id/onebutton"
        android:layout_width="wrap_content"
        android:layout_height="wrap_content"
        android:text="是的"
        android:onClick="buttonClickAction"/>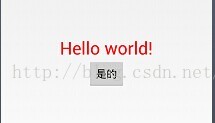
有时候我们也需要用到一些特殊的按钮
首先你需要将图片添加到res文件夹中的drawable中
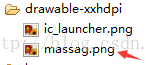
然后添加控件代码
<ImageButton
        android:id="@+id/massagebutton"
        android:background="@drawable/massag"
        android:layout_width="wrap_content"
        android:layout_height="wrap_content"/>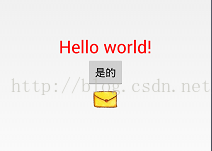
除了像按钮控件还有类的控件checkBox
<CheckBox
      android:id="@+id/mycheckbox"
      android:layout_width="fill_parent"
      android:layout_height="wrap_content"
      android:text="长得帅请打钩"/>
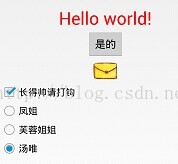
还有一种叫RadioBox,RadioBox处理外观上于CheckBox不一样外,RadioBox通常会组成一个Group,在Group中只能有一个RadioBox处于checked状态。
    <RadioGroup
      android:id="@+id/myradiogroup"
      android:orientation="vertical"
      android:layout_width="fill_parent"
      android:layout_height="wrap_content" >
        <RadioButton android:id="@+id/radio1"
            android:layout_width="fill_parent"
            android:layout_height="wrap_content"
            android:text ="凤姐" />
        <RadioButton android:id="@+id/radio2"
            android:layout_width="fill_parent"
            android:layout_height="wrap_content"
            android:text ="芙蓉姐姐" />
        <RadioButton android:id="@+id/radio3"
            android:layout_width="fill_parent"
            android:layout_height="wrap_content"
            android:text ="汤唯" />
 </RadioGroup>
最后你还可以添加一个文本的输入控件EditText
<EditText
      android:id="@+id/myfield"
      android:layout_width="fill_parent"
      android:layout_height="fill_parent"
      android:singleLine="false"/>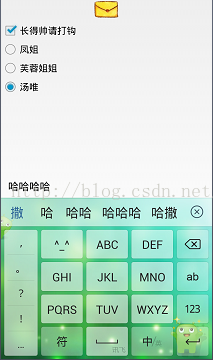
懂得控件的插入,离一个完整的应用就更近了~


 1619
1619


 被折叠的 条评论
为什么被折叠?
被折叠的 条评论
为什么被折叠?
 到【灌水乐园】发言


