


Gradle 创建java项目
我们用intellij idea IDE创建一个gradle java应用,创建后目录结构:
在根目录创建目录 src/main/java
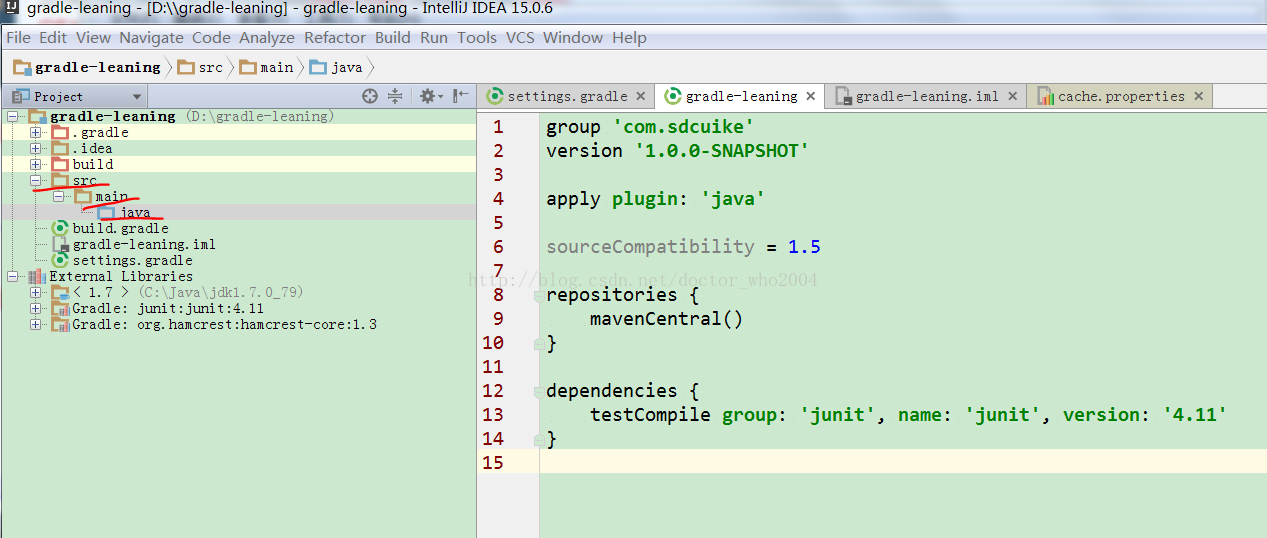
创建java类
HelloServiceImpl :
package com.sdcuike;
public class HelloServiceImpl {
    public  void hello(String name){
        System.out.println("hello " + name);
    }
}
与
package com.sdcuike;

public class Main {

    public static void main(String[] args) {
        HelloServiceImpl helloService = new HelloServiceImpl();
        helloService.hello(args[0]);

    }
}
编译:
$ gradle compileJava
:compileJava
BUILD SUCCESSFUL
Total time: 5.192 secs
打jar包:
$ gradle build
:compileJava UP-TO-DATE
:processResources NO-SOURCE
:classes UP-TO-DATE
:jar
:assemble
:compileTestJava NO-SOURCE
:processTestResources NO-SOURCE
:testClasses UP-TO-DATE
:test NO-SOURCE
:check UP-TO-DATE
:build
BUILD SUCCESSFUL
Total time: 4.001 secs
运行:
$java -cp build/libs/gradle-learning-1.0.0-SNAPSHOT.jar com.sdcuike.Main doctorwho
hello doctorwho
当然,我们可以更改jar包的名字,在build.gradle文件中添加:
archivesBaseName
=
'gradle-learn',jar包就变成了gradle-learn-1.0.0-SNAPSHOT.jar
每次用java命令执行,是不是感到有点厌烦,当然你可以从IDE中执行程序,或者一般我们自己写个启动脚步帮助我们简化任务,我们下面介绍另一种方法,这种方法一般开发中,使用gradle命令启动应用比较场景,犹如启动spring boot应用的
$ gradle bootRun
命令一样。
在文件build.gradle中添加:
apply plugin: 'java'
apply plugin: 'application'
mainClassName = 'com.sdcuike.Main'
run.args = ['doctor who']
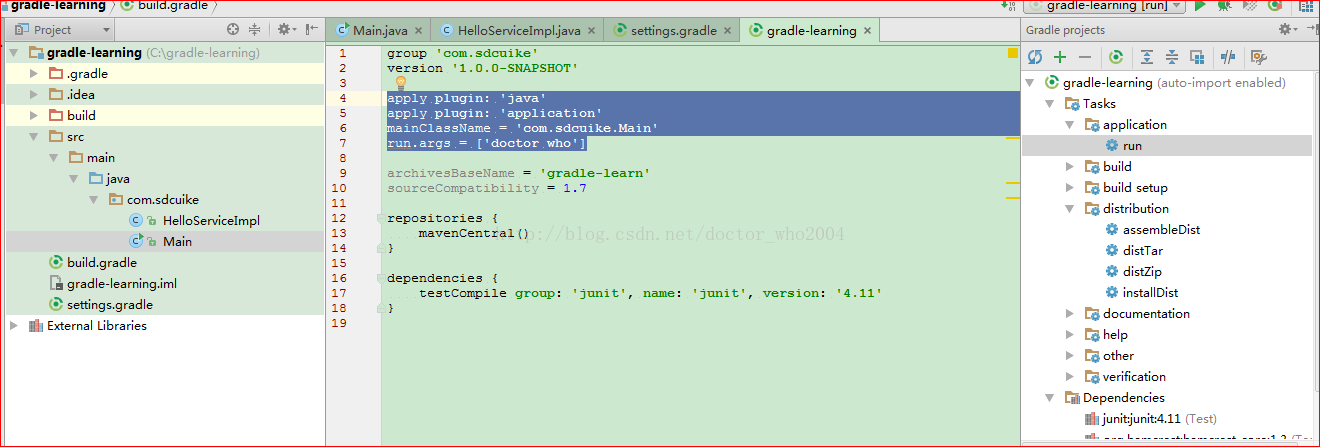
增加application插件,为了 application插件起作用,我们还必须提供程序运行的入口点设置:
mainClassName = 'com.sdcuike.Main',配置run.args = ['doctor who'],相当与设置参数。
现在我们看运行项目有多少任务:
$ gradle tasks
:tasks
------------------------------------------------------------
All tasks runnable from root project
------------------------------------------------------------
Application tasks
-----------------
run - Runs this project as a JVM application
Build tasks
-----------
assemble - Assembles the outputs of this project.
build - Assembles and tests this project.
buildDependents - Assembles and tests this project and all projects that depend on it.
buildNeeded - Assembles and tests this project and all projects it depends on.
classes - Assembles main classes.
clean - Deletes the build directory.
jar - Assembles a jar archive containing the main classes.
testClasses - Assembles test classes.
Build Setup tasks
-----------------
init - Initializes a new Gradle build. [incubating]
wrapper - Generates Gradle wrapper files. [incubating]
Distribution tasks
------------------
assembleDist - Assembles the main distributions
distTar - Bundles the project as a distribution.
distZip - Bundles the project as a distribution.
installDist - Installs the project as a distribution as-is.
Documentation tasks
-------------------
javadoc - Generates Javadoc API documentation for the main source code.
Help tasks
----------
buildEnvironment - Displays all buildscript dependencies declared in root project 'gradle-learning'.
components - Displays the components produced by root project 'gradle-learning'. [incubating]
dependencies - Displays all dependencies declared in root project 'gradle-learning'.
dependencyInsight - Displays the insight into a specific dependency in root project 'gradle-learning'.
dependentComponents - Displays the dependent components of components in root project 'gradle-learning'. [incubating]
help - Displays a help message.
model - Displays the configuration model of root project 'gradle-learning'. [incubating]
projects - Displays the sub-projects of root project 'gradle-learning'.
properties - Displays the properties of root project 'gradle-learning'.
tasks - Displays the tasks runnable from root project 'gradle-learning'.
Verification tasks
------------------
check - Runs all checks.
test - Runs the unit tests.
Rules
-----
Pattern: clean<TaskName>: Cleans the output files of a task.
Pattern: build<ConfigurationName>: Assembles the artifacts of a configuration.
Pattern: upload<ConfigurationName>: Assembles and uploads the artifacts belonging to a configuration.
To see all tasks and more detail, run gradle tasks --all
To see more detail about a task, run gradle help --task <task>
BUILD SUCCESSFUL
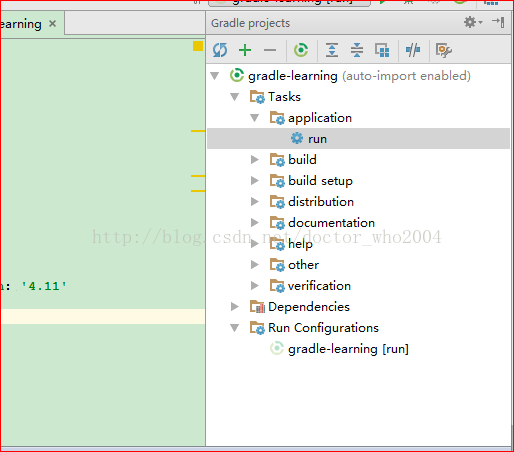
当然,我们可以在IDE中查看这些任务或执行任务,而不必每次打开终端敲这些命令,如:
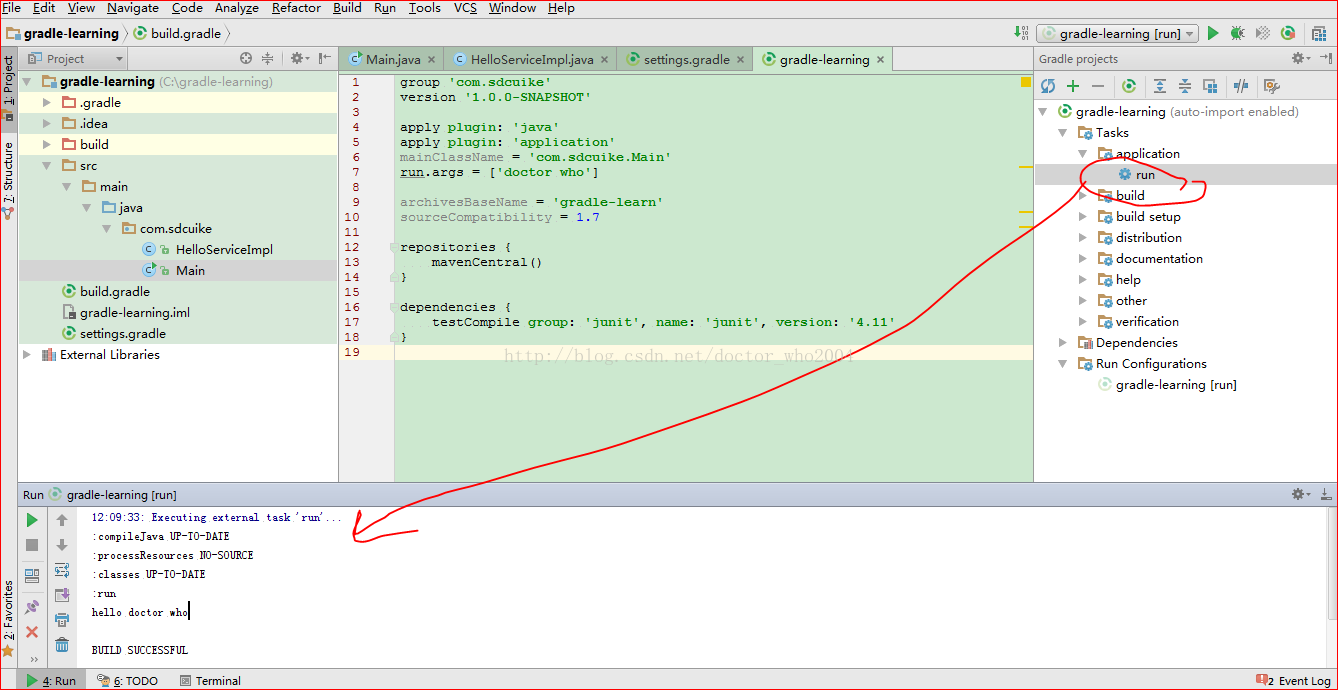
下图我们可以清晰的看到任务列表:
我们用命令行运行一下:
$ gradle -q run
hello doctor who
如果想更改传入的参数,我们可以在build.gradle文件中更改:
run.args = ['神秘博士']
$ gradle -q run
hello 神秘博士
或者更改build.gradle文件
run.args = [project.runArgs]
用下面的命令传入参数:
$ gradle -q run -PrunArgs='神秘博士第一季'
hello 神秘博士第一季
原理是用–Pproperty=value 来传入参数。具体参数的设置可参考官方文档:
打包成zip或tar文件并包含和系统相关的启动脚本。
另一个有趣的任务是distZip或distTar,可以打包成一个可以执行的应用:
$ gradle distZip
:compileJava警告: [options] 未与 -source 1.7 一起设置引导类路径
1 个警告
:processResources NO-SOURCE
:classes
:jar
:startScripts
:distZip
BUILD SUCCESSFUL
Total time: 3.269 secs
在目录\build\distributions下生成了一个文件:
gradle-learning-1.0.0-SNAPSHOT.zip
当然,我们可以更改文件名:
在build.gradle文件中添加distributions.main.baseName = 'someName' 即可。
解压后的文件内容:
$ ls -R
.:
bin/ lib/
./bin:
gradle-learning* gradle-learning.bat
./lib:
gradle-learn-1.0.0-SNAPSHOT.jar
里面包含了启动脚步以及依赖的jar包,我们运行一下:
$ ./gradle-learning doctorwho
hello doctorwho
《gradle-3.4版本》


 307
307


 被折叠的 条评论
为什么被折叠?
被折叠的 条评论
为什么被折叠?
 到【灌水乐园】发言


