


tint一个很陌生,甚至以前都不知道的东西,从它的字面意思来讲呢是色彩、着色的意思。他其实时Google官方在Material Design中一个很重要的东西,搭配background一起使用。如果你平时细心或者最佳使用
过EditText的话,你会发现,EditText下面的指示器颜色一直与你颜色资源文件中的colorAccent对应的值一样(感兴趣的朋友可以自己尝试修改),当然如果你不想去改变默认的颜色值,你也可以通过backgroundTint属性去设置。那么它内部是如何实现的呢?我们一起去看看它的源码:
我们在在EditText中并没有找到相关属性,于是我们去他的父类TextVIew中去继续寻找,还没有?我们继续去TextView的父类View中去寻找,我们在构造方法中找到了这段代码:
构造函数中:
case R.styleable.View_backgroundTint:
// This will get applied later during setBackground().
if (mBackgroundTint == null) {
mBackgroundTint = new TintInfo();
}
mBackgroundTint.mTintList = a.getColorStateList(
R.styleable.View_backgroundTint);
重点是:源码中的注释This will get applied later during setBackground().
继续:
public void setBackgroundTintList(@Nullable ColorStateList tint) {
if (mBackgroundTint == null) {
mBackgroundTint = new TintInfo();
}
mBackgroundTint.mTintList = tint;
mBackgroundTint.mHasTintList = true;
    applyBackgroundTint();
}
关于这个方法,官方解释是: Applies a tint to the background drawable. Does not modify
the current tint mode, which is {@link PorterDuff.Mode#SRC_IN} by default.Subsequent calls to {@link #setBackground(Drawable)} will automatically mutate the drawable and apply the specified tint and tint mode using{@link Drawable#setTintList(ColorStateList)}.
翻译:对背景drawable应用色调。 不修改当前色调模式,默认为{@link PorterDuff.Mode#SRC_IN}。后续调用{@#setBackground(Drawable)}会自动改变drawable,并使用{@linkDrawable#setTintList(ColorStateList)}应用指定的色调和色调模式。
applyBackgroundTint()故名思议即将色调应用于背景。
private void applyBackgroundTint() {
if (mBackground != null && mBackgroundTint != null) {
final TintInfo tintInfo = mBackgroundTint;
if (tintInfo.mHasTintList || tintInfo.mHasTintMode) {
mBackground = mBackground.mutate();
if (tintInfo.mHasTintList) {
mBackground.setTintList(tintInfo.mTintList);
}
if (tintInfo.mHasTintMode) {
mBackground.setTintMode(tintInfo.mTintMode);
}
// The drawable (or one of its children) may not have been
// stateful before applying the tint, so let’s try again.
if (mBackground.isStateful()) {
mBackground.setState(getDrawableState());
}
}
}
}
于是我们去尝试这个属性的效果:
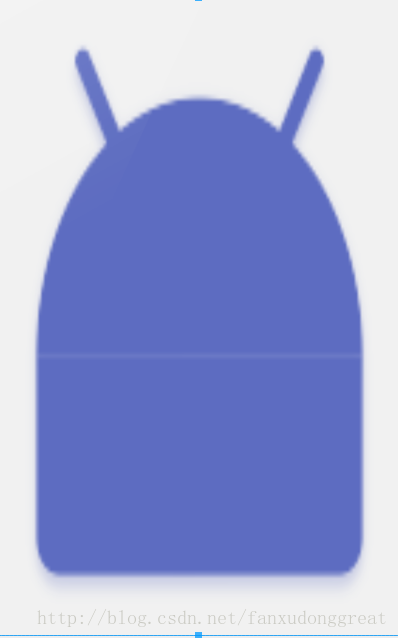
1):设置背景图片不设置backgroundTint,显示效果如下:

2):设置背景图片同时设置backgroundTint为蓝色,显示效果如下:
而当我们单独设置backgroundTint属性时,并没有发生作用,至此我们可以得到:
backgroundTint和backgroundt同时设设置的时候,效果会叠加,由此可以解决我们项目中同一张背景图
不同颜色的问题,即减少了项目体积的大小,页减小了内存使用率(不用重新向内存中decode图片资源),
那么如果是ImageView呢?是不是也是可以通过设置backgroundTint来改变颜色呢?带着这个问题我们给
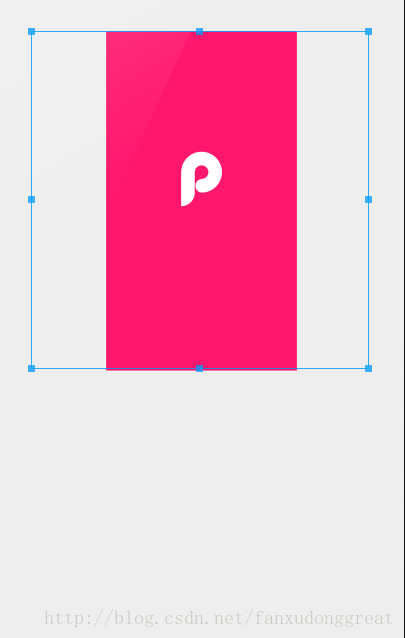
一个ImageView设置src和backgrounTint,效果如下:
我们发现,并没有起作用,于是我们又给他设置background,这时候显示效果如下:
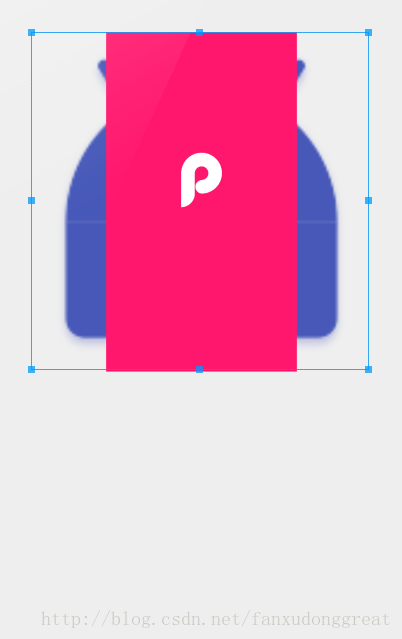
可见,backgrounTint只会和background进行效果叠加。
那么我们如何改变ImageView的颜色呢,我们前面在剖析ImageView的时候,有一个属性并没有详细解释:tint
于是我们先给他设置一个Tint尝试一下,显示效果如下:
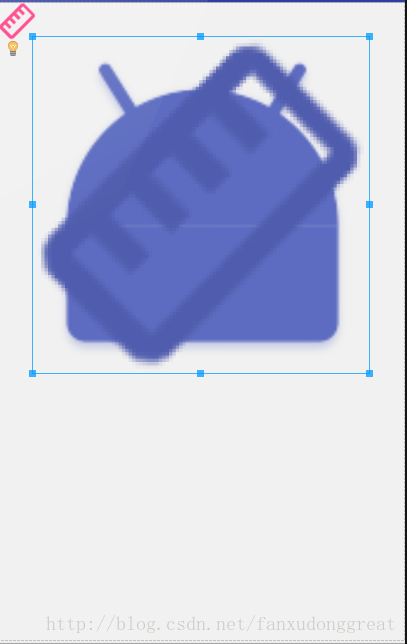
这不正是我们想要的效果么?
这不正是我们想要的效果么?那么Tint是如何工作的呢?究其源码:
构造函数中:
属性值获取: if (a.hasValue(R.styleable.ImageView_tint)) {
mDrawableTintList = a.getColorStateList(R.styleable.ImageView_tint);
mHasDrawableTint = true;
// Prior to L, this attribute would always set a color filter with
// blending mode SRC_ATOP. Preserve that default behavior.
mDrawableTintMode = PorterDuff.Mode.SRC_ATOP;
mHasDrawableTintMode = true;
}
使用方法:
public void setImageTintList(@Nullable ColorStateList tint) {
mDrawableTintList = tint;
mHasDrawableTint = true;
applyImageTint();
}
private void applyImageTint() {
if (mDrawable != null && (mHasDrawableTint || mHasDrawableTintMode)) {
mDrawable = mDrawable.mutate();
if (mHasDrawableTint) {
mDrawable.setTintList(mDrawableTintList);
}
if (mHasDrawableTintMode) {
mDrawable.setTintMode(mDrawableTintMode);
}
// The drawable (or one of its children) may not have been
// stateful before applying the tint, so let’s try again.
if (mDrawable.isStateful()) {
mDrawable.setState(getDrawableState());
}
}
}
applyImageTint和applyBackgrounbdTint实现内容一样,最后都调用了setTintList方法:
* Specifies tint color for this drawable as a color state list.
* A Drawable’s drawing content will be blended together with its tint
* before it is drawn to the screen. This functions similarly to
* {@link #setColorFilter(int, PorterDuff.Mode)}.
译:指定tint颜色列表作为此drawable的颜色状态列表,Drawable被绘制在屏幕上之前,绘图内容和
其色调将会混合在一起。类似于* {@link #setColorFilter(int,PorterDuff.Mode)}。
public void setTintList(@Nullable ColorStateList tint) {}
以上就是tint相关的初步剖析,关于如何兼容低版本,设置selector和封装工具类,网上已有相关博客,
作者有时间也就在以后介绍!


 178
178


 被折叠的 条评论
为什么被折叠?
被折叠的 条评论
为什么被折叠?
 到【灌水乐园】发言


