


用到的字符串资源
<?xml version="1.0" encoding="utf-8"?>
<resources>

    <string name="app_name">Myphone</string>
    <string name="hello_world">Hello world!</string>
    <string name="hint">请输入号码:</string>
    <string name="action_settings">Settings</string>
    <string name="dial"> 拨打号码 </string>
    <string name="unicom"> 联通热线 </string>
     <string name="pay"> 充值热线</string>


</resources>
注意在Android4.0以上中,字符串推荐在string.xml中先定义再使用,不推荐直接使用字符串赋值方式,而使用@引用方式,否则会报警
布局文件
<RelativeLayout xmlns:android="http://schemas.android.com/apk/res/android"
  android:layout_width="fill_parent"
    android:layout_height="fill_parent">
     <EditText
         android:id="@+id/text"
         android:layout_width="fill_parent"
         android:layout_height="140dip"
         android:background="#c0c0c0"
         android:inputType="phone"
         android:textSize="40sp"
         android:gravity="center"
         android:textColor="#7cfc00"
         android:paddingLeft="18dp"
         android:paddingRight="24dp"
         android:layout_margin="10dip"
        />
       <Button
           android:id="@+id/button1"
           android:layout_width="110dip"
           android:layout_height="wrap_content"
           android:layout_below="@+id/text"
            android:background="#c0c0c0"
            android:layout_margin="10dip"
           android:textColor="#b8860b"
           android:text="@string/dial"

           android:textSize="60sp" />

       <Button
           android:id="@+id/button2"
           android:layout_width="110dip"
           android:layout_height="wrap_content"
           android:layout_toRightOf="@id/button1"
           android:layout_below="@+id/text"
           android:layout_margin="10dip"
           android:background="#c0c0c0"
           android:text="@string/unicom"
           android:textColor="#7fff00"
           android:textSize="60sp" />

       <Button
           android:id="@+id/button3"
           android:layout_width="110dip"
           android:layout_height="wrap_content"
           android:layout_below="@+id/text"
            android:layout_toRightOf="@id/button2"
           android:layout_margin="10dip"
           android:background="#c0c0c0"
           android:text="@string/pay"
           android:textColor="#ff4500"
           android:textSize="60sp" />


  </RelativeLayout>
在android4.0以上,有一个framement_main.xml和activiy_main.xml,后者才是正在的布局文件,相当于android2.0中的main.xml.
<?xml version="1.0" encoding="utf-8"?>
<manifest xmlns:android="http://schemas.android.com/apk/res/android"
    package="com.example.myphone"
    android:versionCode="1"
    android:versionName="1.0" >

    <uses-sdk
        android:minSdkVersion="8"
        android:targetSdkVersion="19" />
   <uses-permission  android:name="android.permission.CALL_PHONE"/>
    <application
        android:allowBackup="true"
        android:icon="@drawable/myphone"
        android:label="@string/app_name"
        android:theme="@style/AppTheme" >
        <activity
            android:name="com.example.myphone.MainActivity"
            android:label="@string/app_name" >
            <intent-filter>
                <action android:name="android.intent.action.MAIN" />

                <category android:name="android.intent.category.LAUNCHER" />
            </intent-filter>
        </activity>
    </application>

</manifest>
注意电话呼叫涉及用户的隐私权限,需要采用该语句提示用户获得许可,否则程序无法安装
<uses-permission android:name="android.permission.CALL_PHONE"/>
java源代码
package com.example.myphone;

import android.support.v7.app.ActionBarActivity;
import android.view.View;
import android.view.View.OnClickListener;
import android.widget.Button;
import android.widget.EditText;
import android.widget.TextView;
import android.content.Intent;
import android.net.Uri;
import android.os.Bundle;

public class MainActivity extends ActionBarActivity {
	Button bt1,bt2,bt3;
	String s;
	TextView v;
	TextView v2;
	EditText number;
    @Override
    protected void onCreate(Bundle savedInstanceState) {
        super.onCreate(savedInstanceState);

        setContentView(R.layout.activity_main);
    	bt1=(Button)findViewById(R.id.button1);
    	bt2=(Button)findViewById(R.id.button2);
    	bt3=(Button)findViewById(R.id.button3);
    	number=(EditText)findViewById(R.id.text);
    	bt1.setOnClickListener(listener);
    	bt2.setOnClickListener(listener);
    	bt3.setOnClickListener(listener);
    }
    private OnClickListener listener =new OnClickListener()
    {
    	@Override
		public void onClick(View arg0)
		{
			Button btx=(Button)arg0;

			switch(btx.getId())
						{

							case R.id.button1:

			                  	s=number.getText().toString();
			                  	if(s.equals("")==true)
			                  		return;
			                    	break;

							case R.id.button2:
							  s="10010";
							  break;
							case R.id.button3:
							  s="10011";
							   break;
						}
			    Uri data;
				Intent intent=new Intent();
				intent.setAction("android.intent.action.CALL");
				intent.addCategory("android.intent.category.DEFAULT");
				data=Uri.parse("tel:"+ s);
				intent.setData(data);
				startActivity(intent);
	    }


    };

}
注意Intent使用要点:
1.行为 action
2.类别 category
3.数据 data,所有的data采用Uri格式,注意转换
4.通过intent启动另外一个activity
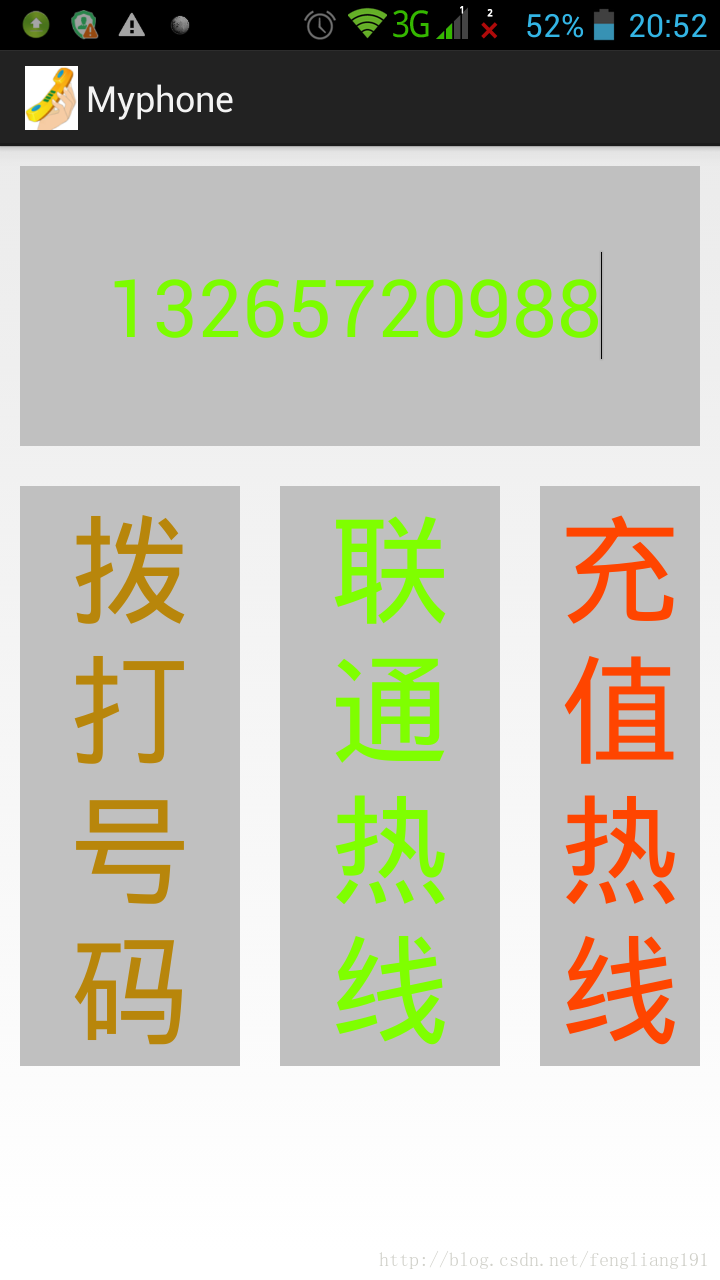
以下是程序拨号的效果


 851
851


 被折叠的 条评论
为什么被折叠?
被折叠的 条评论
为什么被折叠?
 到【灌水乐园】发言


