


知识点
Navigator的基本用法
回顾前面已经学习过的NavigatorIOS
1.在Home目录下新建首页详细页HomeDetail.js
/**
 * Sample React Native App
 * https://github.com/facebook/react-native
 * @flow
 */

import React, { Component } from 'react';
import {
    AppRegistry,
    StyleSheet,
    Text,
    View,
    TouchableOpacity
} from 'react-native';

// ES5
var HomeDetail = React.createClass({
    render() {
        return (
            <View style={styles.container}>
                <TouchableOpacity onPress={()=>{this.popToHome()}}>
                    <Text style={styles.welcome}>
                        HomeDetail
                    </Text>
                </TouchableOpacity>
            </View>
        );
    },

    // 返回首页
    popToHome(){
        this.props.navigator.pop();
    }
});

const styles = StyleSheet.create({
    container: {
        flex: 1,
        justifyContent: 'center',
        alignItems: 'center',
        backgroundColor: 'red',
    },
    welcome: {
        fontSize: 20,
        textAlign: 'center',
        margin: 10,
    },
});

// 输出
module.exports = HomeDetail;
2.从Home.js跳转到HomeDetail.js,修改Home.js:
/**
 * Sample React Native App
 * https://github.com/facebook/react-native
 * @flow
 */

import React, { Component } from 'react';
import {
    AppRegistry,
    StyleSheet,
    Text,
    View,
    TouchableOpacity
} from 'react-native';

/*======导入外部组件类======*/
var HomeDetail = require('./HomeDetail');


// ES5
var Home = React.createClass({
    render() {
        return (
            <View style={styles.container}>
                <TouchableOpacity onPress={()=>{this.pushToDetail()}}>
                    <Text style={styles.welcome}>
                        Home
                    </Text>
                </TouchableOpacity>
            </View>
        );
    },

    // 跳转到首页详细页
    pushToDetail(){
        this.props.navigator.push({
            component:HomeDetail,   // 要跳转过去的组件
            title:'首页详细页'
        });
    }
});

const styles = StyleSheet.create({
    container: {
        flex: 1,
        justifyContent: 'center',
        alignItems: 'center',
        backgroundColor: '#F5FCFF',
    },
    welcome: {
        fontSize: 20,
        textAlign: 'center',
        margin: 10,
    },
});

// 输出
module.exports = Home;
3.在Main.js给首页的tab设置Navigator
/**
* Sample React Native App
* https://github.com/facebook/react-native
* @flow
*/
import React, { Component } from 'react';
import {
AppRegistry,
StyleSheet,
Text,
View,
Image,
Platform, //判断当前运行的系统
Navigator
} from 'react-native';
/*=============导入外部组件类==============*/
import TabNavigator from 'react-native-tab-navigator';
var Home = require('../Home/Home');
var Shop = require('../Shop/Shop');
var Mine = require('../Mine/Mine');
var More = require('../More/More');
// ES5
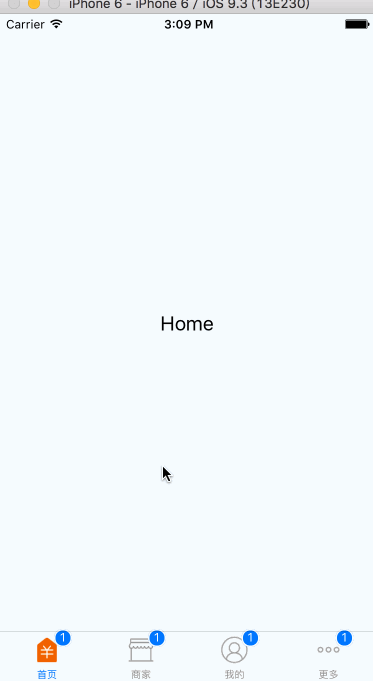
var Main = React.createClass({
// 初始化函数(变量是可以改变的,充当状态机的角色)
getInitialState(){
return{
selectedTab:'home' // 默认选中的tabBar
}
},
render() {
return (
<TabNavigator>
{/*--首页--*/}
<TabNavigator.Item
title="首页"
renderIcon={() => <Image source={{uri:'icon_tabbar_homepage'}} style={styles.iconStyle} />}
renderSelectedIcon={() => <Image source={{uri:'icon_tabbar_homepage_selected'}} style={styles.selectedIconStyle} />}
badgeText="1"
selected={this.state.selectedTab === 'home'}
onPress={() => this.setState({ selectedTab: 'home' })}
>
<Navigator
initialRoute={{name: '首页', component:Home}}
// configureScene={()=>{
// return Navigator.SceneConfigs.PushFromRight;
// }}
renderScene={(route, navigator) =>{
let Component = route.component;
return <Component {...route.passProps} navigator={navigator} />
}}
/>
</TabNavigator.Item>
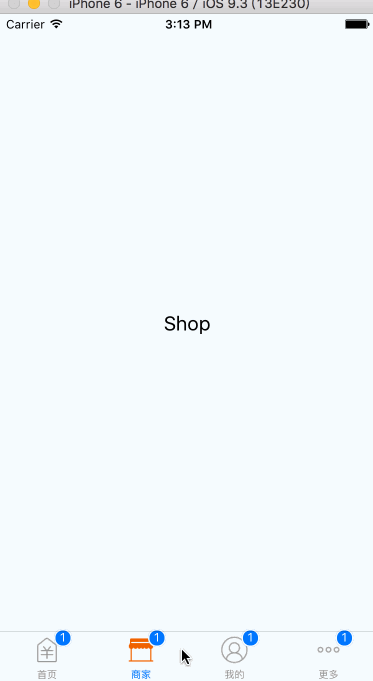
{/*--商家--*/}
<TabNavigator.Item
title="商家"
renderIcon={() => <Image source={{uri:'icon_tabbar_merchant_normal'}} style={styles.iconStyle} />}
renderSelectedIcon={() => <Image source={{uri:'icon_tabbar_merchant_selected'}} style={styles.selectedIconStyle} />}
badgeText="1"
selected={this.state.selectedTab === 'shop'}
onPress={() => this.setState({ selectedTab: 'shop' })}
>
<Shop />
</TabNavigator.Item>
{/*--我的--*/}
<TabNavigator.Item
title="我的"
renderIcon={() => <Image source={{uri:'icon_tabbar_mine'}} style={styles.iconStyle} />}
renderSelectedIcon={() => <Image source={{uri:'icon_tabbar_mine_selected'}} style={styles.selectedIconStyle} />}
badgeText="1"
selected={this.state.selectedTab === 'mine'}
onPress={() => this.setState({ selectedTab: 'mine' })}
>
<Mine />
</TabNavigator.Item>
{/*--更多--*/}
<TabNavigator.Item
title="更多"
renderIcon={() => <Image source={{uri:'icon_tabbar_misc'}} style={styles.iconStyle} />}
renderSelectedIcon={() => <Image source={{uri:'icon_tabbar_misc_selected'}} style={styles.selectedIconStyle} />}
badgeText="1"
onPress={() => this.setState({ selectedTab: 'more' })}
selected={this.state.selectedTab === 'more'}
>
<More />
</TabNavigator.Item>
</TabNavigator>
);
}
});
const styles = StyleSheet.create({
iconStyle:{
width: Platform.OS === 'ios' ? 30 : 25,
height:Platform.OS === 'ios' ? 30 : 25,
},
selectedIconStyle:{
width:Platform.OS === 'ios' ? 30 : 25,
height:Platform.OS === 'ios' ? 30 : 25,
},
});
// 输出
module.exports = Main;4.测试
以上效果已经实现了从 首页 到 首页详细页 的跳转。
跳转方向默认是:PushFromRight
5.尝试修改跳转动画
configureScene={()=>{
    return Navigator.SceneConfigs.FloatFromBottom;
}}


 908
908


 被折叠的 条评论
为什么被折叠?
被折叠的 条评论
为什么被折叠?
 到【灌水乐园】发言


