


创建动态Web项目
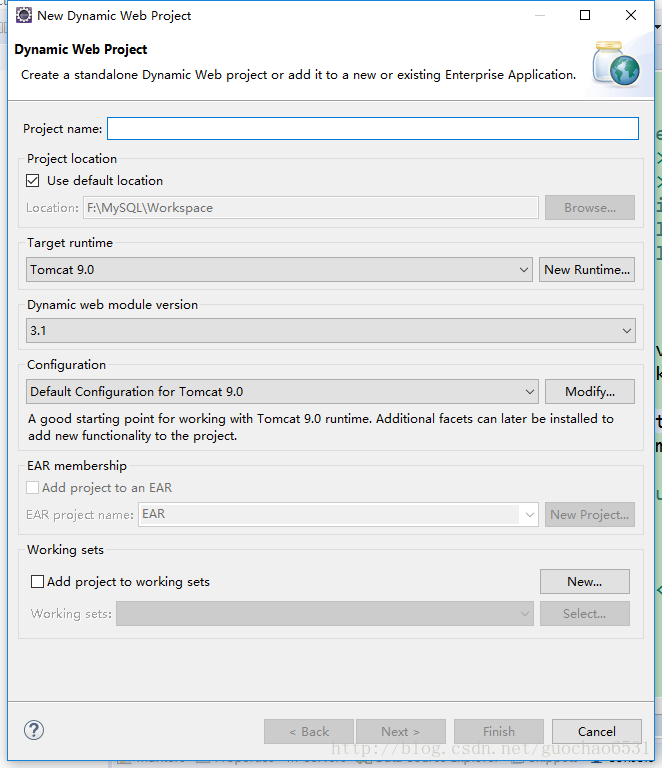
点击Eclipse左上角File->New->Dynamic Web Project创建项目,出现如下对话框。如果没有创建这个类别,可以点击New菜单内的Other查找,若没有则需要进行Eclipse配置Web开发。
在Project name后填写SpringTest,其它默认设置点击next…然后finish完成创建。
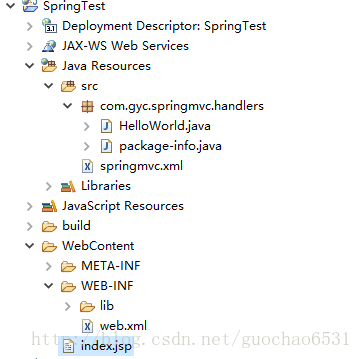
项目总框架如下所示:
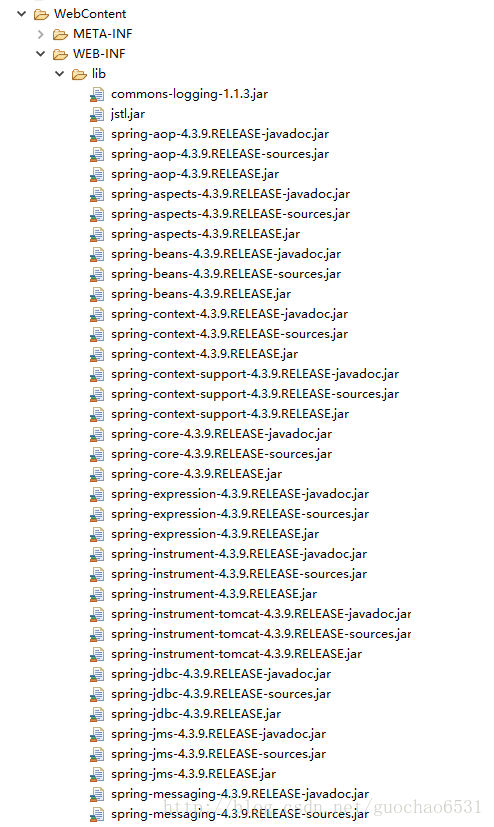
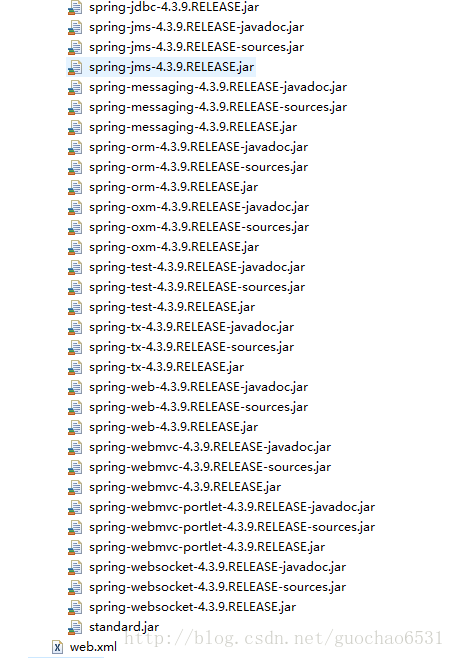
添加相关Jar包
主要jar文件包:spring-framework-4.3.9.RELEASE.jar
commons-logging-1.1.3.jar
jstl.jar
standard.jar
spring-framework的JAR包可以去Index of release/org/springframework/spring/4.3.9.RELEASE
进行下载,点击spring-framework-4.3.9.RELEASE-dist.zip下载然后解压,为了图方便,我这里将lib内的所有jar文件粘贴复制到下图所示内,其它JAR包可以在搜索单一下载。
XML配置以及运行程序
web.xml配置
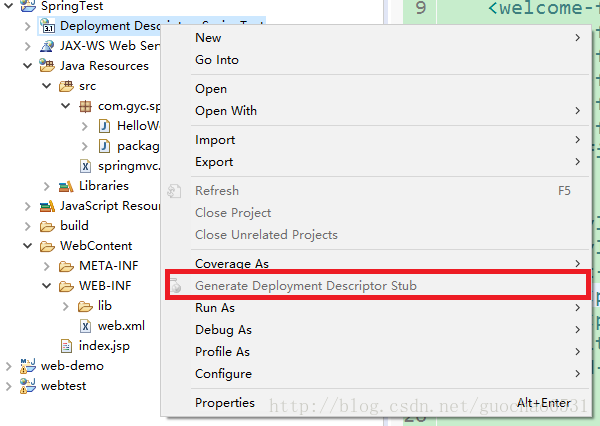
如果项目在创建过程中未添加web.xml文件,可以点击Deployment Descriptor:SpringTest->Generate,如红框所示
Web.xml配置如下所示:
<?xml version="1.0" encoding="UTF-8"?>
<web-app xmlns:xsi="http://www.w3.org/2001/XMLSchema-instance"
         xmlns="http://xmlns.jcp.org/xml/ns/javaee"
         xsi:schemaLocation="http://xmlns.jcp.org/xml/ns/javaee
         http://xmlns.jcp.org/xml/ns/javaee/web-app_3_1.xsd"
         id="WebApp_ID" version="3.1">
  <display-name>SpringTest</display-name>
  <welcome-file-list>
    <welcome-file>index.html</welcome-file>
    <welcome-file>index.htm</welcome-file>
    <welcome-file>index.jsp</welcome-file>
    <welcome-file>default.html</welcome-file>
    <welcome-file>default.htm</welcome-file>
    <welcome-file>default.jsp</welcome-file>
  </welcome-file-list>

  <servlet>
        <servlet-name>SpringDispatcherservlet</servlet-name>
        <servlet-class>org.springframework.web.servlet.DispatcherServlet</servlet-class>
        <init-param>
            <param-name>contextConfigLocation</param-name>
            <!-- 设置springmvc.xml文件位置 -->
            <param-value>classpath:springmvc.xml</param-value>
        </init-param>
        <!-- 设置servlet文件等级值,大于0时,值越小等级越高,应用启动时就越先加载 -->
        <load-on-startup>1</load-on-startup>
  </servlet>

  <servlet-mapping>
    <servlet-name>SpringDispatcherservlet</servlet-name>
    <!-- 适用于所有的url -->
    <url-pattern>/</url-pattern>
  </servlet-mapping>

</web-app>- springmvc.xml配置
<?xml version="1.0" encoding="UTF-8"?>
<beans xmlns="http://www.springframework.org/schema/beans"
    xmlns:xsi="http://www.w3.org/2001/XMLSchema-instance"
    xmlns:context="http://www.springframework.org/schema/context"
    xmlns:mvc="http://www.springframework.org/schema/mvc"
    xsi:schemaLocation="http://www.springframework.org/schema/beans http://www.springframework.org/schema/beans/spring-beans.xsd
        http://www.springframework.org/schema/context http://www.springframework.org/schema/context/spring-context-4.0.xsd
        http://www.springframework.org/schema/mvc http://www.springframework.org/schema/mvc/spring-mvc-4.0.xsd">

  <context:component-scan base-package="com.gyc.springmvc.handlers"></context:component-scan>

  <bean class="org.springframework.web.servlet.view.InternalResourceViewResolver">
         <property name = "prefix" value="/WEB-INF/views/"></property>
          <property name = "suffix" value = ".jsp"></property>
  </bean>

</beans>- index.jsp
<%@ page language="java" contentType="text/html; charset=UTF-8"
pageEncoding="UTF-8"%>
<!DOCTYPE html PUBLIC "-//W3C//DTD HTML 4.01 Transitional//EN" "http://www.w3.org/TR/html4/loose.dtd">
<html>
<head>
<meta http-equiv="Content-Type" content="text/html; charset=UTF-8">
<title>Insert title here</title>
</head>
<body>
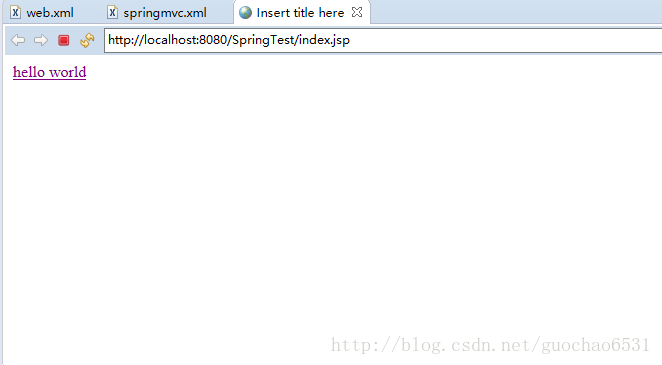
<a href="helloworld">hello world</a>
</body>
</html>- HelloWorld.java程序,Controller控制器
import org.springframework.stereotype.Controller;
import org.springframework.web.bind.annotation.RequestMapping;

@Controller
public class HelloWorld {

    @RequestMapping("/helloworld")
    public void hello(){
        System.out.println("hello world");
    }
}- 测试结果
右键项目点击Run As->Run on server运行项目,结果如下
点击Hello world以后,控制台输出如下:


 1230
1230


 被折叠的 条评论
为什么被折叠?
被折叠的 条评论
为什么被折叠?
 到【灌水乐园】发言


