


android自定义控件对于每一个android程序员来说是基本技能,今天写了一个自定义TextView,通过xml定义属性leftText和rightText实现在一个view里面实现两个text并且设置相应属性。
1.在res/values/attr.xml
<?xml version="1.0" encoding="utf-8"?>
<resources>
    <attr name="leftText" format="string"></attr>
    <attr name="leftTextSize" format="dimension"></attr>
    <attr name="leftTextColor" format="color"></attr>
    <attr name="rightText" format="string"></attr>
    <attr name="rightTextSize" format="dimension"></attr>
    <attr name="rightTextColor" format="color"></attr>
    <declare-styleable name="customTextView">
        <attr name="leftText"/>
        <attr name="leftTextSize"/>
        <attr name="leftTextColor"/>
        <attr name="rightText"/>
        <attr name="rightTextSize"/>
        <attr name="rightTextColor"/>
    </declare-styleable>

</resources>
2.在构造方法中获得我们需要的属性
 public CustomTextView(Context context, AttributeSet attrs, int defStyleAttr) {
        super(context, attrs, defStyleAttr);
        TypedArray a = context.getTheme().obtainStyledAttributes(attrs, R.styleable.customTextView, defStyleAttr, 0);
        int num = a.getIndexCount();
        for (int i = 0;i<num;i++){
            int attr = a.getIndex(i);
            switch (attr){
                case R.styleable.customTextView_leftText:
                    leftText = a.getString(attr);
                    break;
                case R.styleable.customTextView_leftTextColor:
                    leftTextColor = a.getColor(attr, Color.BLACK);
                    break;
                case R.styleable.customTextView_leftTextSize:
                    leftTextSize = a.getDimensionPixelSize(attr, (int)TypedValue.applyDimension(TypedValue.COMPLEX_UNIT_SP,16,getResources().getDisplayMetrics()));
                    break;
                case R.styleable.customTextView_rightText:
                    rightText = a.getString(attr);
                    break;
                case R.styleable.customTextView_rightTextColor:
                    rightTextColor = a.getColor(attr, Color.BLACK);
                    break;
                case R.styleable.customTextView_rightTextSize:
                    rightTextSize = a.getDimensionPixelSize(attr, (int)TypedValue.applyDimension(TypedValue.COMPLEX_UNIT_SP,16,getResources().getDisplayMetrics()));
                    break;
            }
        }
        a.recycle();

        mPaint = new Paint();
        mPaint.setTextSize(leftTextSize);
        mBound = new Rect();
        mPaint.getTextBounds(leftText, 0, leftText.length(), mBound);

        rightPiant = new Paint();
        rightPiant.setTextSize(rightTextSize);
        rightBuound = new Rect();
        rightPiant.getTextBounds(rightText,0,rightText.length(),rightBuound);
    }
3.重写onDraw
    @Override
    protected void onDraw(Canvas canvas) {

        mPaint.setColor(Color.BLACK);

        canvas.drawRect(0, 0, getMeasuredWidth(), getMeasuredHeight(), mPaint);

        mPaint.setColor(leftTextColor);

        canvas.drawText(leftText, getWidth() /10 , getHeight() / 2 + mBound.height() / 2, mPaint);

        rightPiant.setColor(rightTextColor);
        canvas.drawText(rightText, getWidth() / 2 -rightBuound.width() , getHeight() / 2 + rightBuound.height() / 2, rightPiant);
        super.onDraw(canvas);
    }
下面在xml里面定义CustomTextView
<RelativeLayout xmlns:android="http://schemas.android.com/apk/res/android"
    xmlns:tools="http://schemas.android.com/tools"
    xmlns:custom="http://schemas.android.com/apk/res-auto"
    android:layout_width="match_parent"

    android:layout_height="match_parent" android:paddingLeft="@dimen/activity_horizontal_margin"
    android:paddingRight="@dimen/activity_horizontal_margin"
    android:paddingTop="@dimen/activity_vertical_margin"
    android:paddingBottom="@dimen/activity_vertical_margin" tools:context=".MainActivity">

  <cn.sundroid.customtextview.widget.CustomTextView
      android:layout_width="match_parent"
      android:layout_height="50dp"
      custom:leftText="爱生活"
      custom:leftTextColor="#ffffff"
      custom:leftTextSize="16sp"
      custom:rightText="爱android"
      custom:rightTextColor="#a4ff91"
      custom:rightTextSize="16sp"
 />

</RelativeLayout>
下面是实现的效果
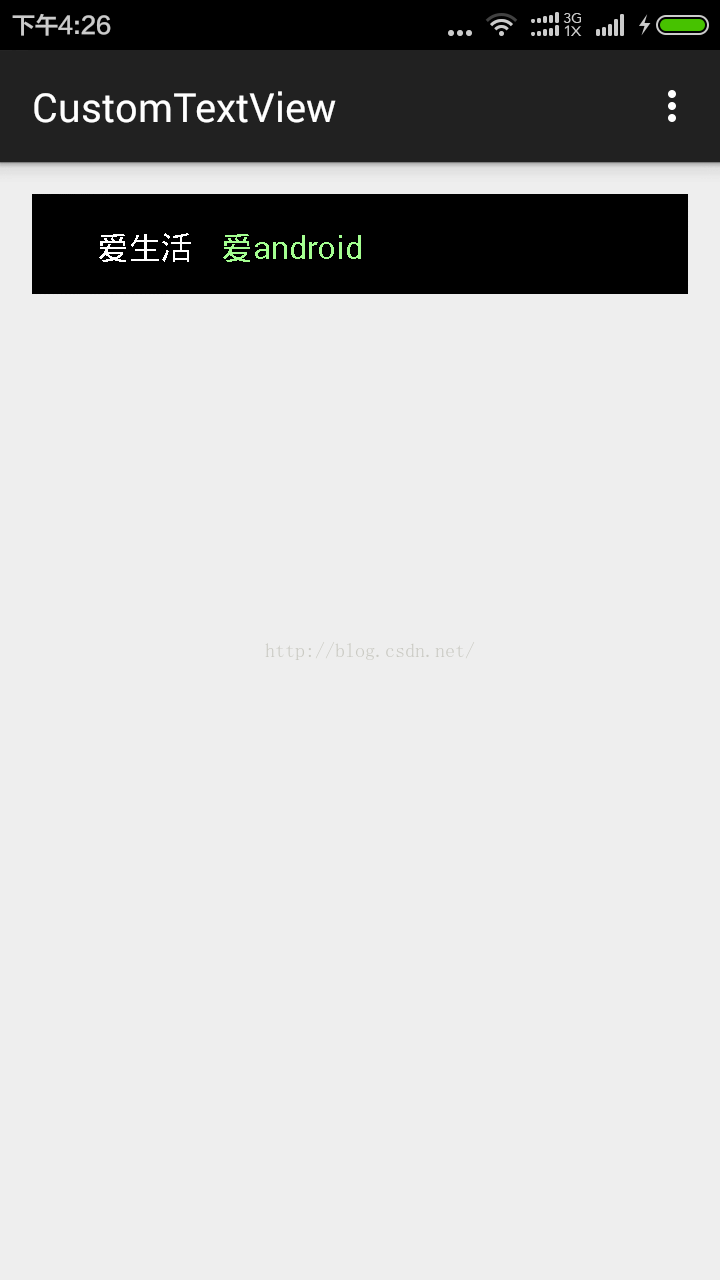
好的,就这样吧!


 1422
1422


 被折叠的 条评论
为什么被折叠?
被折叠的 条评论
为什么被折叠?
 到【灌水乐园】发言


