


前言
上篇Spring博文主要引出了为啥我们需要使用Spring框架,以及大致了解了Spring是分为六大模块的….本博文主要讲解Spring的core模块!
搭建配置环境
引入jar包
本博文主要是core模块的内容,涉及到Spring core的开发jar包有五个:
- commons-logging-1.1.3.jar 日志
- spring-beans-3.2.5.RELEASE.jar bean节点
- spring-context-3.2.5.RELEASE.jar spring上下文节点
- spring-core-3.2.5.RELEASE.jar spring核心功能
- spring-expression-3.2.5.RELEASE.jar spring表达式相关表
我主要使用的是Spring3.2版本…
配置文件
Spring核心的配置文件applicationContext.xml或者叫bean.xml
那这个配置文件怎么写呢??一般地,我们都知道框架的配置文件都是有约束的…我们可以在spring-framework-3.2.5.RELEASE\docs\spring-framework-reference\htmlsingle\index.html找到XML配置文件的约束
<beans xmlns="http://www.springframework.org/schema/beans"
    xmlns:xsi="http://www.w3.org/2001/XMLSchema-instance"
    xmlns:p="http://www.springframework.org/schema/p"
    xmlns:context="http://www.springframework.org/schema/context"
    xsi:schemaLocation="
        http://www.springframework.org/schema/beans
        http://www.springframework.org/schema/beans/spring-beans.xsd
        http://www.springframework.org/schema/context
        http://www.springframework.org/schema/context/spring-context.xsd">

</beans>
我是使用Intellij Idea集成开发工具的,可以选择自带的Spring配置文件,它长的是这样:
<?xml version="1.0" encoding="UTF-8"?>
<beans xmlns="http://www.springframework.org/schema/beans"
       xmlns:xsi="http://www.w3.org/2001/XMLSchema-instance"
       xsi:schemaLocation="http://www.springframework.org/schema/beans http://www.springframework.org/schema/beans/spring-beans.xsd">

</beans>
Core模块快速入门
前面在介绍Spring模块的时候已经说了,Core模块是:IOC容器,解决对象依赖关系。
因此Core模块主要是学习如何得到IOC容器,通过IOC容器来创建对象、解决对象之间的依赖关系、IOC细节。
得到Spring容器对象【IOC容器】
Spring容器不单单只有一个,可以归为两种类型
- Bean工厂,BeanFactory【功能简单】
- 应用上下文,ApplicationContext【功能强大,一般我们使用这个】
通过Resource获取BeanFactory
- 加载Spring配置文件
- 通过XmlBeanFactory+配置文件来创建IOC容器
        //加载Spring的资源文件
        Resource resource = new ClassPathResource("applicationContext.xml");

        //创建IOC容器对象【IOC容器=工厂类+applicationContext.xml】
        BeanFactory beanFactory = new XmlBeanFactory(resource);
类路径下XML获取ApplicationContext
- 直接通过ClassPathXmlApplicationContext对象来获取
        // 得到IOC容器对象
        ApplicationContext ac = new ClassPathXmlApplicationContext("applicationContext.xml");

        System.out.println(ac);
XML配置信息
在上面我们已经可以得到IOC容器对象了。接下来就是在applicationContext.xml文件中配置信息【让IOC容器根据applicationContext.xml文件来创建对象】
- 首先我们先有个JavaBean的类
/**
 * Created by ozc on 2017/5/10.
 */
public class User {

    private String id;
    private String username;


    public String getId() {
        return id;
    }

    public void setId(String id) {
        this.id = id;
    }

    public String getUsername() {
        return username;
    }

    public void setUsername(String username) {
        this.username = username;
    }
}
- 以前我们是通过new User的方法创建对象的….
User user = new User();- 现在我们有了IOC容器,可以让IOC容器帮我们创建对象了。在applicationContext.xml文件中配置对应的信息就行了
       <!--
        使用bean节点来创建对象
            id属性标识着对象
            name属性代表着要创建对象的类全名
        -->
    <bean id="user" class="User"/>
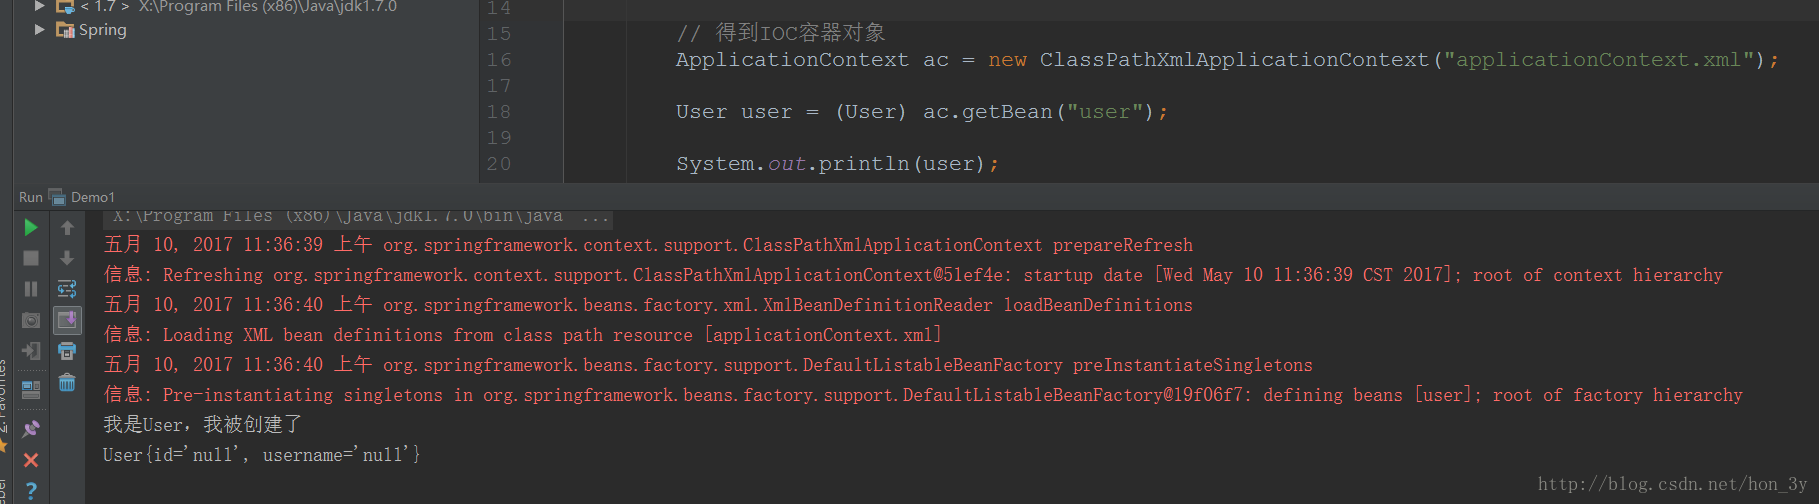
通过IOC容器获取对象
- 在外界通过IOC容器对象得到User对象
        // 得到IOC容器对象
        ApplicationContext ac = new ClassPathXmlApplicationContext("applicationContext.xml");

        User user = (User) ac.getBean("user");

        System.out.println(user);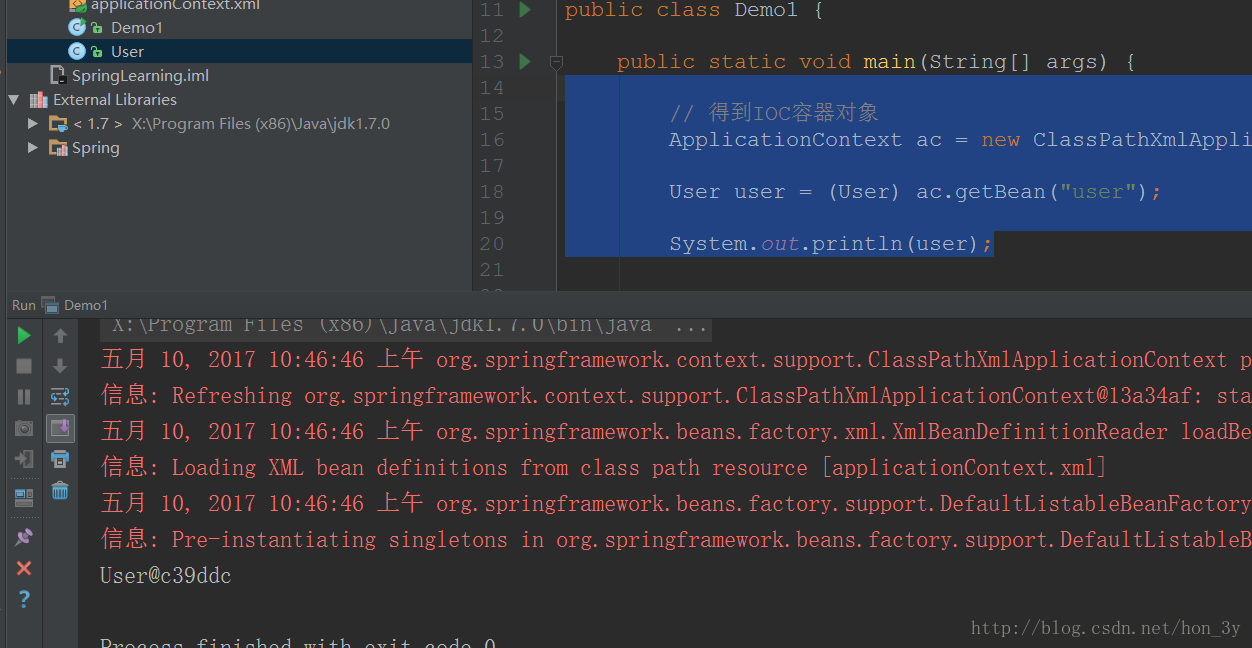
bean对象创建细节
在Spring第一篇中,我们为什么要引入Spring提出了这么一些问题:
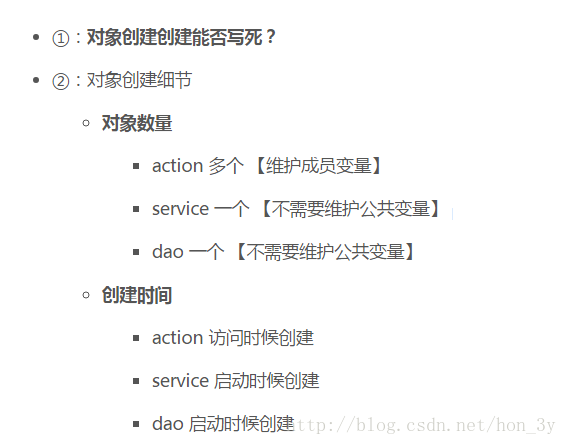
既然我们现在已经初步了解IOC容器了,那么这些问题我们都是可以解决的。并且是十分简单【对象写死问题已经解决了,IOC容器就是控制反转创建对象】
scope属性
指定scope属性,IOC容器就知道创建对象的时候是单例还是多例的了。
属性的值就只有两个:单例/多例

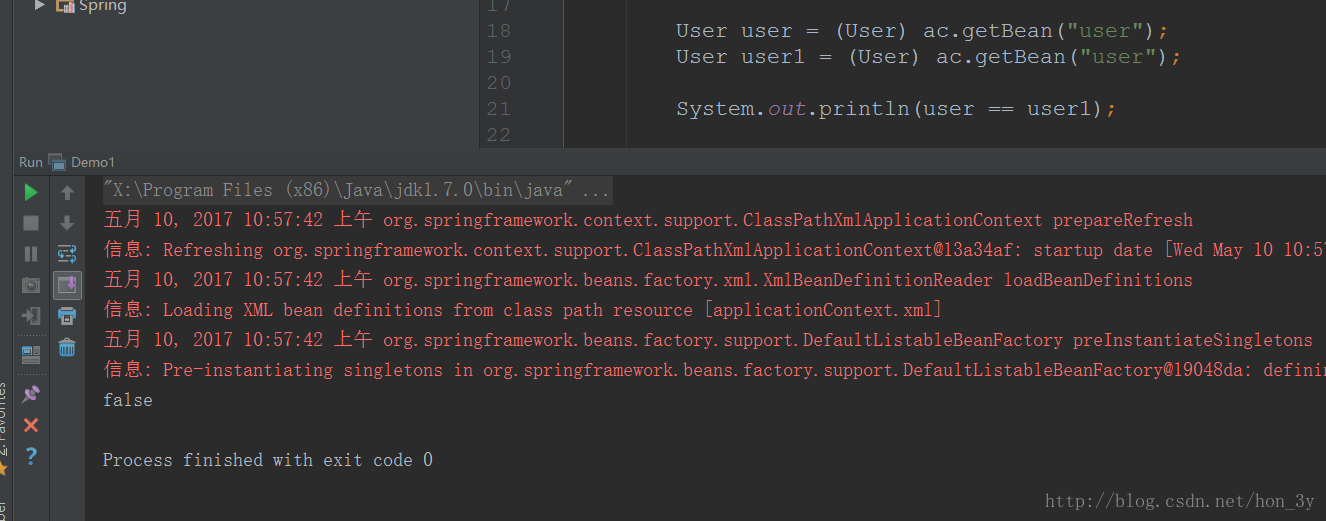
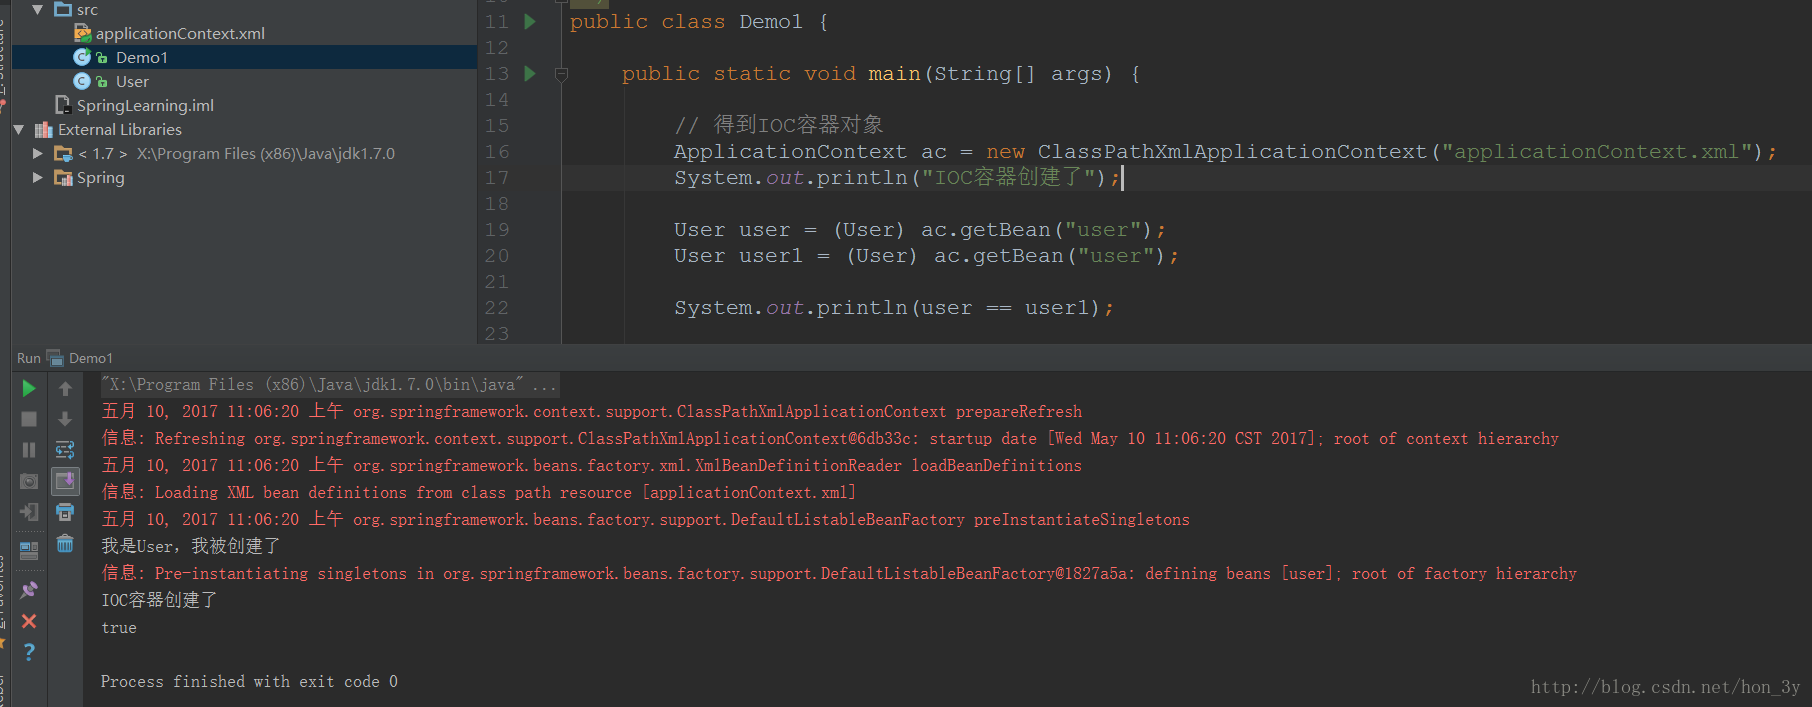
- 当我们使用singleton【单例】的时候,从IOC容器获取的对象都是同一个:
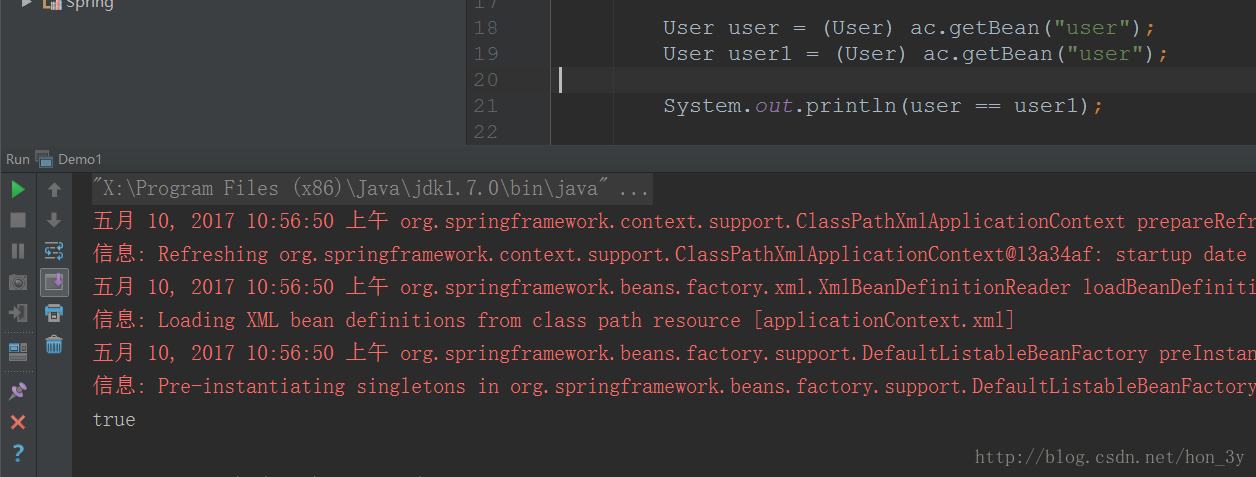
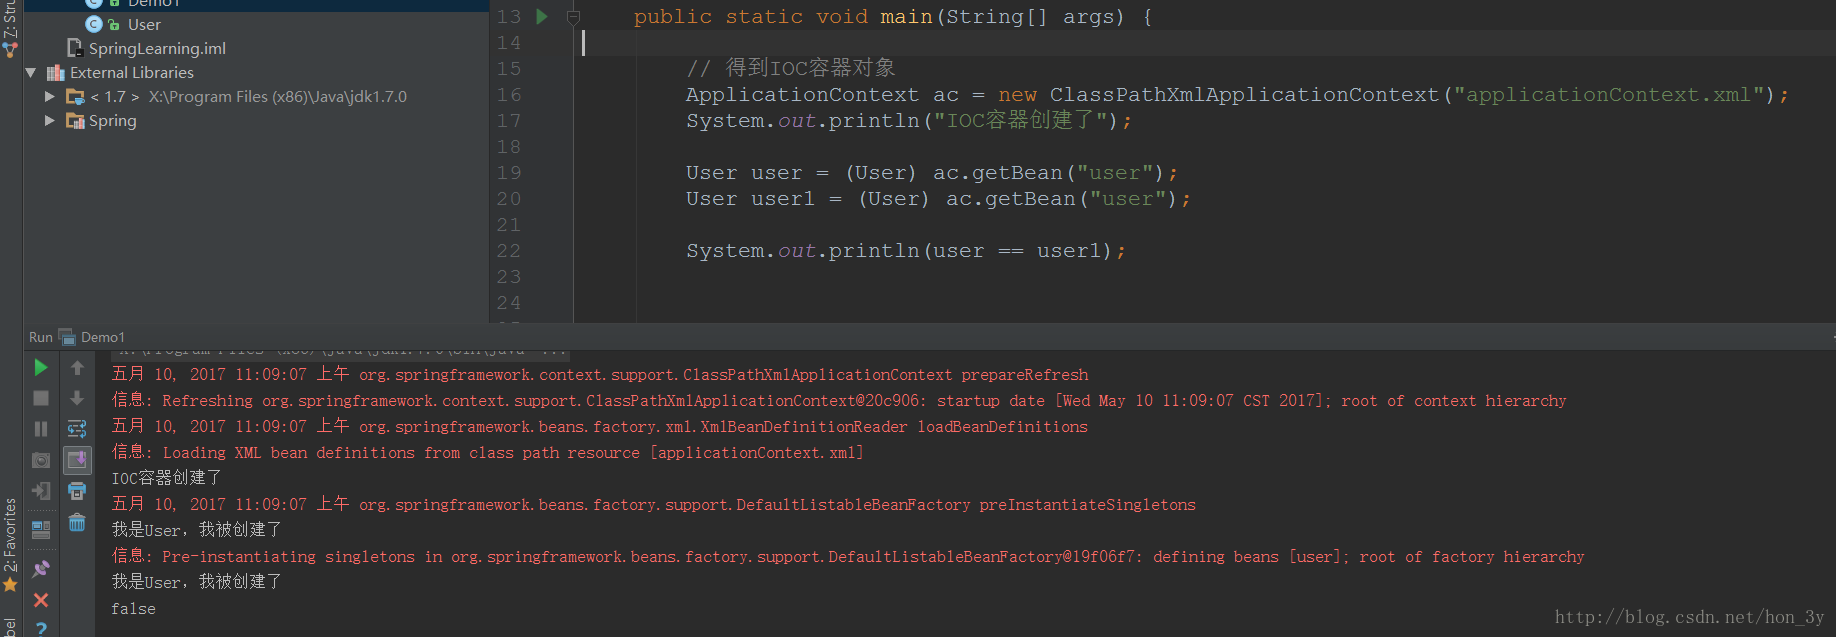
- 当我们使用prototype【多例】的时候,从IOC容器获取的对象都是不同的:
scope属性除了控制对象是单例还是多例的,还控制着对象创建的时间!
- 我们在User的构造函数中打印出一句话,就知道User对象是什么时候创建了。
    public User() {

        System.out.println("我是User,我被创建了");
    }
- 当使用singleton的时候,对象在IOC容器之前就已经创建了
- 当使用prototype的时候,对象在使用的时候才创建
lazy-init属性
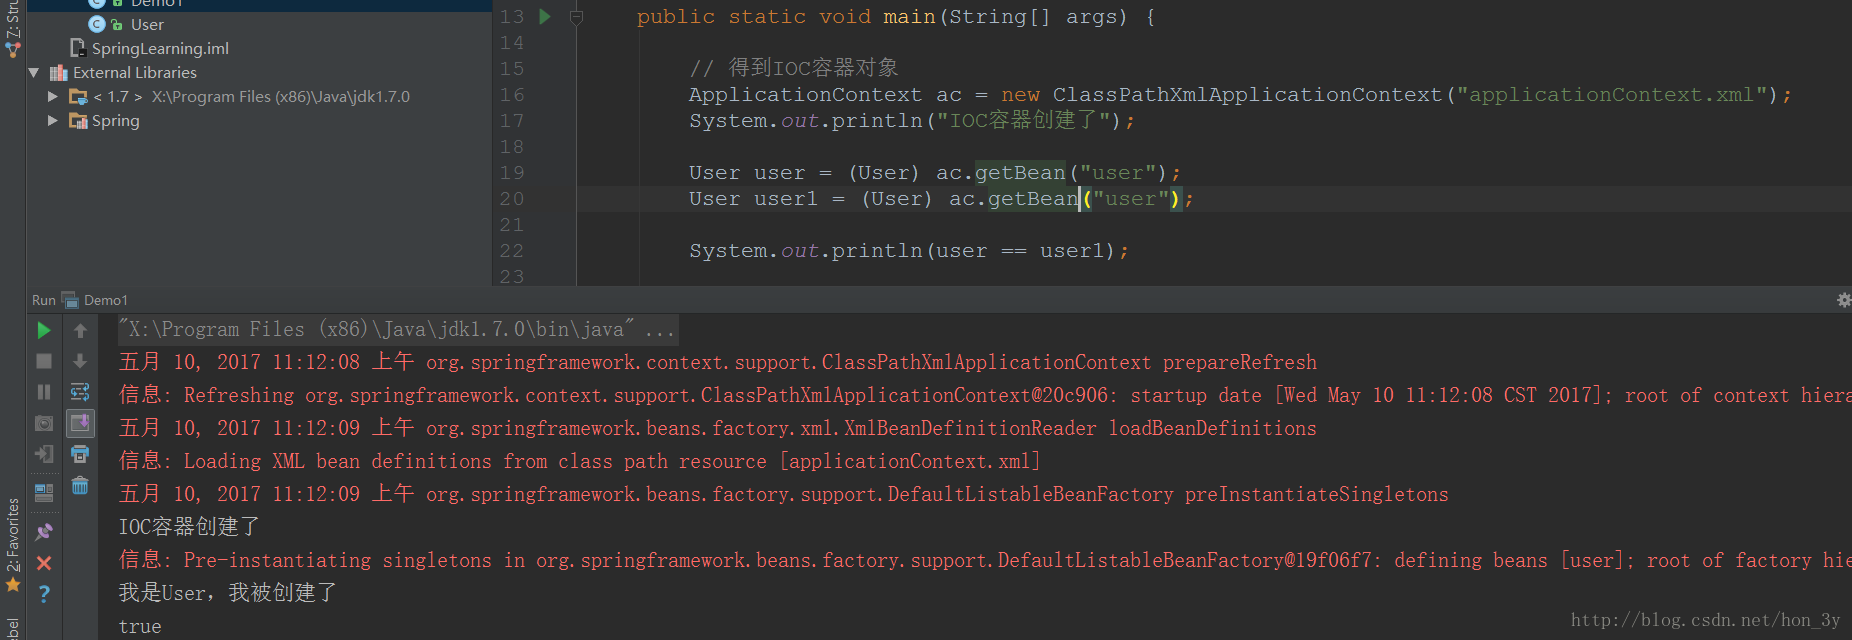
lazy-init属性只对singleton【单例】的对象有效…..lazy-init默认为false….
有的时候,可能我们想要对象在使用的时候才创建,那么将lazy-init设置为ture就行了
init-method和destroy-method
如果我们想要对象在创建后,执行某个方法,我们指定为init-method属性就行了。。
如果我们想要IOC容器销毁后,执行某个方法,我们指定destroy-method属性就行了。
<bean id="user" class="User" scope="singleton" lazy-init="true" init-method="" destroy-method=""/>Bean创建细节总结
    /**
     * 1) 对象创建: 单例/多例
     *  scope="singleton", 默认值, 即 默认是单例 【service/dao/工具类】
     *  scope="prototype", 多例;              【Action对象】
     *
     * 2) 什么时候创建?
     *    scope="prototype"  在用到对象的时候,才创建对象。
     *    scope="singleton"  在启动(容器初始化之前), 就已经创建了bean,且整个应用只有一个。
     * 3)是否延迟创建
     *    lazy-init="false"  默认为false,  不延迟创建,即在启动时候就创建对象
     *    lazy-init="true"   延迟初始化, 在用到对象的时候才创建对象
     *    (只对单例有效)
     * 4) 创建对象之后,初始化/销毁
     *    init-method="init_user"       【对应对象的init_user方法,在对象创建之后执行 】
     *    destroy-method="destroy_user"  【在调用容器对象的destroy方法时候执行,(容器用实现类)】
     */
IOC创建对象
上面我们使用的是IOC通过无参构造函数来创建对象,我们来回顾一下一般有几种创建对象的方式:
- 无参构造函数创建对象
- 带参数的构造函数创建对象
- 工厂创建对象
- 静态方法创建对象
- 非静态方法创建对象
使用无参的构造函数创建对象我们已经会了,接下来我们看看使用剩下的IOC容器是怎么创建对象的。
带参数的构造函数创建对象
首先,JavaBean就要提供带参数的构造函数:
    public User(String id, String username) {
        this.id = id;
        this.username = username;
    }
接下来,关键是怎么配置applicationContext.xml文件了。
    <bean id="user" class="User">

        <!--通过constructor这个节点来指定构造函数的参数类型、名称、第几个-->
        <constructor-arg index="0" name="id" type="java.lang.String" value="1"></constructor-arg>
        <constructor-arg index="1" name="username" type="java.lang.String" value="zhongfucheng"></constructor-arg>
    </bean>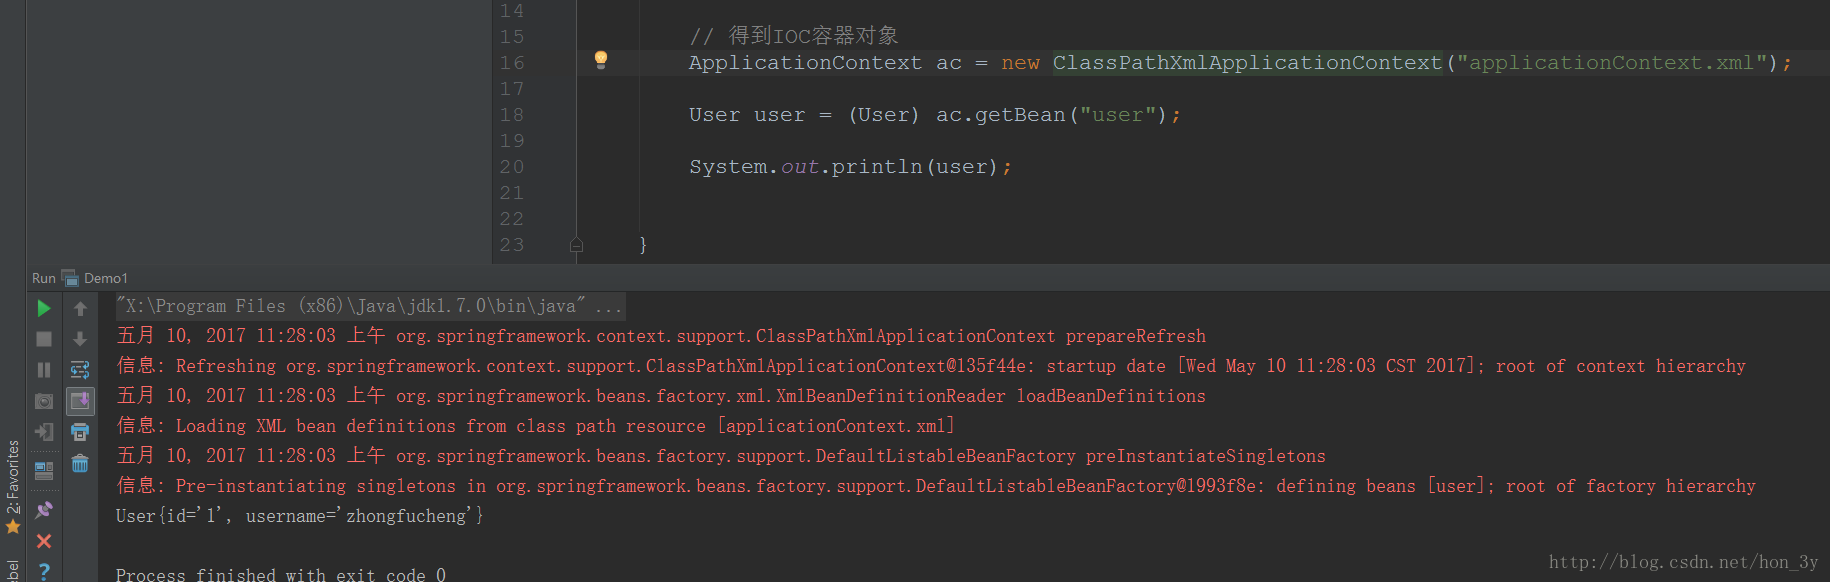
在constructor上如果构造函数的值是一个对象,而不是一个普通类型的值,我们就需要用到ref属性了,而不是value属性
比如说:我在User对象上维护了Person对象的值,想要在构造函数中初始化它。因此,就需要用到ref属性了
    <bean id="person" class="Person"></bean>

    <bean id="user" class="User" >

        <!--通过constructor这个节点来指定构造函数的参数类型、名称、第几个-->
        <constructor-arg index="0" name="id" type="java.lang.String" value="1"></constructor-arg>
        <constructor-arg index="1" name="username" type="java.lang.String" ref="person"></constructor-arg>
    </bean>
工厂静态方法创建对象
首先,使用一个工厂的静态方法返回一个对象
public class Factory {

    public static User getBean() {

        return new User();
    }

}
配置文件中使用工厂的静态方法返回对象
    <!--工厂静态方法创建对象,直接使用class指向静态类,指定静态方法就行了-->
    <bean id="user" class="Factory" factory-method="getBean" >

    </bean>
工厂非静态方法创建对象
首先,也是通过工厂的非非静态方法来得到一个对象
public class Factory {


    public User getBean() {

        return new User();
    }


}
配置文件中使用工厂的非静态方法返回对象
    <!--首先创建工厂对象-->
    <bean id="factory" class="Factory"/>

    <!--指定工厂对象和工厂方法-->
    <bean id="user" class="User" factory-bean="factory" factory-method="getBean"/>


 1310
1310


 被折叠的 条评论
为什么被折叠?
被折叠的 条评论
为什么被折叠?
 到【灌水乐园】发言


