


[注:该文章发行于Beta版本,不保证长期有效性,如有变更以实际最终版本为准]
这一环节主要讲解的是Winodws PowerShell Web Access这个新特征,其实在微软已经提供了相当完善的资料来描述和搭建PowerShell Web Access,这里顺便在学习的同时也演示给大家看下。
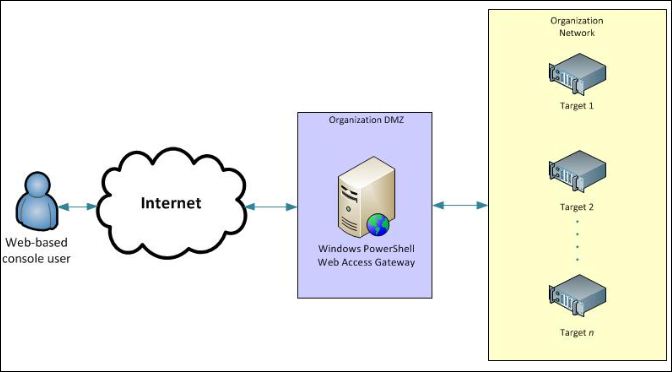
首先Windows PowerShell Web Access是再Windows Server 8 Beta版本中就被加入的一个新Feature,它可以提供以Web PowerShell Console的方式去连接操作你的远程计算机,可以让ITPros通过游览器以远程的方式就能连接到服务器。可以说是非常的方便,只要有网络的地方,可以通过不同的终端,不同的操作系统平台就能通过PowerShell Web Access Getway连接到服务器操作来达到快速以及方便的管理。
下面这张图表显示说明了PowerShell Web Access的工作流程:
如下是一些必备和参考特征:
- Windows® Internet Explorer® for Microsoft Windows® 8.0, 9.0, and 10.0
- Mozilla Firefox® 10.0.2
- Google Chrome™ 17.0.963.56m for Windows
- Apple Safari® 51.1.2
目前测试下来所支持的手机设备游览器
- Windows Phone 7 and 7.5
- Google Android WebKit 3.1 Browser Android 2.2.1 (Kernel 2.6)
- Apple Safari for iPhone operating system 5.0.1
- Apple Safari for iPad 2 operating system 5.0.1
游览器需满足以下一些特征
To use the Windows PowerShell Web Access web-based console, browsers must do the following.
- Allow cookies from the Windows PowerShell Web Access gateway website.
- Be able to open and read HTTPS pages.
- Open and run websites that use JavaScript.
Windows PowerShell Web Access 必须满足一些组件要求 安装有 Web Server (IIS), .NET Framework 4.5, 接下来我们开始安装PowerShell Web Access
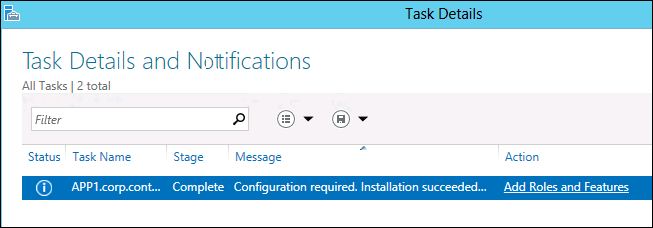
我们先从Server Mananger中添加Windows PowerShell Web Access组件,在安装的同时会提示要求安装IIS与.NET Framework 4.5,选择安装,如下图:

另外需要提到的一点,我们当然也可以借助使用PowerShell自带的cmdlets来安装Windows Feature 但是 默认情况下是不会安装 IIS Management tools的除非加上IncludeManagementTools 这个参数。
至此,PowerShell Web Access的Feature已经安装完毕了,同时IIS,Framework 4.5等组件也已经相应安装上去了,下一章我们会继续探讨如何开始配置PowerShell Web Access Getway


 371
371


 被折叠的 条评论
为什么被折叠?
被折叠的 条评论
为什么被折叠?
 到【灌水乐园】发言


