


关于文件上传的插件网上有太多了。但是呢,做的特别好的,特别漂亮的上传插件对于IE低版本的兼容性不好,甚至有的不支持。这里我先说说jquery-file-upload这款插件,兼容性好。至于其他的上传插件,例如uploadify、swfupload、dropzone等,后期我会抽出时间,将我在项目中使用心得都写出来。共同学习,有不足之处欢迎指正。
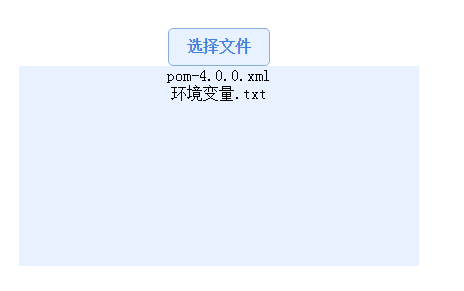
示例图:
1.首先是下载资源
(github上面写的demo太乱,新手即使下载下来,也不知道如何跑的起来,这就是我写这篇博文的原因。希望写一个很简单的实例,让新手快速的掌握。但是我们所需的资源也可以从demo上下载,取我们需要的即可)
我自己整理的资源地址:
http://download.csdn.net/detail/itworktt/9617821
git下载地址:
https://github.com/blueimp/jQuery-File-Upload/
需要用到的下载资源清单:
js:
jquery-3.0.0.min.js:最好是最新版本
jquery.ui.widget.js
jquery.iframe-transport.js
jquery.fileupload.js
css:
jquery.fileupload.css
jquery.fileupload-ui.css
2.编写实例
前台页面jsp:
<%--
  Created by IntelliJ IDEA.
  User: zz
  Date: 2016/8/31
  Time: 9:02
  To change this template use File | Settings | File Templates.
--%>
<!DOCTYPE html PUBLIC "-//W3C//DTD XHTML 1.0 Transitional//EN" "http://www.w3.org/TR/xhtml1/DTD/xhtml1-transitional.dtd">
<%@ page contentType="text/html;charset=UTF-8" language="java" %>
<html>
<head>
    <title>jquery file upload</title>
  <script src="${pageContext.request.contextPath}/resources/testJqueryUpload/js/jquery-3.0.0.min.js"></script>
  <script src="${pageContext.request.contextPath}/resources/testJqueryUpload/js/jquery.ui.widget.js"></script>
  <script src="${pageContext.request.contextPath}/resources/testJqueryUpload/js/jquery.iframe-transport.js"></script>
  <script src="${pageContext.request.contextPath}/resources/testJqueryUpload/js/jquery.fileupload.js"></script>

  <link rel="stylesheet" href="${pageContext.request.contextPath}/resources/testJqueryUpload/css/jquery.fileupload.css">
  <link rel="stylesheet" href="${pageContext.request.contextPath}/resources/testJqueryUpload/css/jquery.fileupload-ui.css">
  <style>
    .btn-success{display:inline-block; padding:0 0px;height:36px;background:#e7f1ff 6px center no-repeat;border-radius:5px;border:1px solid #89aede; line-height:35px;color:#3b83e1; font-weight:bold; cursor:pointer;text-align:center; min-width:100px; }
    .btn-success:hover{ background-color:#dbeafe;}

    .btn_blue{background-color: #E7F1FF;}
    .btn_blue:hover{ background-color: #89aede;}
    #center { padding-top: 100px }
  </style>
</head>
<body>
<div id="center" align="center">
        <%--<input id="fileId" type="file" name="file" data-url="${pageContext.request.contextPath}/uploadfile" multiple>--%>
        <%--<p></p>--%>
            <span class="btn btn-success fileinput-button">
                <span>选择文件</span>
                <input id="fileId" type="file"  name="file" multiple>
            </span>
        <div  id="files" class="btn_blue" style="width: 400px;height: 200px;"></div>
</div>
</body>


<script>
  (function(){
    $('#fileId').fileupload({
      url: '${pageContext.request.contextPath}/uploadfile',
      done: function (e, data) {
        alert('I love my girl friend-JOAN');
        $('#files').append(data.result.name+'<br>');
      },
      fail: function () {
        alert('出错');
      }
    });
  })();
</script>

</html>
3.后台接收
我这里用的是springmvc,写了一个controller。
 @RequestMapping("/uploadfile")
    @ResponseBody
    public Map jqueryUploadFile(MultipartFile file){
        System.out.println(file.getOriginalFilename());
        Map map=new HashMap();
        map.put("name",file.getOriginalFilename());
        return map;
    }
源码差不多就这样了。如果以上代码拷贝之后跑不起来的童鞋,可以下方留言。


 283
283

 被折叠的 条评论
为什么被折叠?
被折叠的 条评论
为什么被折叠?
 到【灌水乐园】发言


