


小编今天跟大家探讨新的知识,有关于列表ListView,GridView与Android开发工具自带的适配器Adapter之间的有着千丝万缕的关系。
先给大家看看这次代码执行运行的界面。如下、
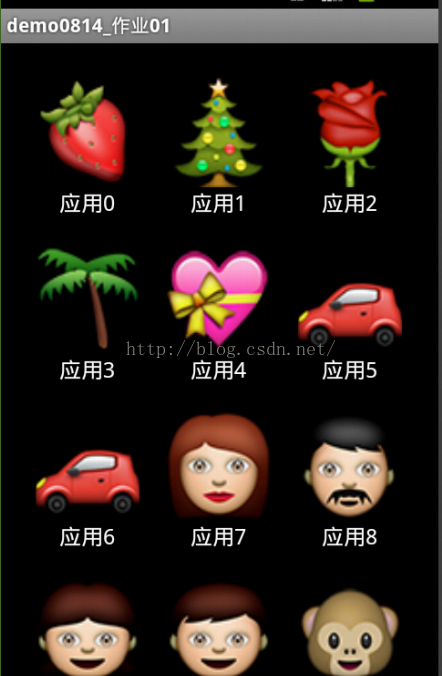
小编现在从第一张图片开讲了,这张图片的实现效果是GridView运用适配器方法实现的。。
步骤1.在在布局创建两个xml文件,当然有一个文件是已经创建好了,你只需创建另一个就行了。
activity_main.xml:
<LinearLayout xmlns:android="http://schemas.android.com/apk/res/android"
xmlns:tools="http://schemas.android.com/tools"
android:layout_width="match_parent"
android:layout_height="match_parent"
android:orientation="vertical"
android:paddingBottom="10dp"
android:paddingLeft="10dp"
android:paddingRight="10dp"
android:paddingTop="10dp"
android:background="#000000">
<GridView
android:id="@+id/grid"
android:layout_width="match_parent"
android:layout_height="match_parent"
android:numColumns="3" >
</GridView>
</LinearLayout>
这个是设置宫格布局文件,用GridView标签即可,主要要点是,必须给控件加id,内容才可以显示出来,切记切记。
item_main.xml
<LinearLayout
android:layout_width="wrap_content"
android:layout_height="wrap_content"
android:background="@android:color/background_dark"
android:orientation="vertical" >
<ImageView
android:id="@+id/img"
android:layout_width="100dp"
android:layout_height="80dp"
android:layout_gravity="center"
android:src="@drawable/ic_launcher" />
<TextView
android:id="@+id/text"
android:layout_width="wrap_content"
android:layout_height="wrap_content"
android:layout_gravity="center"
android:text="应用"
android:textColor="#ffffff"
android:textSize="16sp" />
</LinearLayout>
这是第二个布局文件,表示是要在宫格布局要展示给别人看的布局,我代码写进去的是ImageView图片和TextView文本,控件竖直向下,缺少这个是不行,必须两个xml布局结合才能有效果界面。
步骤2.
开始编写src里面的java文件,这也是最重要一步,执行的方法都在里头,容我细讲。
先给代码粘贴过来,在进行详细的分析
//定义成员变量
private GridView mgrid;
//ListAdapter是simpleAdapter和ArrayAdapter的父类
private ListAdapter mAdapter;
protected void onCreate(Bundle savedInstanceState) {
super.onCreate(savedInstanceState);
setContentView(R.layout.activity_main);
//初始化
mgrid = (GridView) findViewById(R.id.grid);
//创建List列表
List<Map<String, Object>> ListData = new ArrayList<Map<String, Object>>();
//for循环,目的是得到多个不同的控件
for (int i = 0; i <=20; i++) {
//map泛型
Map<String, Object> map = new LinkedHashMap<String, Object>();
//用.put存入数据
map.put("icon", R.drawable.emoji_054 + i);
map.put("name", "应用" + i);
//将数据添加到List列表
ListData.add(map);
}
//创建适配器
//第一个参数:上下文
//第二个参数:列表的数据
//第三个参数:数据是从哪来,这是从Key传过来的
//第四个参数:数据到哪里去,这里是到item_List布局中去,用控件设置的ID即可拿到
String[] key = new String[] { "icon", "name" };
int[] layout = new int[] { R.id.img, R.id.text };
mAdapter = new SimpleAdapter(MainActivity.this, ListData,
R.layout.item_main, key, layout);
//发送适配器
mgrid.setAdapter(mAdapter);
}
GridView与适配器Adapter相结合就完成了,从上面的执行代码我们可以知道,其实这是一个MVC框架,这里M代表List列表,用于封装存储数据,V代表的是布局文件,主要用来显示文件,C代表的是适配器Adapter,是于M列表相连,实现把数据传导给列表,布局,是个桥梁的意思。这里的适配器是自身的自配器,自定义适配器有机会再一起学习。
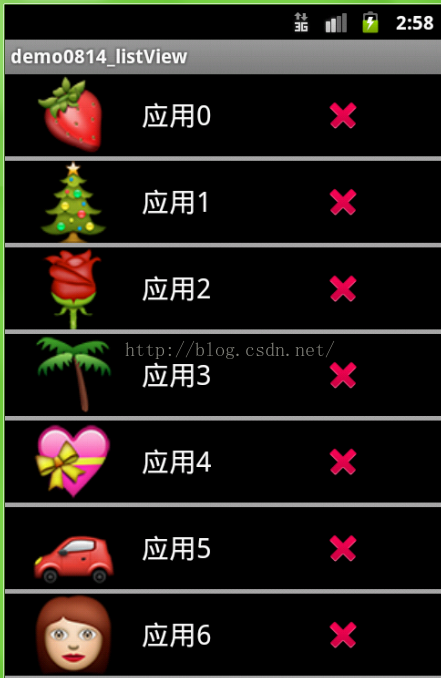
完成了GridView布局,ListVIew布局的步骤大致与前者相同,唯一不同点就是,res的layout下的xml文件不一样,这个小编我就 不多讲了,留给大家做练习,也可以当做知识点回顾来做。夜深了,今天就到这里了,小编要睡觉觉了,明天再见面。


 271
271


 被折叠的 条评论
为什么被折叠?
被折叠的 条评论
为什么被折叠?
 到【灌水乐园】发言


