转载
披萨大叔的博客 http://blog.csdn.net/qq_27258799/article/details/51012305
还有这一篇:
http://blog.csdn.net/watermusicyes/article/details/46333925
写的很好,我很喜欢
提起内存泄漏,感觉可以说一辈子。这是个老生常谈的话题,也是Android新手容易忽略的一点。为了避免OOM,我们尽量要把内存泄漏扼杀在摇篮里,不然OOM以后,再回头去补漏,如同大海捞针。LeakCanary绝对是内存泄漏大杀器,一言不合先上图~
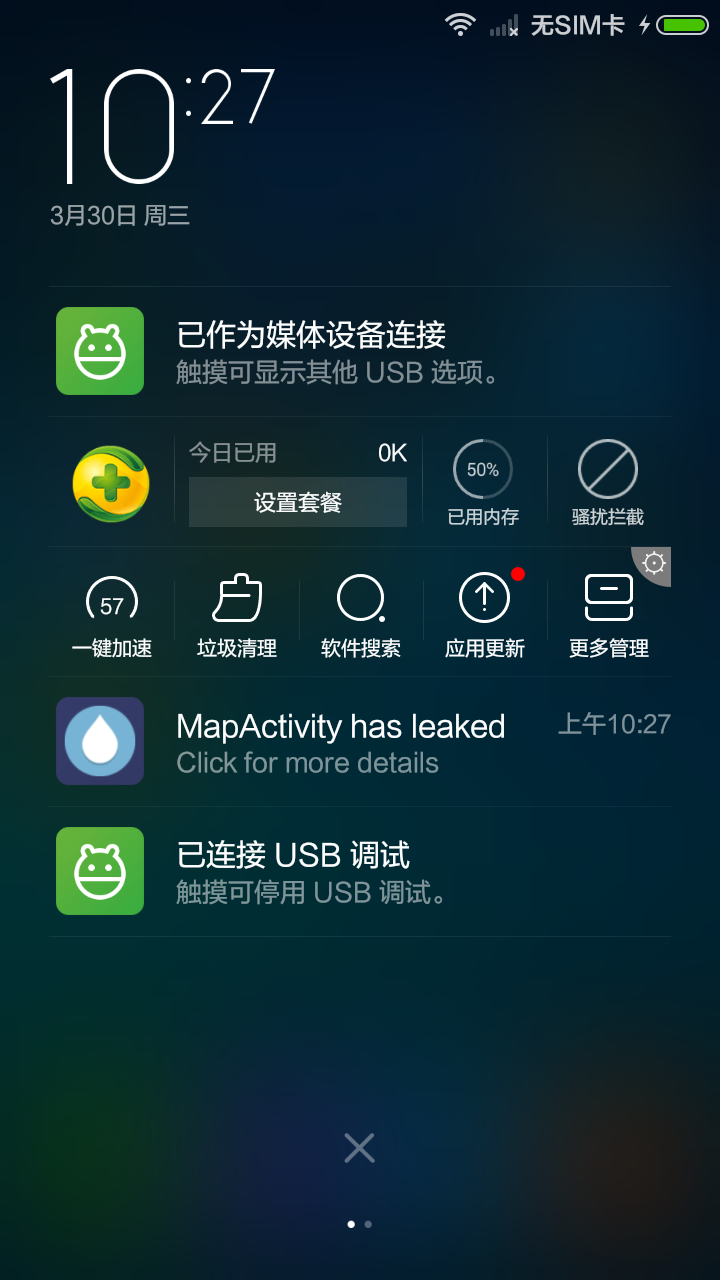
发现内存泄漏后,通知栏会提醒:
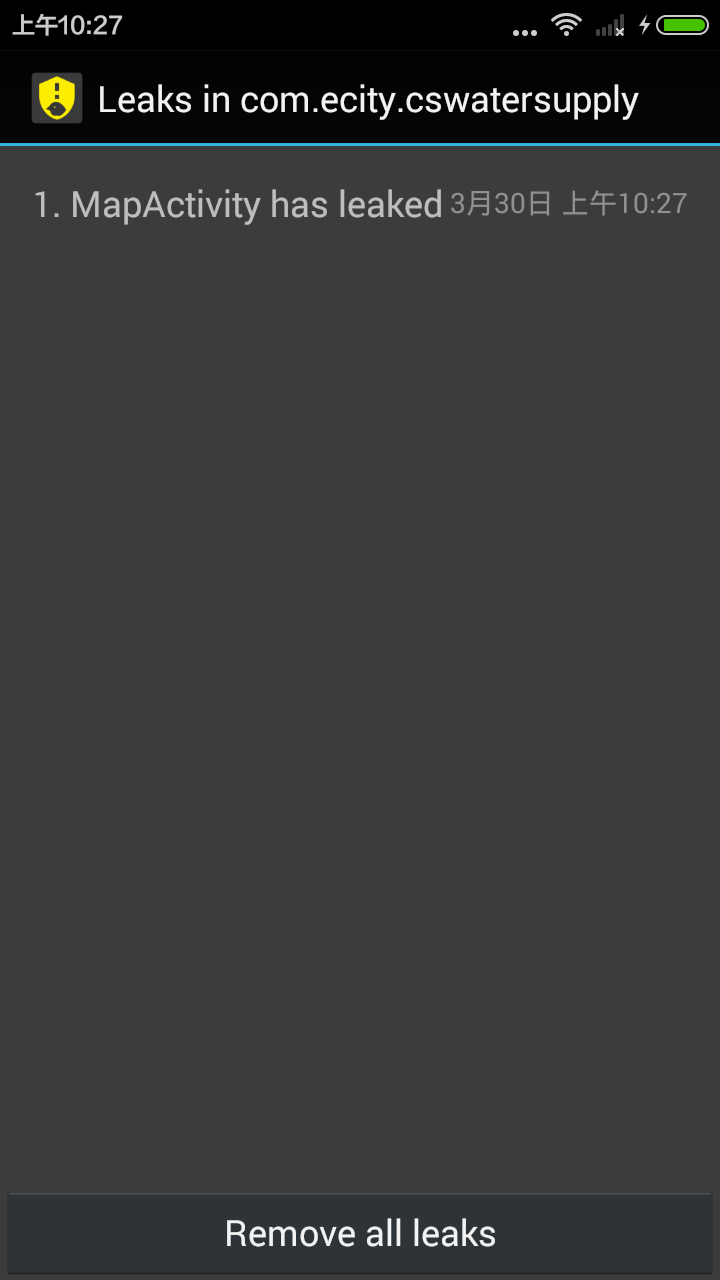
点开后长这样:
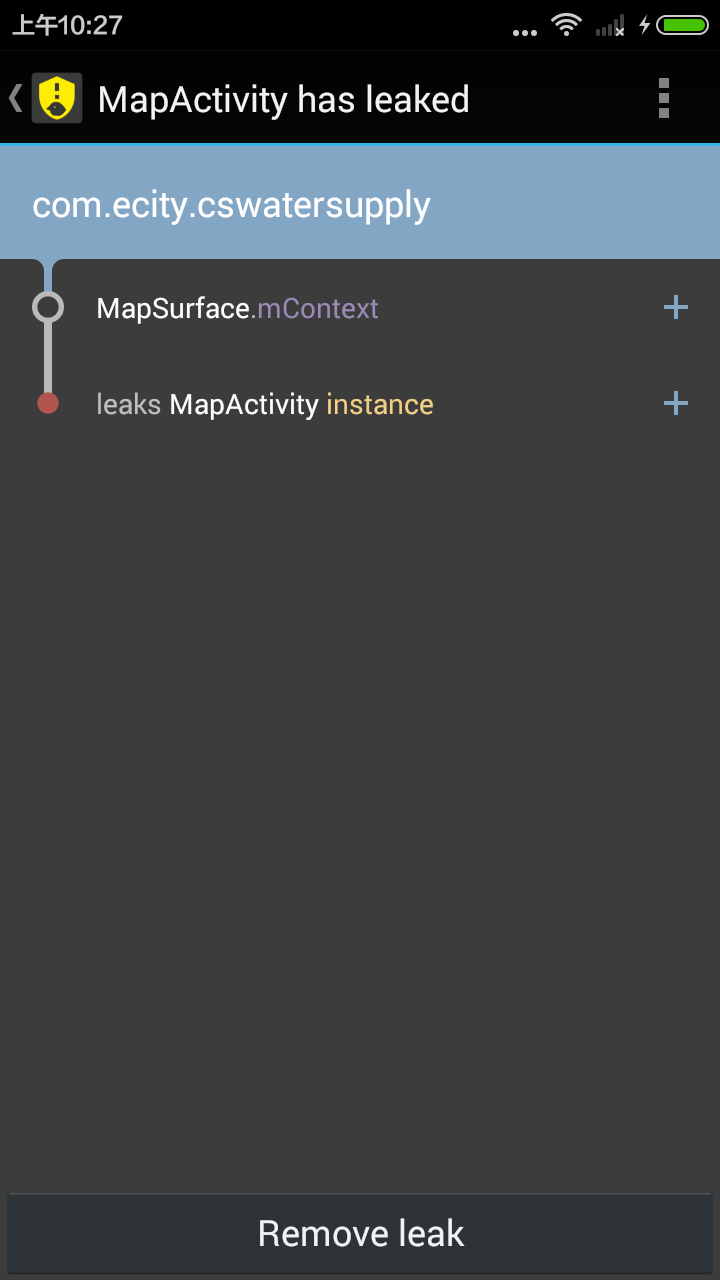
继续点击,这里的定位不是代码行,而是某个类引起了泄漏,比如我这张图:
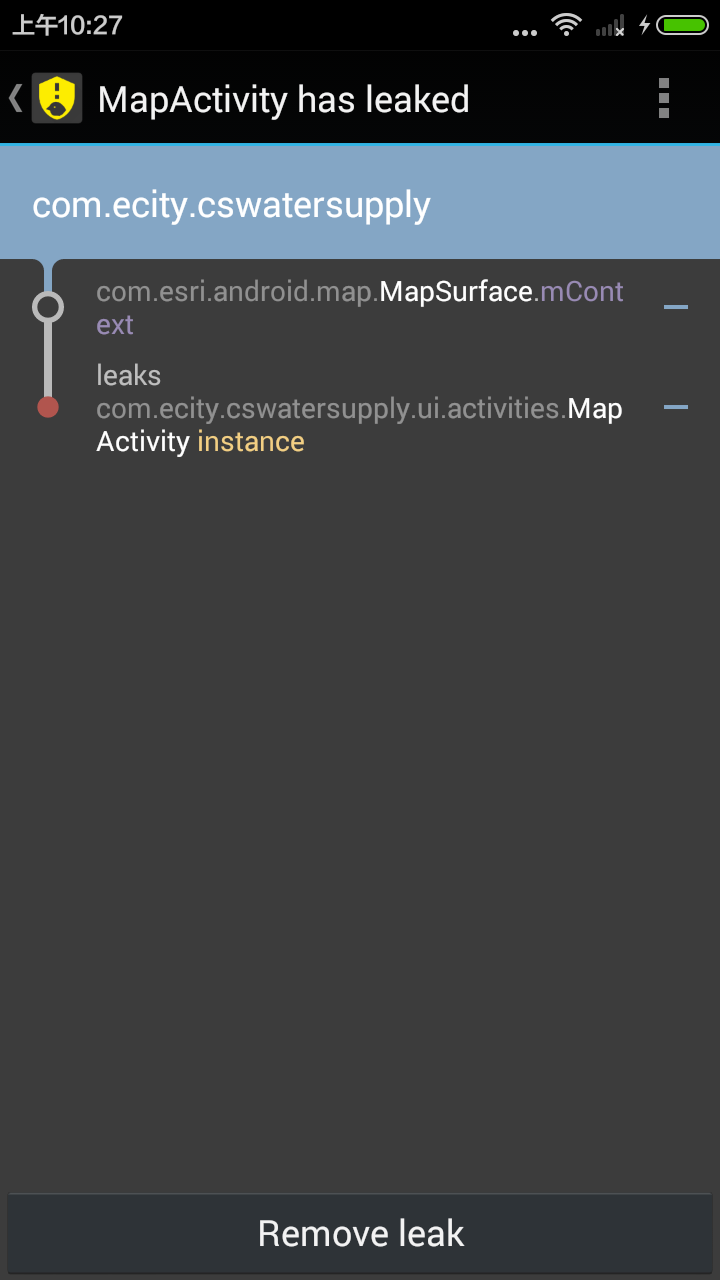
可以点开”+”号看看,上面说我有一个map实例引起了泄漏。
LeakCanary只能帮我们到这里了,剩余的就靠我们自己去思考,为什么这一块发生了泄漏,而前面我们也讲过了内存泄漏诱因,再发一遍传送门:
http://blog.csdn.net/qq_27258799/article/details/50843554
接着让我们来看看LeakCanary的配置吧。
LeakCanary库和demo下载传送门:
http://download.csdn.net/detail/qq_27258799/9476269
以上的是Eclipse版本的
这里我在附上一个Studio版本的,也是别人写好的,感谢无私奉献
http://download.csdn.net/detail/juhua2012/9620224
配置须知:
1.在自己的工程中导入LeakCanary库
2.在你的Application类中添加如下:
public class MyApplication extends Application {
public static RefWatcher getRefWatcher(Context context) {
MyApplication application = (MyApplication) context
.getApplicationContext();
return application.refWatcher;
}
private RefWatcher refWatcher;
@Override
public void onCreate() {
refWatcher = LeakCanary.install(this);
super.onCreate();
}
}
- 1
- 2
- 3
- 4
- 5
- 6
- 7
- 8
- 9
- 10
- 11
- 12
- 13
- 14
- 15
- 16
- 17
- 18
- 19
3.在AndroidManifest.xml中添加如下代码(以我自己的工程为例):
<application android:name="com.ecity.cswatersupply.MyApplication"
android:allowBackup="true"
android:icon="@drawable/ic_launcher"
android:label="@string/app_name"
android:theme="@style/AppTheme" >
<activity
android:name="com.ecity.cswatersupply.MainActivity"
android:label="@string/app_name" >
<intent-filter>
<action android:name="android.intent.action.MAIN" />
<category android:name="android.intent.category.LAUNCHER" />
</intent-filter>
</activity>
<service android:name="com.squareup.leakcanary.internal.HeapAnalyzerService"
android:enabled="false"
android:process=":leakcanary" />
<service android:name="com.squareup.leakcanary.DisplayLeakService"
android:enabled="false" />
<activity android:name="com.squareup.leakcanary.internal.DisplayLeakActivity"
android:enabled="false"
android:icon="@drawable/__leak_canary_icon"
android:label="@string/__leak_canary_display_activity_label"
android:taskAffinity="com.squareup.leakcanary"
android:theme="@style/__LeakCanary.Base" >
<intent-filter>
<action android:name="android.intent.action.MAIN" />
<category android:name="android.intent.category.LAUNCHER" />
</intent-filter>
</activity>
</application>
- 1
- 2
- 3
- 4
- 5
- 6
- 7
- 8
- 9
- 10
- 11
- 12
- 13
- 14
- 15
- 16
- 17
- 18
- 19
- 20
- 21
- 22
- 23
- 24
- 25
- 26
- 27
- 28
- 29
- 30
- 31
- 32
- 33
- 34
- 35
4.在需要检测的Activity页面添加检测代码:
@Override
protected void onDestroy() {
super.onDestroy();
RefWatcher refWatcher = MyApplication.getRefWatcher(this);
refWatcher.watch(this);
}
值得一提的是:检测代码一般放在onDestroy()方法中,因为我们只有在页面销毁的时候,才需要观察,是否有泄漏。
到此为止,我们就完成了全部任务,你可以把这两行检测代码放到自己的BaseActivity中,这样就不用每个页面都添加了。
当然在发布正式版本的时候,记得把检测代码去掉!
当然在发布正式版本的时候,记得把检测代码去掉!
当然在发布正式版本的时候,记得把检测代码去掉!
因为这些是给开发人员看的。
我觉得简单,通俗易懂,是不是很有趣呢


 623
623


 被折叠的 条评论
为什么被折叠?
被折叠的 条评论
为什么被折叠?
 到【灌水乐园】发言


