


在Android开发中,有的时候为了展示更好的UI效果,通常会通过给一些UI添加动画来达到这一目的,所以Android Api定义了两种动画的Api供开发者使用:逐帧动画和补间动画。
逐帧动画
逐帧动画的原理非常简单,就是通过将一组图片按照一定的次序在一定的时间里顺序播放而达到动画效果的一种动画。在Android中想要使用逐帧动画主要通过
AnimationDrawable这个类来完成的。
1. 创建xml动画
通过xml文件创建动画需要动画xml文件放在res/anim目录下,代码如下:
<?xml version="1.0" encoding="utf-8"?>
<animation-list xmlns:android="http://schemas.android.com/apk/res/android" android:oneshot="false">
    <!-- android:oneshot="false" 设置动画是否重复播放   true:不重复   false 重复 -->
	<item android:drawable="@drawable/anim1" android:duration="200"></item>
    <item android:drawable="@drawable/anim2" android:duration="200"></item>
    <item android:drawable="@drawable/anim3" android:duration="200"></item>
    <item android:drawable="@drawable/anim4" android:duration="200"></item>
    <item android:drawable="@drawable/anim5" android:duration="200"></item>
    <item android:drawable="@drawable/anim6" android:duration="200"></item>
    <item android:drawable="@drawable/anim7" android:duration="200"></item>
    <item android:drawable="@drawable/anim8" android:duration="200"></item>
    <item android:drawable="@drawable/anim9" android:duration="200"></item>
    <item android:drawable="@drawable/anim10" android:duration="200"></item>
    <item android:drawable="@drawable/anim11" android:duration="200"></item>
</animation-list>
2. 设置动画
在布局文件中设置动画,代码如下:
<LinearLayout xmlns:android="http://schemas.android.com/apk/res/android"
    xmlns:tools="http://schemas.android.com/tools"
    android:layout_width="match_parent"
    android:layout_height="match_parent"
    android:orientation="vertical"
    tools:context="com.zk.animdemo.MainActivity" >

    <Button
        android:id="@+id/btn_start"
        android:layout_width="wrap_content"
        android:layout_height="wrap_content"
        android:text="开启动画" />

    <Button
        android:id="@+id/btn_stop"
        android:layout_width="wrap_content"
        android:layout_height="wrap_content"
        android:text="停止动画" />

    <!-- 通过xml设置动画 -->
    <ImageView
        android:id="@+id/iv_anim_show"
        android:layout_width="200dp"
        android:layout_height="200dp"
        android:background="@anim/frame_anim" />

    <!-- 通过代码设置逐帧动画 -->
    <ImageView
        android:id="@+id/iv_anim_show1"
        android:layout_width="300dp"
        android:layout_height="300dp"/>

</LinearLayout>
3. 获得AnimationDrawable播放动画
在xml文件中给ImageView设置逐帧动画后,动画是不会播放的,必须通过获得AnimationDrawable对象来控制动画的播放和停止效果,所以该类提供了两个方法,播放动画和停止动画:
start():开始播放动画
stop():停止播放动画
代码如下:
@Override
	protected void onCreate(Bundle savedInstanceState) {
		super.onCreate(savedInstanceState);
		setContentView(R.layout.activity_frame);

		mBtnStart = (Button) findViewById(R.id.btn_start);
		mBtnStop = (Button) findViewById(R.id.btn_stop);
		mIvShow = (ImageView) findViewById(R.id.iv_anim_show);
		mIvShow1 = (ImageView) findViewById(R.id.iv_anim_show1);

		mBtnStart.setOnClickListener(this);
		mBtnStop.setOnClickListener(this);

		// 获取帧动画
	<span style="white-space:pre">	</span>mAnimation = (AnimationDrawable) mIvShow.getBackground();

		//通过代码设置动画
		addFrameAnim();
	}

	@Override
	public void onClick(View v) {
		switch (v.getId()) {
		case R.id.btn_start:
			mAnimation.start();
			mAnimation1.start();
			break;
		case R.id.btn_stop:
			mAnimation.stop();
			mAnimation1.stop();
			break;
		default:
			break;
		}

	}
4. 通过代码创建动画
当然,Android Api不但提供了通过xml文件的方式创建动画,同时开发者可以通过自己创建一个AnimationDrawable对象来创建动画。代码如下:
/**
	 * 动过代码设置动画
	 */
	private void addFrameAnim() {
		// 通过代码创建帧动画
		mAnimation1 = new AnimationDrawable();
		// 添加每一帧动画并指定时间
		mAnimation1.addFrame(getResources().getDrawable(R.drawable.anim1), 200);
		mAnimation1.addFrame(getResources().getDrawable(R.drawable.anim2), 200);
		mAnimation1.addFrame(getResources().getDrawable(R.drawable.anim3), 200);
		mAnimation1.addFrame(getResources().getDrawable(R.drawable.anim4), 200);
		mAnimation1.addFrame(getResources().getDrawable(R.drawable.anim5), 200);
		mAnimation1.addFrame(getResources().getDrawable(R.drawable.anim6), 200);
		mAnimation1.addFrame(getResources().getDrawable(R.drawable.anim7), 200);
		mAnimation1.addFrame(getResources().getDrawable(R.drawable.anim8), 200);
		mAnimation1.addFrame(getResources().getDrawable(R.drawable.anim9), 200);
		mAnimation1
				.addFrame(getResources().getDrawable(R.drawable.anim10), 200);
		mAnimation1
				.addFrame(getResources().getDrawable(R.drawable.anim11), 200);
		// 设置动画是否重复
		mAnimation1.setOneShot(false);
		mIvShow1.setBackgroundDrawable(mAnimation1);
	}
这样,整个Android逐帧动画的实现就完成了。
效果如下:
补间动画
在补间动画中,开发者不需要向创建逐帧动画那样一一指定每一帧动画的实现效果,只需要指定动画的开始帧和结束帧的效果即可,其他的中间过程都是通过系统自身通过一定的算法计算获得。
Android Api中给我定义了五种补间动画效果:
- AlphaAnimation:渐变动画
- ScaleAnimation:缩放动画
- TranslateAnimation:平移动画
- RotateAnimation:旋转动画
- AnimationSet:组合动画
代码如下:
package com.zk.animdemo;

import android.app.Activity;
import android.os.Bundle;
import android.view.View;
import android.view.View.OnClickListener;
import android.view.animation.AlphaAnimation;
import android.view.animation.Animation;
import android.view.animation.AnimationSet;
import android.view.animation.AnimationUtils;
import android.view.animation.RotateAnimation;
import android.view.animation.ScaleAnimation;
import android.view.animation.TranslateAnimation;
import android.widget.Button;
import android.widget.ImageView;

public class TweenActivity extends Activity implements OnClickListener {

	private Button mBtnAlpha;
	private Button mBtnScale;
	private Button mBtnTrans;
	private Button mBtnRotate;
	private Button mBtnSet;
	private ImageView mIvShow;
	private Animation mAnimation;
	private AnimationSet mAnimationSet;

	@Override
	protected void onCreate(Bundle savedInstanceState) {
		super.onCreate(savedInstanceState);
		setContentView(R.layout.activity_tween);

		mBtnAlpha = (Button) findViewById(R.id.btn_alpha);
		mBtnScale = (Button) findViewById(R.id.btn_scale);
		mBtnTrans = (Button) findViewById(R.id.btn_translate);
		mBtnRotate = (Button) findViewById(R.id.btn_Rotate);
		mBtnSet = (Button) findViewById(R.id.btn_set);
		mIvShow = (ImageView) findViewById(R.id.iv_show);

		mBtnAlpha.setOnClickListener(this);
		mBtnScale.setOnClickListener(this);
		mBtnTrans.setOnClickListener(this);
		mBtnRotate.setOnClickListener(this);
		mBtnSet.setOnClickListener(this);

	}

	@Override
	public void onClick(View v) {
		switch (v.getId()) {
		case R.id.btn_alpha:

			// fromAlpha :开始透明度
			// toAlpha:结束透明度
			mAnimation = new AlphaAnimation(0.1f, 0.9f);
			startAnimation();
			break;
		case R.id.btn_scale:
			// fromXScale:x轴开始缩放比例
			// toXScale:x轴结束缩放比例
			// fromYScale:y轴开始缩放比例
			// toYScale: y轴结束缩放比例
			// pivotx、pivoty指定中心坐标位置
			mAnimation = new ScaleAnimation(0.5f, 2.0f, 0.5f, 2.0f);
			// 指定缩放中心位置
			mAnimation = new ScaleAnimation(0.5f, 2.0f, 0.5f, 2.0f,
					Animation.RELATIVE_TO_SELF, 0.5f,
					Animation.RELATIVE_TO_SELF, 0.5f);
			startAnimation();
			break;
		case R.id.btn_translate:
			// fromXDelta:起始位置的横坐标
			// toXDelta :起结束位置的横坐标
			// fromYDelta:起始位置的纵坐标
			// toYDelta :结束位置的纵坐标
			mAnimation = new TranslateAnimation(-300f, 500f, -300f, 500f);
			startAnimation();

			break;
		case R.id.btn_Rotate:

			// fromDegrees: 旋转的起始角度
			// toDegrees: 旋转的结束角度
			mAnimation = new RotateAnimation(0f, 360f,
					Animation.RELATIVE_TO_SELF, 0.5f,
					Animation.RELATIVE_TO_SELF, 0.5f);
			startAnimation();
			break;
		case R.id.btn_set:

			playAnimSet();
			break;

		default:
			break;
		}

	}

	/**
	 * 开始动画
	 */
	private void startAnimation() {
		// 动画时间
		mAnimation.setDuration(3000);
		// 动画重复次数
		mAnimation.setRepeatCount(10);
		// 动画重复模式 重新开始: Animation.RESTART 倒序:Animation.REVERSE
		mAnimation.setRepeatMode(Animation.RESTART);

		// // 动画执行后保持最后状态
		// mAnimation.setFillAfter(true);
		// // 设置动画执行后不回到原来状态
		// mAnimation.setFillBefore(true);
		// // 等待1秒后执行动画
		// mAnimation.setStartOffset(1000);

		// 通过设置该方法控制动画的变化速度
		// mAnimation.setInterpolator();
		// 设置Interpolator
		// mAnimation.setInterpolator(new AccelerateInterpolator());

		mIvShow.startAnimation(mAnimation);
	}


	/**
	 * 播放组合动画
	 */
	private void playAnimSet() {
		// 创建组合东海
		mAnimationSet = new AnimationSet(true);
		Animation anim1 = new ScaleAnimation(0.5f, 2.0f, 0.5f, 2.0f);
		Animation anim2 = new AlphaAnimation(0.1f, 0.9f);

		// 动画时间
		anim1.setDuration(3000);
		anim2.setDuration(3000);
		// 添加动画
		mAnimationSet.addAnimation(anim1);
		mAnimationSet.addAnimation(anim2);
		mAnimationSet.start();
		// 播放动画
		mIvShow.startAnimation(mAnimationSet);

	}

}
当然,和逐帧动画一样,补间动画同样可以通过xml文件创建:
渐变动画:
<alpha xmlns:android="http://schemas.android.com/apk/res/android"
    android:duration="3000"
    android:fromAlpha="0.1"
    android:repeatCount="10"
    android:repeatMode="reverse"
    android:toAlpha="0.5" />
缩放动画:
<scale xmlns:android="http://schemas.android.com/apk/res/android"
    android:duration="3000"
    android:fromXScale="0.5"
    android:fromYScale="0.5"
    android:interpolator="@android:anim/accelerate_interpolator"
    android:pivotX="50%"
    android:pivotY="50%"
    android:toXScale="1.5"
android:toYScale="1.5" /><translate xmlns:android="http://schemas.android.com/apk/res/android"
android:duration="3000"
android:fromXDelta="0"
android:fromYDelta="0"
android:toXDelta="800"
android:toYDelta="800" />
<rotate xmlns:android="http://schemas.android.com/apk/res/android"
    android:duration="3000"
    android:fromDegrees="0"
    android:toDegrees="360"
    android:repeatCount="10"
    android:repeatMode="reverse"/>
<?xml version="1.0" encoding="utf-8"?>
<set xmlns:android="http://schemas.android.com/apk/res/android" >

    <alpha
        android:duration="3000"
        android:fromAlpha="0.1"
        android:repeatCount="10"
        android:repeatMode="reverse"
        android:toAlpha="0.5" />

    <scale
        android:duration="3000"
        android:fromXScale="0.5"
        android:fromYScale="0.5"
        android:interpolator="@android:anim/accelerate_interpolator"
        android:pivotX="50%"
        android:pivotY="50%"
        android:toXScale="1.5"
        android:toYScale="1.5" />

</set>
在代码中获得xml动画:
/**
	 * 加载xml动画
	 */
	private void loadAnimation() {
		mAnimation = AnimationUtils.loadAnimation(this, R.anim.alpha_anim);
		mAnimationSet = (AnimationSet) AnimationUtils.loadAnimation(this,
				R.anim.set_anim);
	}
具体效果:
Interpolator
在补间动画的代码中相比大家看到了这样的一句代码:
mAnimation.setInterpolator(new AccelerateInterpolator());
这里将介绍Android动画中一个非常重要的属性
Interpolator: 主要用于改变动画的变化速率及动画效果。
Android Api提供了几种默认的Interpolator:
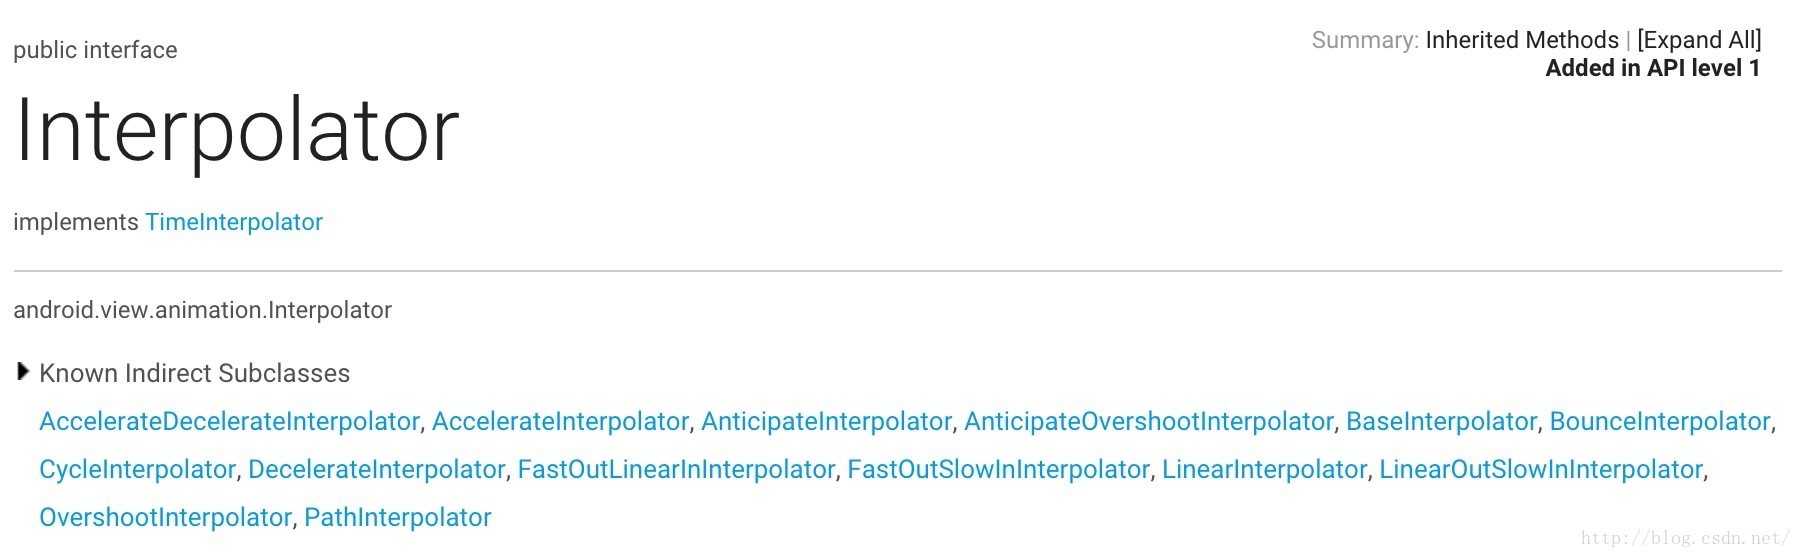
- AccelerateDecelerateInterpolator:动画在开始、结束的时候速度慢,在中间速度快。
- AccelerateInterpolator:动画开始速度慢,结束时速度加快。
- AnticipateInterpolator:动画开始的时候向后,然后向前。
- AnticipateOvershootInterpolator:动画开始的时候向后,然后向前甩一定值后,返回最后的值。
- BounceInterpolator :动画结束的时候弹起。
- CycleInterpolator:动画循环播放特定的次数,速率改变沿着正弦曲线。
- DecelerateInterpolator:在动画开始的地方快然后慢。
- LinearInterpolator:动画匀速变化。
- OvershootInterpolator:动画向前甩一定值后再回到原来位置。
大家自己可以通过设置interpolator来查看不同的动画效果。
这样关于逐帧动画和补间动画的介绍就到这里了。


 456
456


 被折叠的 条评论
为什么被折叠?
被折叠的 条评论
为什么被折叠?
 到【灌水乐园】发言


