


linux环境Mysql 5.7.13安装教程分享给大家,供大家参考,具体内容如下
1系统约定
Mysql目录安装位置:/usr/local/mysql
数据库保存位置:/usr/local/mysql/data/mysql
日志保存位置:/usr/local/mysql/data/log/mysql
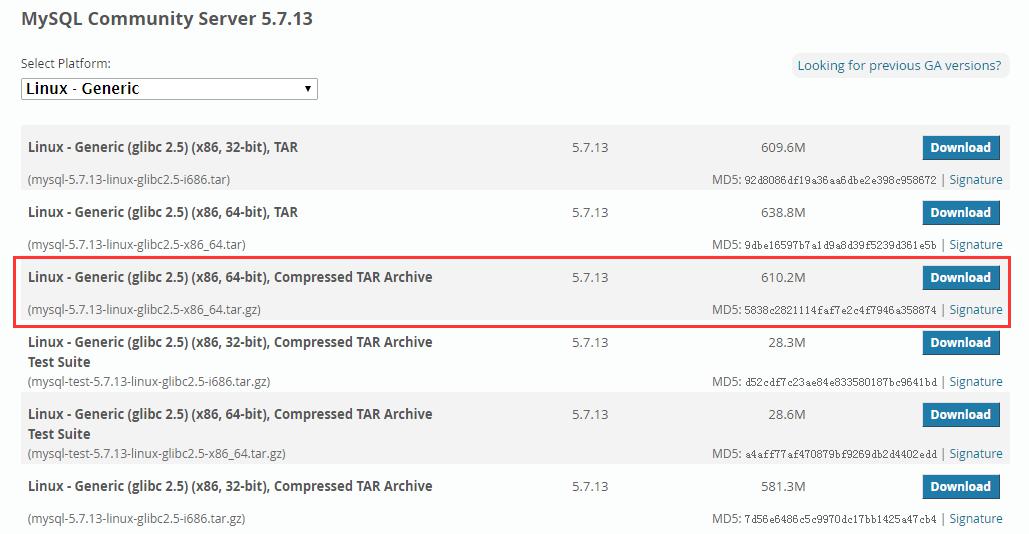
2下载mysql
在官网:http://dev.mysql.com/downloads/mysql/ 中,选择以下版本的mysql下载:
3解压压缩包到目标位置
#cd /usr/local
#pwd

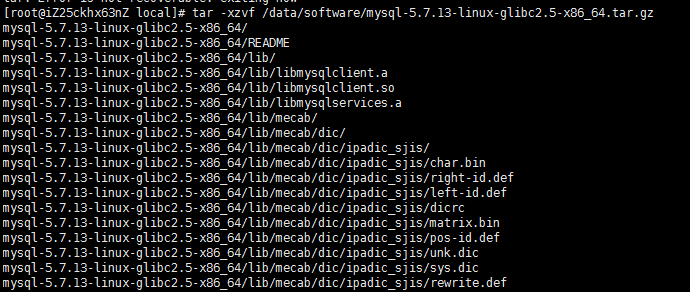
# tar -xzvf /data/software/mysql-5.7.13-linux-glibc2.5-x86_64.tar.gz
#ls

--修改文件名
# mv mysql-5.7.13-linux-glibc2.5-x86_64 mysql

4创建数据仓库目录
--/usr/local/mysql/data/mysql 数据仓库目录

5新建mysql用户、组及目录
# ---新建一个msyql组
# useradd -r -s /sbin/nologin -g mysql mysql -d /usr/local/mysql ---新建msyql用户禁止登录shell
6改变目录属有者
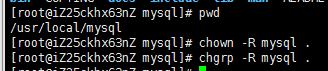
#cd /usr/local/mysql
#pwd
#chown –R mysql:mysql .
7安装初始化
# bin/mysqld --initialize --user=mysql --basedir=/usr/local/mysql --datadir=/usr/local/mysql/data/mysql

此处需要注意记录生成的临时密码,如上文:YLi>7ecpe;YP
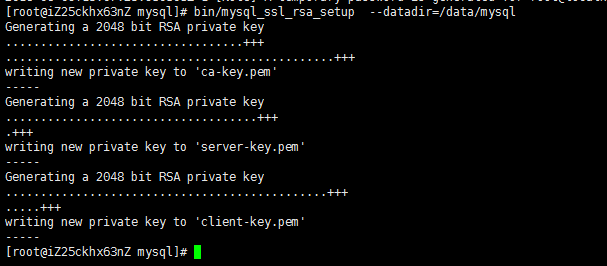
生成证书:
#bin/mysql_ssl_rsa_setup --datadir=/usr/local/mysql/data/mysql
8修改系统配置文件

注意:如果my-default.cnf不存在,则新建一个
-----------------------------------------------------
# For advice on how to change settings please see
# http://dev.mysql.com/doc/refman/5.7/en/server-configuration-defaults.html
# *** DO NOT EDIT THIS FILE. It's a template which will be copied to the
# *** default location during install, and will be replaced if you
# *** upgrade to a newer version of MySQL.
[mysqld]
sql_mode=NO_ENGINE_SUBSTITUTION,STRICT_TRANS_TABLES
# 一般配置选项
basedir = /usr/local/mysql
datadir = /usr/local/mysql/data/mysql
port = 3306
socket = /usr/local/mysql/mysqld.sock
character-set-server=utf8
back_log = 300
max_connections = 3000
max_connect_errors = 50
table_open_cache = 4096
max_allowed_packet = 32M
#binlog_cache_size = 4M
max_heap_table_size = 128M
read_rnd_buffer_size = 16M
sort_buffer_size = 16M
join_buffer_size = 16M
thread_cache_size = 16
query_cache_size = 128M
query_cache_limit = 4M
ft_min_word_len = 8
thread_stack = 512K
transaction_isolation = REPEATABLE-READ
tmp_table_size = 128M
#log-bin=mysql-bin
long_query_time = 6
server_id=1
innodb_buffer_pool_size = 1G
innodb_thread_concurrency = 16
innodb_log_buffer_size = 16M
innodb_log_file_size = 512M
innodb_log_files_in_group = 3
innodb_max_dirty_pages_pct = 90
innodb_lock_wait_timeout = 120
innodb_file_per_table = on
[mysqldump]
quick
max_allowed_packet = 32M
[mysql]
no-auto-rehash
default-character-set=utf8
safe-updates
[myisamchk]
key_buffer = 16M
sort_buffer_size = 16M
read_buffer = 8M
write_buffer = 8M
[mysqlhotcopy]
interactive-timeout
[mysqld_safe]
open-files-limit = 8192
[client]
port = 3306
socket = /usr/local/mysql/mysqld.sock
-------------------------------------------------------
# cp my-default.cnf /etc/my.cnf
# cp mysql.server /etc/init.d/mysql

# vim /etc/init.d/mysql
修改以下内容:(datadir=/usr/local/mysql/data/mysql)

9启动mysql

#bin/mysqld_safe --user=mysql &

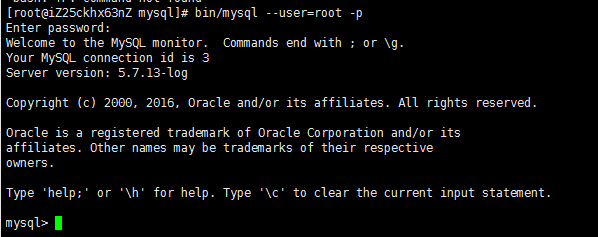
bin/mysql --user=root –p
--输入第6步生成的临时密码

注意,此处如果报错,则使用指令#mysql -u root -p
mysql> set password=password('123');

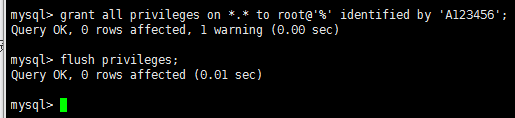
添加远程访问权限:
mysql>grant all privileges on *.* to root@'%' identified by '123';
mysql> flush privileges;
mysql> use mysql;
mysql> select host,user from user;

10mysql启动、停止、状态
启动:service mysql start
停止:service mysql stop
查看状态:service mysql status (或者 ps -ef|grep mysqld)
注意:此处调用的mysql是/etc/init.d/mysql中的执行文件,而mysql -u root -p中的mysql是$MYSQL_HOME/bin中的执行文件
11添加系统路径
# vim /etc/profile
添加:
export PATH=/usr/local/mysql/bin:$PATH
如下:

# source /etc/profile
12配置mysql自动启动
# chmod 755 /etc/init.d/mysql
# chkconfig --add mysql
# chkconfig --level 345 mysql on


 352
352


 被折叠的 条评论
为什么被折叠?
被折叠的 条评论
为什么被折叠?
 到【灌水乐园】发言


