


位图绘制
先来段代码吧;
#include <iostream>

#include <gl/glut.h>

using namespace std;
#pragma  comment(lib,"opengl32.lib")
#pragma  comment(lib,"glut32.lib")
#pragma  comment(lib,"glu32.lib")


GLubyte rasters[24]={
	0xc0,0x00,0xc0,0x00,0xc0,0x00,0xc0,0x00,
	0xc0,0x00,0xff,0x00,0xff,0x00,0xc0,0x00,
	0xc0,0x00,0xc0,0x00,0xff,0xc0,0xff,0xc0
};
void init()
{

	glClearColor(0.0,0.0,0.0,0.0);
	glShadeModel(GL_FLAT);
	glPixelStorei(GL_UNPACK_ALIGNMENT,1);

}

void display()
{
	glClear(GL_COLOR_BUFFER_BIT);
	GLfloat colors[]={1.0,1.0,0.0};
	glColor3fv(colors);
	glRasterPos2i(0,0);
	glBitmap(10,12,0.0,0.0,11.0,0.0,rasters);
	glBitmap(10,12,0.0,0.0,11.0,0.0,rasters);
	glBitmap(10,12,0.0,0.0,11.0,0.0,rasters);

	glFlush();

}

void reshape(int w,int h)
{

	glViewport(0,0,(GLsizei)w,(GLsizei)h);

	glMatrixMode(GL_PROJECTION);
	glLoadIdentity();
	gluOrtho2D(0.0,(GLdouble)w,0.0,(GLdouble)h);//left right,buttom,up (left,buttom),(right,up)
	glMatrixMode(GL_MODELVIEW);
	glLoadIdentity();
}


int main(int argc,char** argv)
{
	glutInit(&argc,argv);
	glutInitDisplayMode(GLUT_RGB|GLUT_SINGLE);
	glutInitWindowSize(500,500);
	glutInitWindowPosition(100,100);
	glutCreateWindow(argv[0]);
	init();
	glutDisplayFunc(display);
	glutReshapeFunc(reshape);
	glutMainLoop();
	return 0;

}
显示结果:
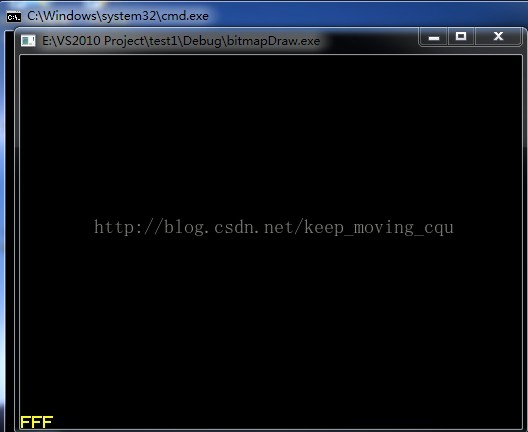
位图的绘制就是上面的代码。是不是很简单。。
代码分析:
书上那些理论确实是很熟,比如gluOthor2d函数是干什么用的,大家肯定都知道,不知道,网上一查什么都清楚了,但是在具体编程中如何才能合适的用他们呢?这才是关键,我一直卡在这一步了,通过这段代码的编写,我终于搞清楚了这几天的疑惑????下面我来介绍一下。。
上面那段代码有1个关键的函数:gluOthor2d,你如果去掉这行也是可以的,3个F照样显示出来,如:
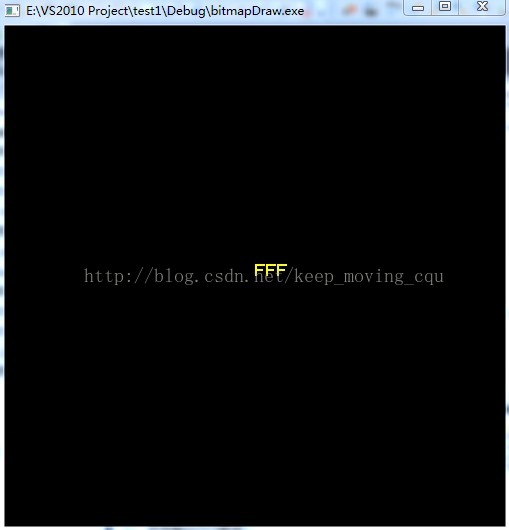
怎么会变成这样呢?在没调用gluOthor2d函数之前,窗口的中心坐标为(0,0);调用了这个函数之后窗口的中心坐标不再是(0,0)了,窗口的左下角才是(0,0)。
然后来看看gluOthor2d函数的参数,我们实际上是用(0,0)到(w,h)的这个范围来裁剪我们的视野,也就是说只有在这个视野范围之内的东西,我们才能在窗口中看到它。假如我们来改变一下光栅位置(glRasterPos2i函数指定):(-1,0),不出所料,你什么都看不到了。。
屏幕坐标和屏幕像素的转换:
一个单位的屏幕坐标就是width/2的像素。。能理解吧。
Over...加油,共同进步。。


 5656
5656


 被折叠的 条评论
为什么被折叠?
被折叠的 条评论
为什么被折叠?
 到【灌水乐园】发言


