


CollapseView如下:
package com.ww.collapseview;
import android.annotation.SuppressLint;
import android.content.Context;
import android.text.TextUtils;
import android.util.AttributeSet;
import android.view.LayoutInflater;
import android.view.View;
import android.view.animation.Animation;
import android.view.animation.Transformation;
import android.widget.ImageView;
import android.widget.LinearLayout;
import android.widget.RelativeLayout;
import android.widget.TextView;
import com.nineoldandroids.view.ViewPropertyAnimator;
/**
*
* 原创作者:
* 谷哥的小弟 http://blog.csdn.net/lfdfhl
*
* 文档描述:
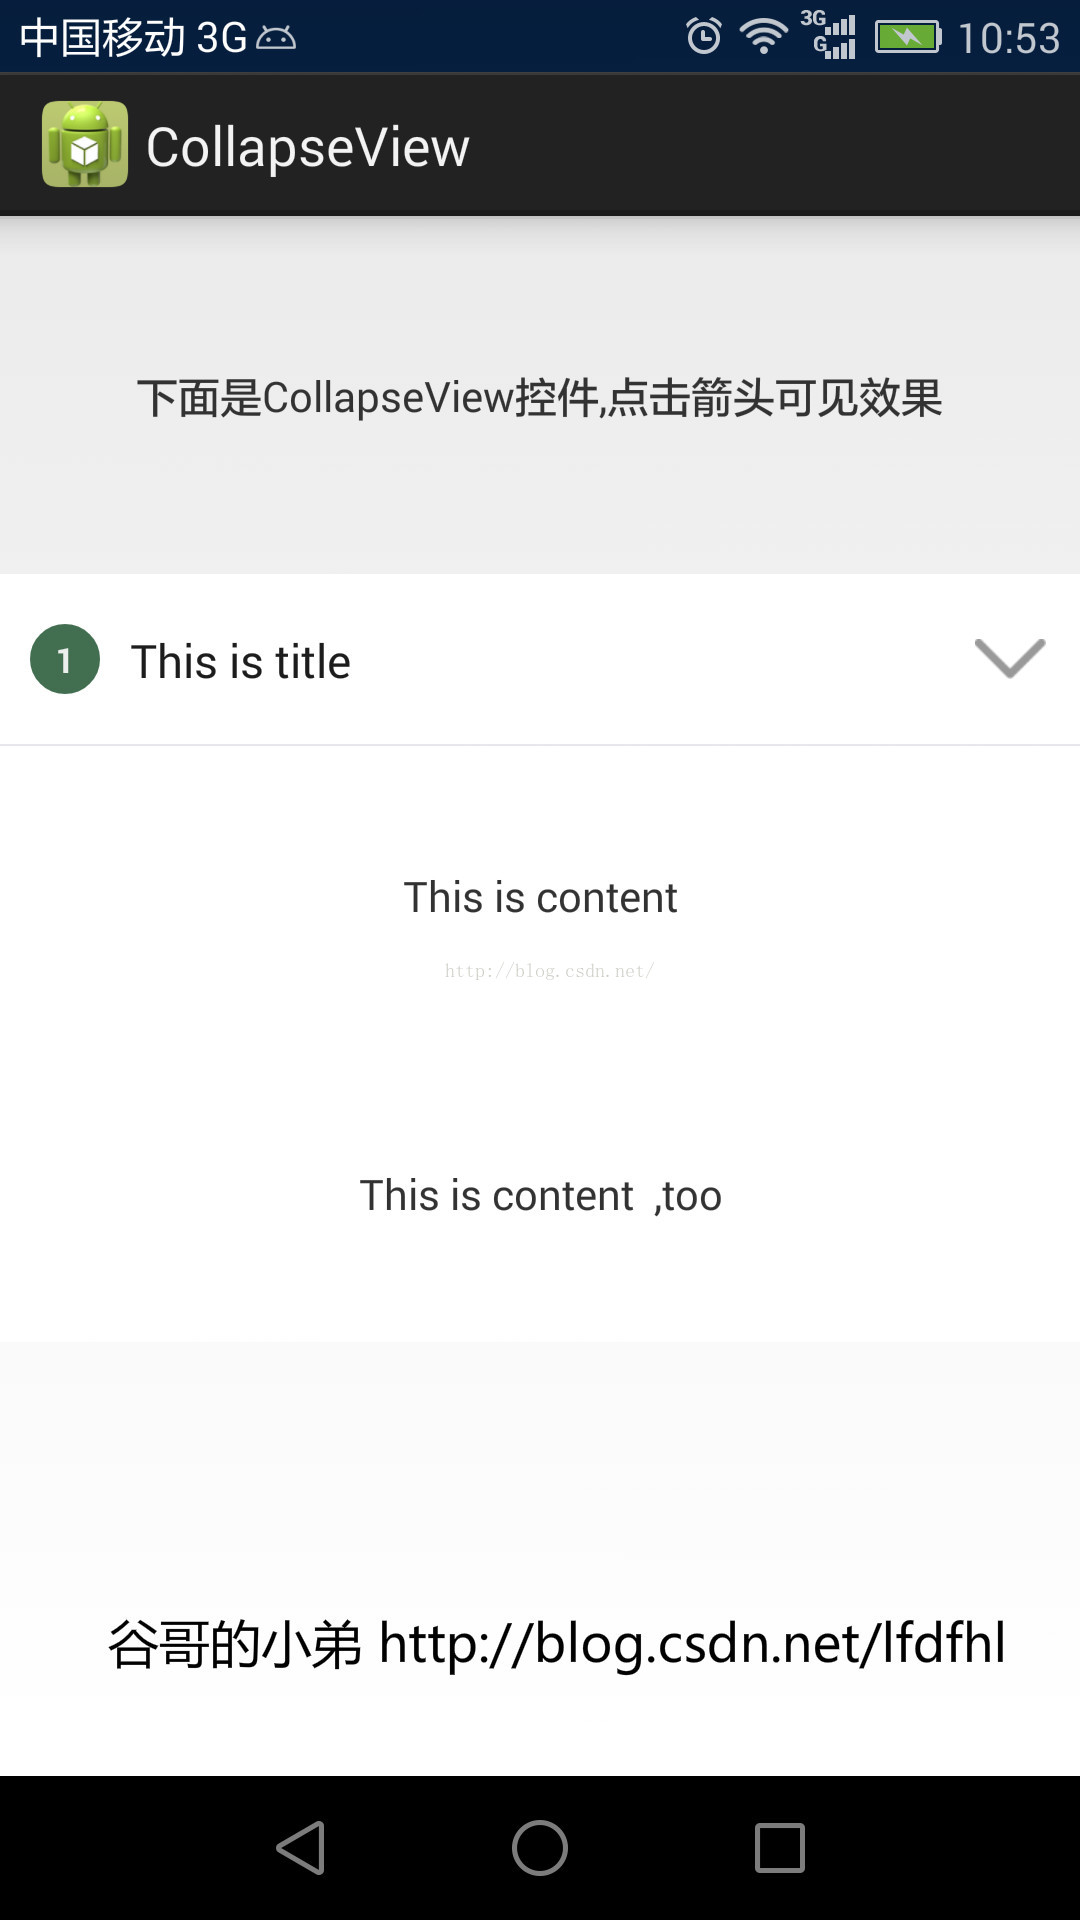
* 实现一个可以折叠和展开部分内容的View
*
*/
@SuppressLint("NewApi")
public class CollapseView extends LinearLayout {
private Context mContext;
private long duration = 200;
private TextView mNumberTextView;
private TextView mTitleTextView;
private ImageView mArrowImageView;
private RelativeLayout mContentRelativeLayout;
public CollapseView(Context context) {
this(context, null);
}
public CollapseView(Context context, AttributeSet attrs) {
super(context, attrs);
initView(context);
}
private void initView(Context context) {
mContext=context;
LayoutInflater.from(mContext).inflate(R.layout.view_collapse_layout, this);
mNumberTextView=(TextView)findViewById(R.id.numberTextView);
mTitleTextView =(TextView)findViewById(R.id.titleTextView);
mContentRelativeLayout=(RelativeLayout)findViewById(R.id.contentRelativeLayout);
mArrowImageView =(ImageView)findViewById(R.id.arrowImageView);
mArrowImageView.setOnClickListener(new OnClickListener() {
@Override
public void onClick(View v) {
rotateArrow();
}
});
collapse(mContentRelativeLayout);
}
//设置编号
public void setNumber(String number){
if(!TextUtils.isEmpty(number)){
mNumberTextView.setText(number);
}
}
//设置标题
public void setTitle(String title){
if(!TextUtils.isEmpty(title)){
mTitleTextView.setText(title);
}
}
//设置内容
public void setContent(int resID){
View view=LayoutInflater.from(mContext).inflate(resID,null);
RelativeLayout.LayoutParams layoutParams=
new RelativeLayout.LayoutParams(LayoutParams.MATCH_PARENT, LinearLayout.LayoutParams.WRAP_CONTENT);
view.setLayoutParams(layoutParams);
mContentRelativeLayout.addView(view);
}
//显示或者隐藏View,且同时改变箭头方向
public void rotateArrow() {
int degree = 0;
// 反转箭头
if (mArrowImageView.getTag() == null || mArrowImageView.getTag().equals(true)) {
mArrowImageView.setTag(false);
degree = -180;
expand(mContentRelativeLayout);
} else {
degree = 0;
mArrowImageView.setTag(true);
collapse(mContentRelativeLayout);
}
ViewPropertyAnimator.animate(mArrowImageView).setDuration(duration).rotation(degree);
}
/**
* 展开View.
*
* 需要注意的问题:
* 在该处对于View的测量从而获得measuredHeight.
* 1 View的宽度为屏幕的宽度(即为一个确定值),所以:
* MeasureSpec.makeMeasureSpec(Utils.getScreenWidth(mContext), MeasureSpec.EXACTLY);
* 得到widthMeasureSpec.
* 2 View的高度为wrap_content.可以利用:
* MeasureSpec.makeMeasureSpec((1<<30)-1, MeasureSpec.AT_MOST)
* 得到heightMeasureSpec.
* 此处的mode为MeasureSpec.AT_MOST,所以利用(1<<30)-1作为size.
* 这样做才能使系统获取到View的真实高度.
*
* 比如在TextView的源码就有这样的处理:
* if (heightMode == MeasureSpec.AT_MOST) {
* height = Math.min(desired, heightSize);
* }
*
* 这里会取desired和heightSize这两者的较小值赋值给height.
*
* heightSize就是我们传进去的(1<<30)-1
* desired是通过getDesiredHeight()方法获得的.
*
* 小结如下:
* 若View的宽或高是wrap_content我们手动调用它的measure都可以这样:
* int widthMeasureSpec=MeasureSpec.makeMeasureSpec((1<<30)-1, MeasureSpec.AT_MOST);
* int heightMeasureSpec=MeasureSpec.makeMeasureSpec((1<<30)-1,MeasureSpec.AT_MOST);
* view.measure(widthMeasureSpec,heightMeasureSpec);
* int measuredWidth = view.getMeasuredWidth();
* int measuredHeight = view.getMeasuredHeight();
*/
private void expand(final View view) {
int widthMeasureSpec=MeasureSpec.makeMeasureSpec(Utils.getScreenWidth(mContext), MeasureSpec.EXACTLY);
int heightMeasureSpec=MeasureSpec.makeMeasureSpec((1<<30)-1, MeasureSpec.AT_MOST);
view.measure(widthMeasureSpec, heightMeasureSpec);
final int measuredHeight = view.getMeasuredHeight();
view.setVisibility(View.VISIBLE);
Animation animation = new Animation() {
@Override
protected void applyTransformation(float interpolatedTime, Transformation t) {
if(interpolatedTime == 1){
view.getLayoutParams().height =measuredHeight;
}else{
view.getLayoutParams().height =(int) (measuredHeight * interpolatedTime);
}
view.requestLayout();
}
@Override
public boolean willChangeBounds() {
return true;
}
};
animation.setDuration(duration);
view.startAnimation(animation);
}
// 折叠
private void collapse(final View view) {
final int measuredHeight = view.getMeasuredHeight();
Animation animation = new Animation() {
@Override
protected void applyTransformation(float interpolatedTime, Transformation t) {
if (interpolatedTime == 1) {
view.setVisibility(View.GONE);
} else {
view.getLayoutParams().height = measuredHeight - (int) (measuredHeight * interpolatedTime);
}
view.requestLayout();
}
@Override
public boolean willChangeBounds() {
return true;
}
};
animation.setDuration(duration);
view.startAnimation(animation);
}
}
MainActivity如下:
package com.ww.collapseview;
import android.app.Activity;
import android.os.Bundle;
public class MainActivity extends Activity {
	private CollapseView mCollapseView;
	@Override
	protected void onCreate(Bundle savedInstanceState) {
		super.onCreate(savedInstanceState);
		setContentView(R.layout.activity_main);
		init();
	}

	private void init(){
		mCollapseView=(CollapseView) findViewById(R.id.collapseView);
		mCollapseView.setNumber("1");
		mCollapseView.setTitle("This is title");
		mCollapseView.setContent(R.layout.view_expand);
	}
}
Utils如下:
package com.ww.collapseview;
import android.content.Context;
import android.util.DisplayMetrics;
import android.view.WindowManager;

public class Utils {
	/**
	 * 获得屏幕高度
	 */
	public static int getScreenWidth(Context context) {
		WindowManager wm = (WindowManager) context.getSystemService(Context.WINDOW_SERVICE);
		DisplayMetrics outMetrics = new DisplayMetrics();
		wm.getDefaultDisplay().getMetrics(outMetrics);
		return outMetrics.widthPixels;
	}

	/**
	 * 获得屏幕宽度
	 */
	public static int getScreenHeight(Context context) {
		WindowManager wm = (WindowManager) context.getSystemService(Context.WINDOW_SERVICE);
		DisplayMetrics outMetrics = new DisplayMetrics();
		wm.getDefaultDisplay().getMetrics(outMetrics);
		return outMetrics.heightPixels;
	}

}
activity_main.xml如下:
<LinearLayout xmlns:android="http://schemas.android.com/apk/res/android"
    xmlns:tools="http://schemas.android.com/tools"
    android:layout_width="match_parent"
    android:layout_height="match_parent"
    android:orientation="vertical"
    tools:context="${relativePackage}.${activityClass}" >

    <TextView
        android:layout_width="wrap_content"
        android:layout_height="wrap_content"
        android:layout_gravity="center_horizontal"
        android:layout_marginTop="50dp"
        android:text="下面是CollapseView控件,点击箭头可见效果" />

    <com.ww.collapseview.CollapseView
        android:id="@+id/collapseView"
        android:layout_marginTop="50dp"
        android:layout_width="match_parent"
        android:layout_height="wrap_content" />

</LinearLayout>
view_collapse_layout.xml如下:
<?xml version="1.0" encoding="utf-8"?>
<LinearLayout xmlns:android="http://schemas.android.com/apk/res/android"
    android:layout_width="match_parent"
    android:layout_height="wrap_content"
    android:background="#ffffff"
    android:orientation="vertical">


    <RelativeLayout
        android:id="@+id/titleRelativeLayout"
        android:padding="30px"
        android:layout_width="match_parent"
        android:layout_height="170px"
        android:clickable="true">

        <TextView
            android:id="@+id/numberTextView"
            android:layout_width="70px"
            android:layout_height="70px"
            android:gravity="center"
            android:layout_centerVertical="true"
            android:background="@drawable/circle_textview"
            android:clickable="false"
            android:text="1"
            android:textStyle="bold"
            android:textColor="#EBEFEC"
            android:textSize="35px" />

        <TextView
            android:id="@+id/titleTextView"
            android:layout_width="match_parent"
            android:layout_height="wrap_content"
            android:layout_centerVertical="true"
            android:layout_toRightOf="@id/numberTextView"
            android:layout_marginLeft="30px"
            android:clickable="false"
            android:text="This is title"
            android:textColor="#1C1C1C"
            android:textSize="46px" />


        <!--  48px 27px-->
        <ImageView
            android:id="@+id/arrowImageView"
            android:layout_width="80px"
            android:layout_height="40px"
            android:layout_alignParentRight="true"
            android:layout_centerVertical="true"
            android:src="@drawable/arrow"
            android:clickable="false"
            android:scaleType="centerInside" />
    </RelativeLayout>

    <View
        android:layout_width="match_parent"
        android:layout_height="2px"
        android:layout_below="@id/titleRelativeLayout"
        android:background="#E7E7EF"
        android:clickable="false"
        />

    <!-- 隐藏部分,点击箭头后显示-->
    <RelativeLayout
        android:id="@+id/contentRelativeLayout"
        android:visibility="gone"
        android:layout_width="wrap_content"
        android:layout_height="wrap_content">
    </RelativeLayout>

</LinearLayout>
view_expand.xml如下:
<?xml version="1.0" encoding="utf-8"?>
<RelativeLayout xmlns:android="http://schemas.android.com/apk/res/android"
    android:layout_width="match_parent"
    android:layout_height="match_parent" >

    <TextView
        android:id="@+id/textView"
        android:layout_width="match_parent"
        android:layout_height="wrap_content"
        android:layout_gravity="center_horizontal"
        android:gravity="center_horizontal"
        android:paddingBottom="40dip"
        android:paddingTop="40dip"
        android:text="This is content" />

    <TextView
        android:layout_width="match_parent"
        android:layout_height="wrap_content"
        android:layout_below="@id/textView"
        android:layout_gravity="center_horizontal"
        android:gravity="center_horizontal"
        android:paddingBottom="40dip"
        android:paddingTop="40dip"
        android:text="This is content  ,too" />

</RelativeLayout>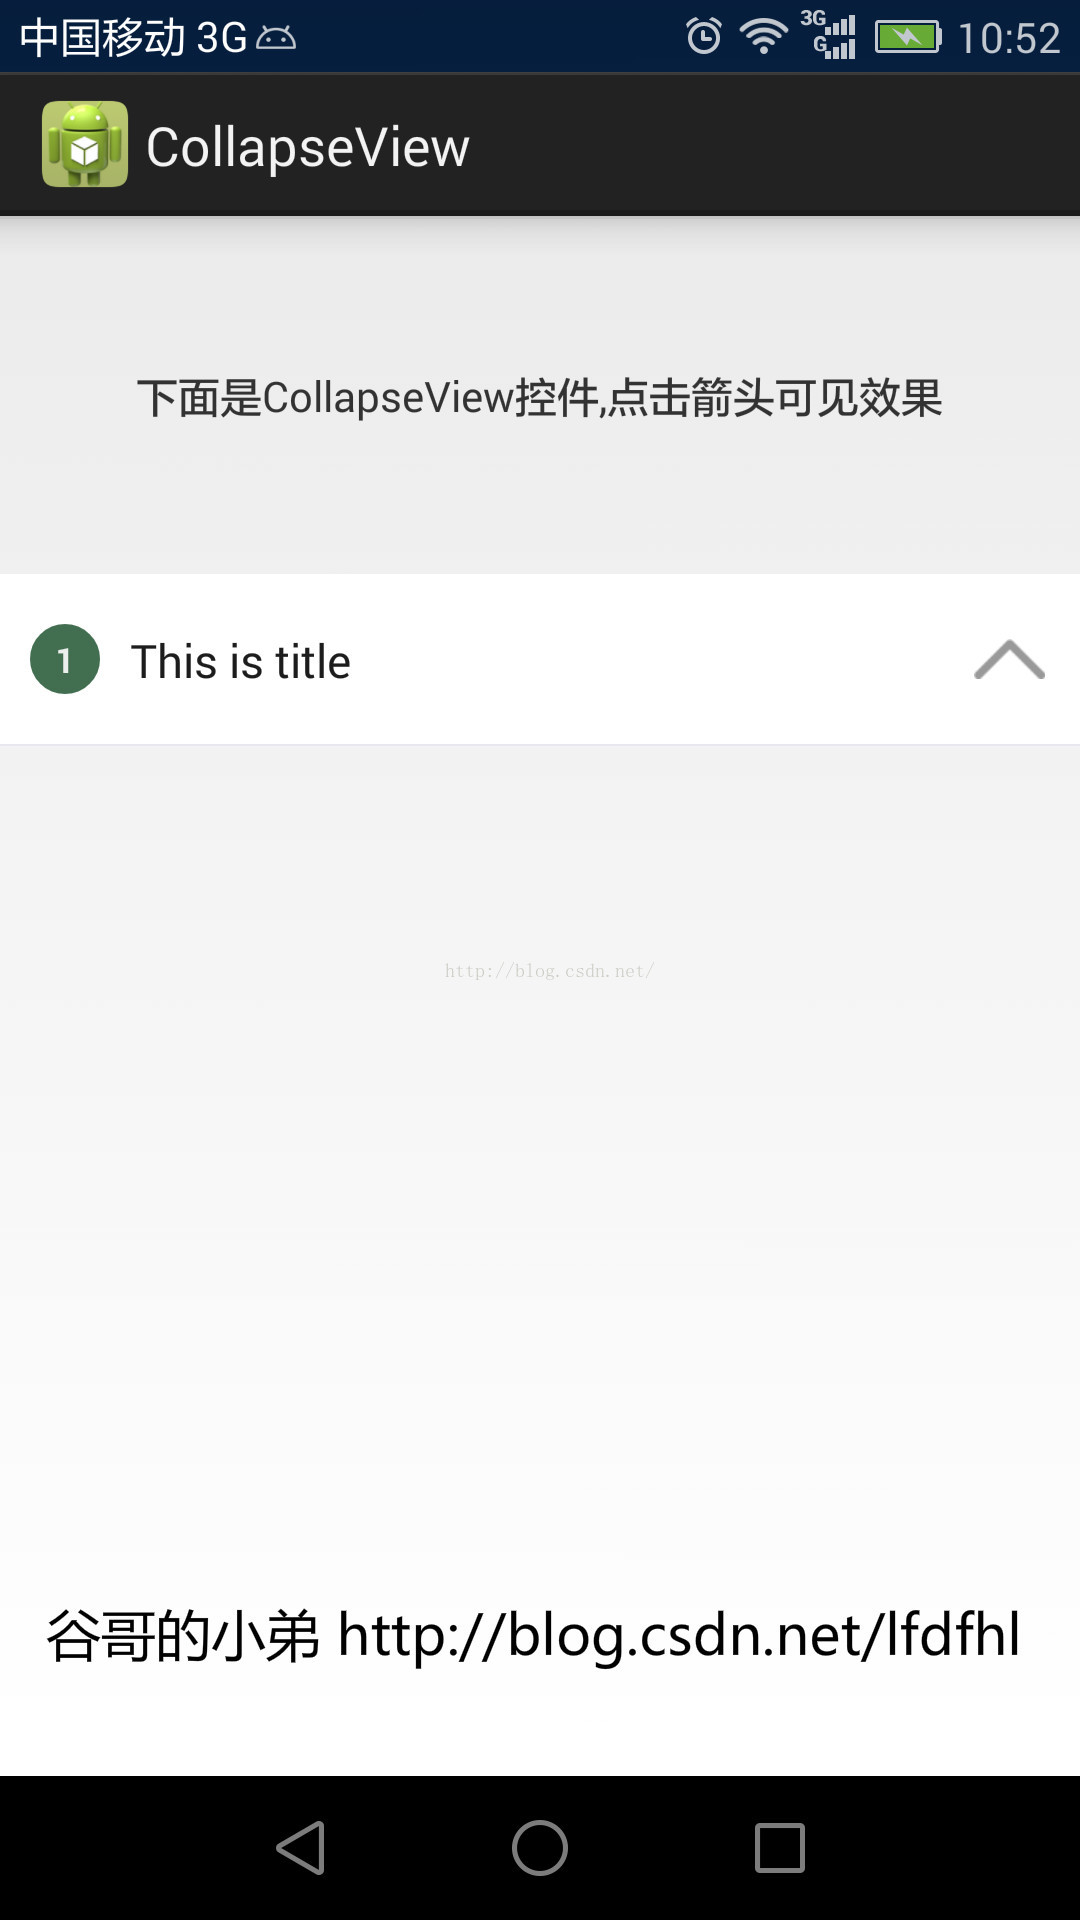


 438
438

 被折叠的 条评论
为什么被折叠?
被折叠的 条评论
为什么被折叠?
 到【灌水乐园】发言


