


云权限架构的注册中心采用的是spring cloud的Eureka Server来构建我们的服务的注册于发现,这里就不再详细介绍我们的Eureka Server的高可用配置中心以及Eureka Server的其他特性,我们假设大家已经对该知识有一定的了解,若大家对此块没有了解,可以查看本系列文章第一章上面推荐的网址以及书籍。
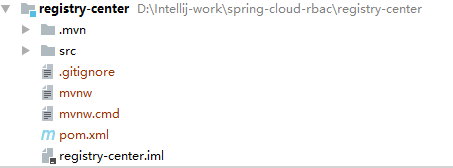
接着我们在现有spring-cloud-rbac工程中创建一个新的modules创建结果如下所示:
接着打开我们的pom.xml加入以下的配置:
<?xml version="1.0" encoding="UTF-8"?>
<project xmlns="http://maven.apache.org/POM/4.0.0" xmlns:xsi="http://www.w3.org/2001/XMLSchema-instance"
	xsi:schemaLocation="http://maven.apache.org/POM/4.0.0 http://maven.apache.org/xsd/maven-4.0.0.xsd">
	<modelVersion>4.0.0</modelVersion>

	<groupId>com.registry.center</groupId>
	<artifactId>registry-center</artifactId>
	<version>0.0.1-SNAPSHOT</version>
	<packaging>jar</packaging>

	<name>registry-center</name>
	<description>高可用注册中心</description>

	<parent>
		<groupId>org.springframework.boot</groupId>
		<artifactId>spring-boot-starter-parent</artifactId>
		<version>1.5.9.RELEASE</version>
		<relativePath/> <!-- lookup parent from repository -->
	</parent>

	<properties>
		<project.build.sourceEncoding>UTF-8</project.build.sourceEncoding>
		<project.reporting.outputEncoding>UTF-8</project.reporting.outputEncoding>
		<java.version>1.8</java.version>
	</properties>

	<dependencies>
		<dependency>
			<groupId>org.springframework.boot</groupId>
			<artifactId>spring-boot-starter-web</artifactId>
		</dependency>

		<dependency>
			<groupId>org.springframework.boot</groupId>
			<artifactId>spring-boot-starter-test</artifactId>
			<scope>test</scope>
		</dependency>

		<!-- 引入eureka server支持-->
		<dependency>
			<groupId>org.springframework.cloud</groupId>
			<artifactId>spring-cloud-starter-eureka-server</artifactId>
		</dependency>

		<!-- 增加访问eureka server的时候的权限拦截功能,防止任意的用户可用访问到我们的注册中心-->
		<dependency>
			<groupId>org.springframework.boot</groupId>
			<artifactId>spring-boot-starter-security</artifactId>
		</dependency>
	</dependencies>

	<dependencyManagement>
		<dependencies>
			<dependency>
				<groupId>org.springframework.cloud</groupId>
				<artifactId>spring-cloud-dependencies</artifactId>
				<version>Edgware.RELEASE</version>
				<type>pom</type>
				<scope>import</scope>
			</dependency>
		</dependencies>
	</dependencyManagement>


	<build>
		<plugins>
			<plugin>
				<groupId>org.springframework.boot</groupId>
				<artifactId>spring-boot-maven-plugin</artifactId>
			</plugin>
		</plugins>
	</build>


</project>
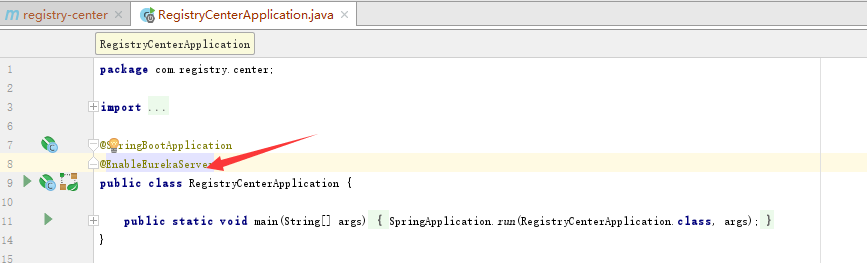
接着直接打开我们的注册中心的主入口Java类加入以下配置,即开启了完成了我们注册中心的配置:
接着在我们的resource文件夹底下创建两个properties文件分别是application-prod-2100.properties和application-prod-2101.properties两个文件内容如下,每个配置的含义在文件里面已经全部加了注解了,大家可以直接看图片或者到文章末尾直接获取该工程的地址:
首先是application-prod-2100.properties的配置文件:
spring.application.name=registry-center
server.port=2100
#如我们不想使用主机名来定义注册中心的地址,也可以使用IP地址的形式, 但是需要在 配置文件中增加配置参数eureka.instance.prefer-ip-address= true, 该值默认为false。
eureka.instance.prefer-ip-address=true
# eureka注册中心增加密码验证
security.user.name=fjhyll
security.user.password=hyll-2.0
#参数用于定义服务续约任务的调用间隔时间,默认为30秒
eureka.instance.lease-renewal-interval-in-seconds=30
#参数用于定义服务失效的时间,默认为90秒
eureka.instance.lease-expiration-duration-in-seconds=90
# 代表不向注册中心注册自己
#eureka.client.register-with-eureka=false
# 由于注册中心的职责就是维护服务实例,它并不需要去检索服务,所以也设置为 false
#eureka.client.fetch-registry=false
#缓存清单的更新时间,默认是30秒
eureka.client.registry-fetch-interval-seconds=30
#由于本地调试很容易触发注册中心的保护机制, 这会使得注册中心维护的服务实例不那么准确,默认为true。
#因此在本地调试的适合我们将参数设置为false,那么每次我们关闭客户端的时候我们的注册中心就直接移开相应的程序
eureka.server.enable-self-preservation=true
eureka.client.serviceUrl.defaultZone=http://fjhyll:hyll-2.0@127.0.0.1:2101/eureka/
接着是application-prod-2101.properties的配置文件:
spring.application.name=registry-center
server.port=2101
#如我们不想使用主机名来定义注册中心的地址,也可以使用IP地址的形式, 但是需要在 配置文件中增加配置参数eureka.instance.prefer-ip-address= true, 该值默认为false。
eureka.instance.prefer-ip-address=true
# eureka注册中心增加密码验证
security.user.name=fjhyll
security.user.password=hyll-2.0
#参数用于定义服务续约任务的调用间隔时间,默认为30秒
eureka.instance.lease-renewal-interval-in-seconds=30
#参数用于定义服务失效的时间,默认为90秒
eureka.instance.lease-expiration-duration-in-seconds=90
# 代表不向注册中心注册自己
#eureka.client.register-with-eureka=false
# 由于注册中心的职责就是维护服务实例,它并不需要去检索服务,所以也设置为 false
#eureka.client.fetch-registry=false
#缓存清单的更新时间,默认是30秒
eureka.client.registry-fetch-interval-seconds=30
#由于本地调试很容易触发注册中心的保护机制, 这会使得注册中心维护的服务实例不那么准确,默认为true。
#因此在本地调试的适合我们将参数设置为false,那么每次我们关闭客户端的时候我们的注册中心就直接移开相应的程序
eureka.server.enable-self-preservation=true
eureka.client.serviceUrl.defaultZone=http://fjhyll:hyll-2.0@127.0.0.1:2100/eureka/
为什么我们需要配置两个配置文件呢,这就是我们的spring boot为我们集成了分区启动的功能,因此我们可以只开发一个工程,但是我们可以根据不同的配置文件来启动该我们的同一个工程,那么我们这里该如何配置启动不同的配置文件呢如下图所示:
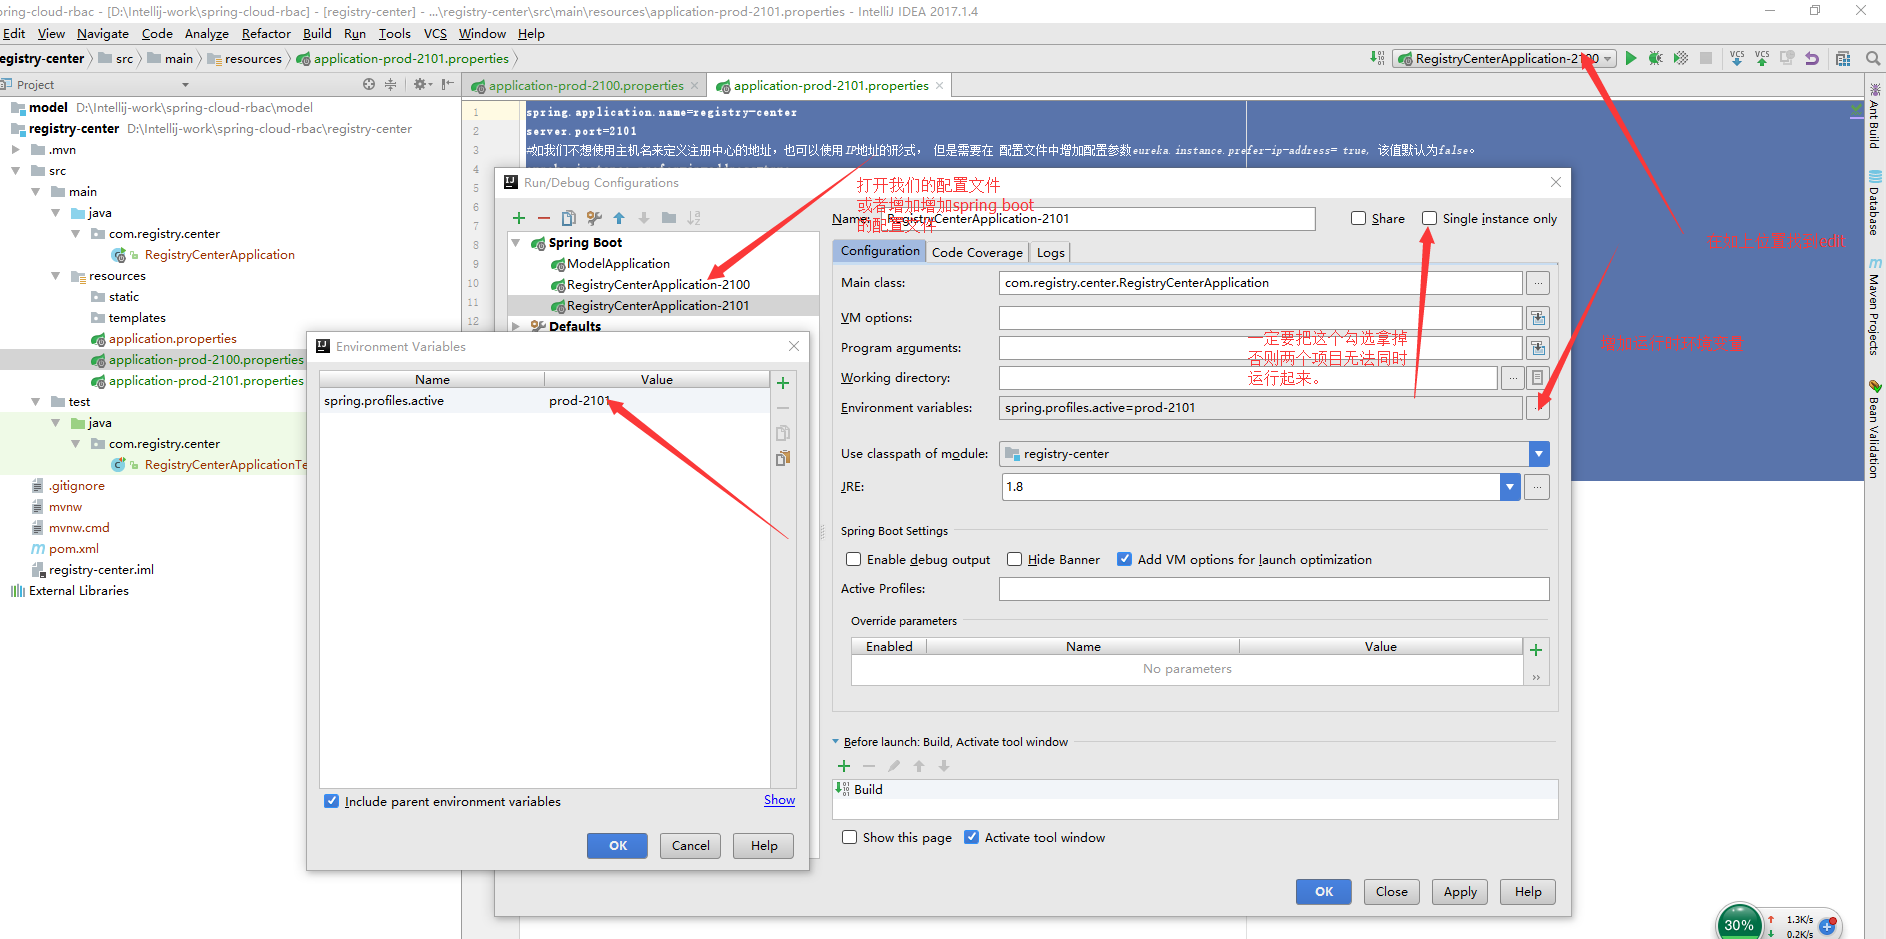
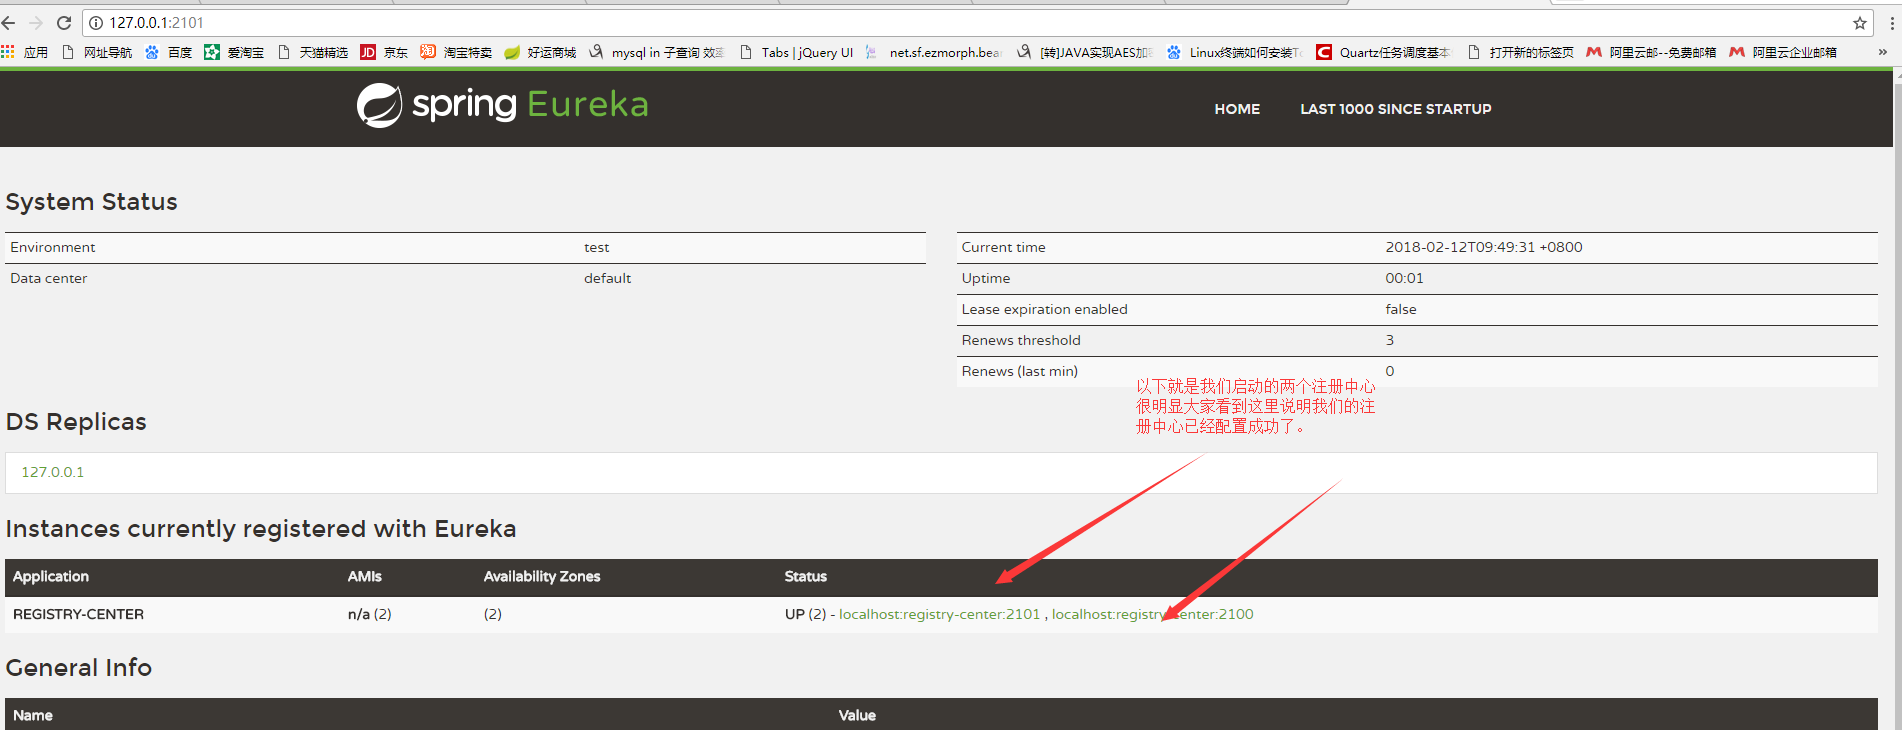
那么我们的另外一个2101的配置也如上图一样进行配置,这里就不再重复说明了,到此处我们的整个注册中心已经配置完成,大家可以直接启动我们的这两个配置中心,访问:http://127.0.0.1:2101 效果如下图所示:
到此为止的GitHub项目地址:https://github.com/185594-5-27/spring-cloud-rbac/tree/master-register
上一篇文章地址:基于springboot+redis+bootstrap+mysql开发一套属于自己的分布式springcloud云权限架构(二)【构建实体模型】
下一篇文章地址:基于springboot+redis+bootstrap+mysql开发一套属于自己的分布式springcloud云权限架构(四)【构建链路调用监控系统】
QQ交流群:578746866


 1万+
1万+

 被折叠的 条评论
为什么被折叠?
被折叠的 条评论
为什么被折叠?
 到【灌水乐园】发言


