


上篇文章我们学习了对象的插值表达式和双向数据绑定,这篇我们将学习一下ngFor与ngIf的写法以及事件的处理方式。
学习目标
这篇文章将实现如下目标:
- 显示英雄对象的列表
- 当点击对象的时候,显示该对象的详细信息
学习时长
大概5-10分钟
对象数组定义
在组件文件中定义一个对象数组,用以存放HERO的列表
const HEROES: Hero[] = [
  { id: 11, name: 'Mr. Nice' },
  { id: 12, name: 'Narco' },
  { id: 13, name: 'Bombasto' },
  { id: 14, name: 'Celeritas' },
  { id: 15, name: 'Magneta' },
  { id: 16, name: 'RubberMan' },
  { id: 17, name: 'Dynama' },
  { id: 18, name: 'Dr IQ' },
  { id: 19, name: 'Magma' },
  { id: 20, name: 'Tornado' }
];
修改HTML模板进行显示
/workspace/HelloAngular/src/app # cat app.component.html
  <h1>{{title}}</h1>
  <h2>My Heroes</h2>
  <ul class="heroes">
    <li *ngFor="let hero of heroes">
       <span class="badge">{{hero.id}}</span> {{hero.name}}
    </li>
  </ul>
/workspace/HelloAngular/src/app #
这里用到了ngFor语句,这是一条循环语句,它会从组件中取得列表信息heroes,而heroes在app.component.ts中被定义,正是上面设定的HEROES的常量数组,详细参看如下:
/workspace/HelloAngular/src/app # cat app.component.ts
import { Component } from '@angular/core';
@Component({
selector: 'app-root',
templateUrl: './app.component.html',
styleUrls: ['./app.component.css']
})
export class AppComponent {
title = 'Tour of Heroes';
heroes = HEROES;
}
export class Hero {
id: number;
name: string;
}
const HEROES: Hero[] = [
{ id: 11, name: 'Mr. Nice' },
{ id: 12, name: 'Narco' },
{ id: 13, name: 'Bombasto' },
{ id: 14, name: 'Celeritas' },
{ id: 15, name: 'Magneta' },
{ id: 16, name: 'RubberMan' },
{ id: 17, name: 'Dynama' },
{ id: 18, name: 'Dr IQ' },
{ id: 19, name: 'Magma' },
{ id: 20, name: 'Tornado' }
];
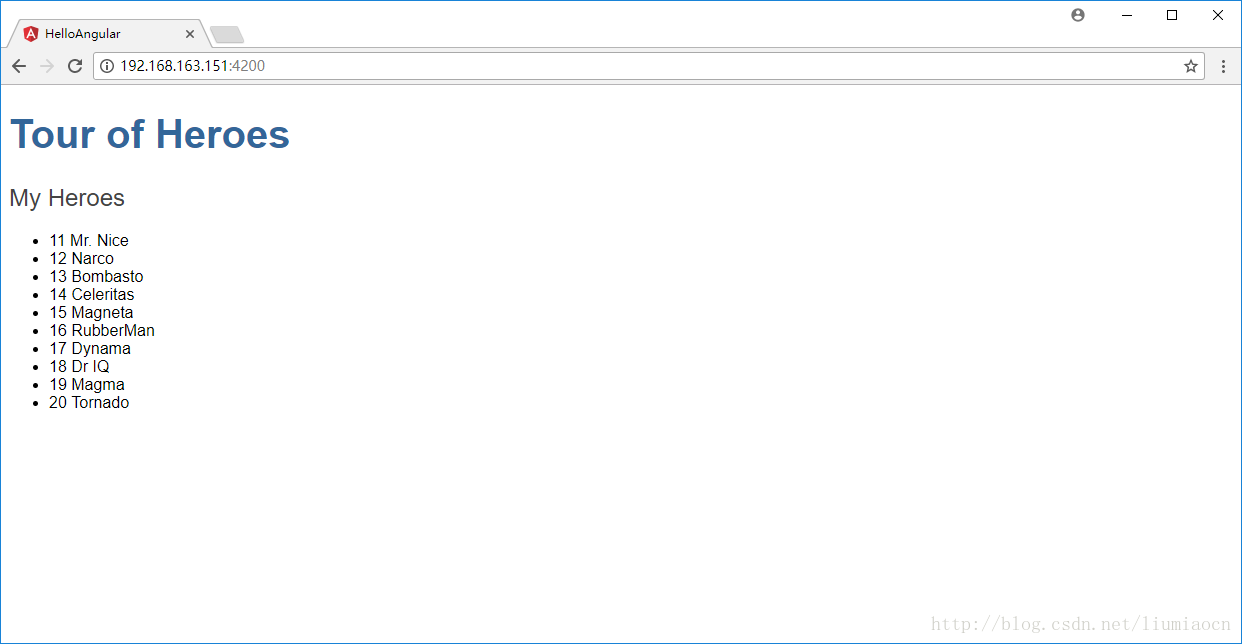
/workspace/HelloAngular/src/app # 结果页面
结果页面显示如下
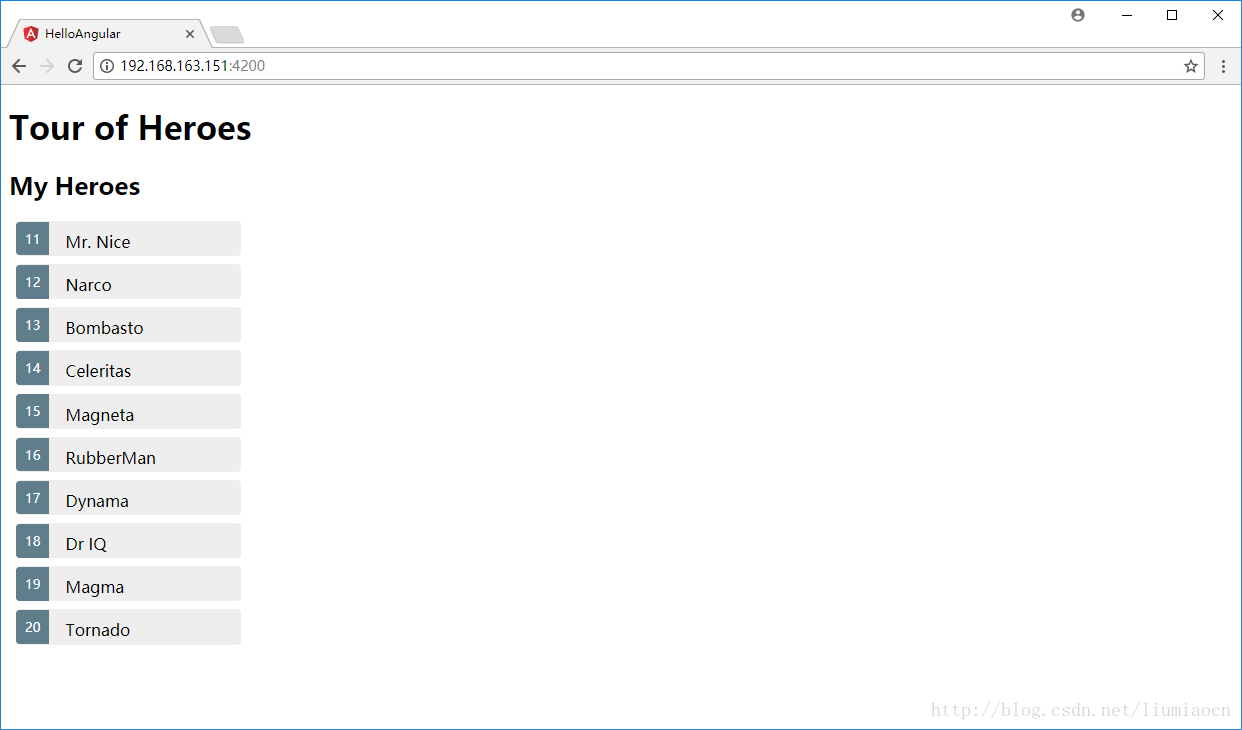
修改样式
因为此处还是用的上个例子的样式,所以可以看到h1还是跟上次一样,我们修改一下样式文件的内容:
/workspace/HelloAngular/src/app # cat app.component.css
  .selected {
    background-color: #CFD8DC !important;
    color: white;
  }
  .heroes {
    margin: 0 0 2em 0;
    list-style-type: none;
    padding: 0;
    width: 15em;
  }
  .heroes li {
    cursor: pointer;
    position: relative;
    left: 0;
    background-color: #EEE;
    margin: .5em;
    padding: .3em 0;
    height: 1.6em;
    border-radius: 4px;
  }
  .heroes li.selected:hover {
    background-color: #BBD8DC !important;
    color: white;
  }
  .heroes li:hover {
    color: #607D8B;
    background-color: #DDD;
    left: .1em;
  }
  .heroes .text {
    position: relative;
    top: -3px;
  }
  .heroes .badge {
    display: inline-block;
    font-size: small;
    color: white;
    padding: 0.8em 0.7em 0 0.7em;
    background-color: #607D8B;
    line-height: 1em;
    position: relative;
    left: -1px;
    top: -4px;
    height: 1.8em;
    margin-right: .8em;
    border-radius: 4px 0 0 4px;
  }
/workspace/HelloAngular/src/app #
确认样式修正后的显示
添加Click事件对应
为了能够实现点击某个li能够返回具体的信息,我们需要做如下几件事情
- 在li标签中添加Click事件的对应,并将ngFor的参数传递进去
- 在组件中定义一个用于保存选择信息的对象
- 在组件中进行Click事件的对应并保存传过来的对象值
- 将此值进行ngModel绑定进行显示
HTML页面代码
使用ngIf的原因是为了判空,在为选中时空值会使得出现undefined的问题,代码如下
/workspace/HelloAngular/src/app # cat app.component.html
  <h1>{{title}}</h1>
  <h2>My Heroes</h2>
  <ul class="heroes">
    <li *ngFor="let hero of heroes" (click)="onSelect(hero)">
       <span class="badge">{{hero.id}}</span> {{hero.name}}
    </li>
  </ul>

  <div *ngIf="selectedHero">
    <h2>{{selectedHero.name}} details!</h2>
    <div><label>id: </label>{{selectedHero.id}}</div>
    <div>
      <label>name: </label>
      <input [(ngModel)]="selectedHero.name" placeholder="name"/>
    </div>
  </div>
/workspace/HelloAngular/src/app #
组件侧代码
/workspace/HelloAngular/src/app # cat app.component.ts
import { Component } from '@angular/core';

@Component({
  selector: 'app-root',
  templateUrl: './app.component.html',
  styleUrls: ['./app.component.css']
})
export class AppComponent {
  title = 'Tour of Heroes';
  heroes = HEROES;
  selectedHero: Hero;

  onSelect(hero: Hero): void {
    this.selectedHero = hero;
  }
}
export class Hero {
  id: number;
  name: string;
}
const HEROES: Hero[] = [
  { id: 11, name: 'Mr. Nice' },
  { id: 12, name: 'Narco' },
  { id: 13, name: 'Bombasto' },
  { id: 14, name: 'Celeritas' },
  { id: 15, name: 'Magneta' },
  { id: 16, name: 'RubberMan' },
  { id: 17, name: 'Dynama' },
  { id: 18, name: 'Dr IQ' },
  { id: 19, name: 'Magma' },
  { id: 20, name: 'Tornado' }
];
/workspace/HelloAngular/src/app #
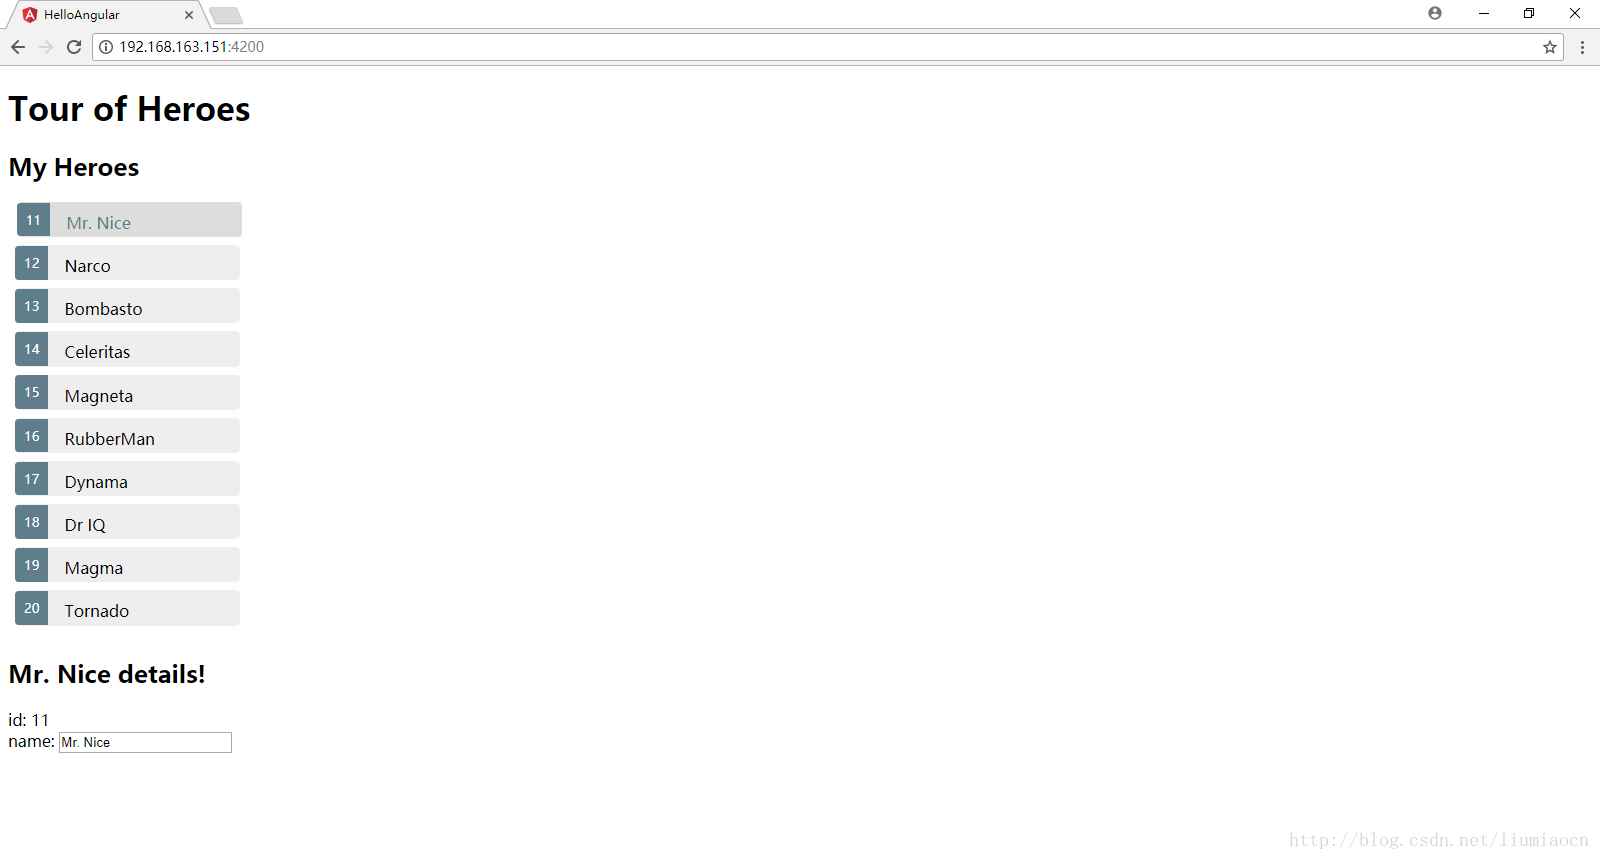
结果的显示
选择第一个HERO,结果如下
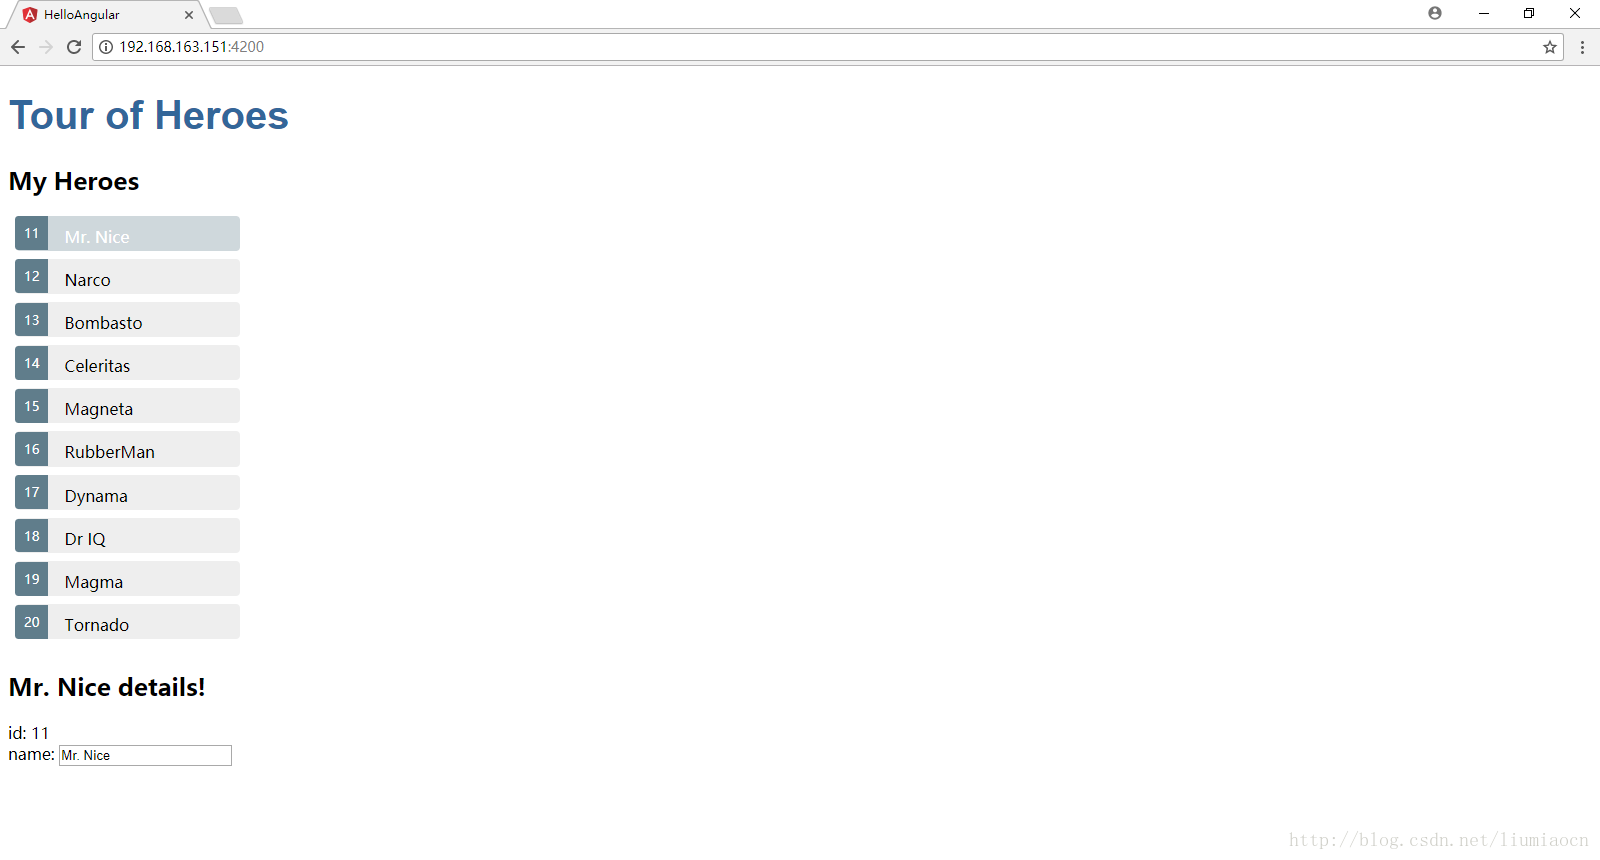
选中的项目的样式设定
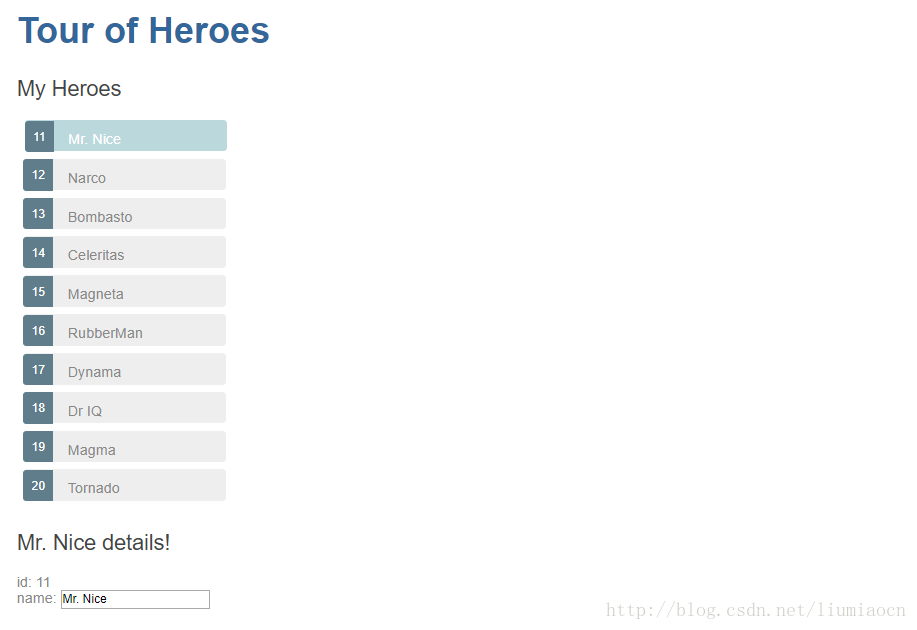
目前还有一个问题就是页面的选中的id为11的HERO和其他的对象没有区别,我们需要给li添加一个样式,具体写法为 [class.selected]=”hero === selectedHero”,表示如果此项目和选中的项目值相同的话就使用selected样式,加上h1的样式,具体代码如下:
/workspace/HelloAngular/src/app # cat app.component.css
h1 {
  color: #369;
  font-family: Arial, Helvetica, sans-serif;
  font-size: 250%;
}
  .selected {
    background-color: #CFD8DC !important;
    color: white;
  }
  .heroes {
    margin: 0 0 2em 0;
    list-style-type: none;
    padding: 0;
    width: 15em;
  }
  .heroes li {
    cursor: pointer;
    position: relative;
    left: 0;
    background-color: #EEE;
    margin: .5em;
    padding: .3em 0;
    height: 1.6em;
    border-radius: 4px;
  }
  .heroes li.selected:hover {
    background-color: #BBD8DC !important;
    color: white;
  }
  .heroes li:hover {
    color: #607D8B;
    background-color: #DDD;
    left: .1em;
  }
  .heroes .text {
    position: relative;
    top: -3px;
  }
  .heroes .badge {
    display: inline-block;
    font-size: small;
    color: white;
    padding: 0.8em 0.7em 0 0.7em;
    background-color: #607D8B;
    line-height: 1em;
    position: relative;
    left: -1px;
    top: -4px;
    height: 1.8em;
    margin-right: .8em;
    border-radius: 4px 0 0 4px;
  }
/workspace/HelloAngular/src/app #
HTML模板代码如下:
/workspace/HelloAngular/src/app # cat app.component.html
  <h1>{{title}}</h1>
  <h2>My Heroes</h2>
  <ul class="heroes">
    <li *ngFor="let hero of heroes"  [class.selected]="hero === selectedHero" (click)="onSelect(hero)">
       <span class="badge">{{hero.id}}</span> {{hero.name}}
    </li>
  </ul>

  <div *ngIf="selectedHero">
    <h2>{{selectedHero.name}} details!</h2>
    <div><label>id: </label>{{selectedHero.id}}</div>
    <div>
      <label>name: </label>
      <input [(ngModel)]="selectedHero.name" placeholder="name"/>
    </div>
  </div>
/workspace/HelloAngular/src/app #
结果显示如下
总结
这篇文章我们学习了如何进行事件的处理,以及ngFor和ngIf的使用方法,在下一章将会关注Angular组件的复用和组件之间的交互。


 3752
3752


 被折叠的 条评论
为什么被折叠?
被折叠的 条评论
为什么被折叠?
 到【灌水乐园】发言


