


1. Architectural Fundamentals
PostgreSQL数据库的架构原理
Before we proceed, you should understand the basic PostgreSQL system architecture. Understanding how the parts of PostgreSQL interact will make this chapter somewhat clearer.
在我们开始之前,对于PostgreSQL的基本系统架构要有一定的了解,明白了PostgreSQL各部分是如何进行交互对于本章的学习会有更加清晰的思路。
In database jargon, PostgreSQL uses a client/server model. A PostgreSQL session consists of the following cooperating processes (programs):
在数据库领域中,PostgreSQL使用客户端/服务器模式。一个PostgreSQL会话由以下协作进程(程序)组成:
A server process, which manages the database files, accepts connections to the database from client
applications, and performs database actions on behalf of the clients. The database server program is called postgres服务器进程管理着数据库文件,接受客户端应用连接数据库的请求,代替客户端执行数据库操作。数据库服务器程序被称作postgres
The user’s client (frontend) application that wants to perform database operations. Client applications
can be very diverse in nature: a client could be a text-oriented tool, a graphical application, a web server
that accesses the database to display web pages, or a specialized database maintenance tool. Some client
applications are supplied with the PostgreSQL distribution; most are developed by users.执行数据库操作的用户客户端(前端)。客户端应用程序在本质上可以大不相同:客户端可以是面向文本的或者是图形应用,也可以是一个接入数据的web服务器所展现的web界面,或者也可以是特定的数据库维护工具。一些客户端应用程序在PostgreSQL发行版中已经提供,大多数是由用户自己开发的。
As is typical of client/server applications, the client and the server can be on different hosts. In that case they communicate over a TCP/IP network connection. You should keep this in mind, because the files that can be accessed on a client machine might not be accessible (or might only be accessible using a different file name) on the database server machine.
作为典型的客户端/服务器应用,客户端和服务器能够处在不同的主机中。在那种情况下它们可以通过TCP/IP网络进行连接,我们必须要记住,能够在客户端访问的文件不一定能够在数据库服务器主机中被访问(或者可以通过使用不同文件名称被访问)。
The PostgreSQL server can handle multiple concurrent connections from clients. To achieve this it starts
(“forks”) a new process for each connection. From that point on, the client and the new server process
communicate without intervention by the original
postgres process. Thus, the master server process is
always running, waiting for client connections, whereas client and associated server processes come and
go. (All of this is of course invisible to the user. We only mention it here for completeness.)
数据库服务器能够处理客户端的多并发。为了实现这种机制,服务器对于每一个连接都开启(创建)了一个新的进程,然后新的服务器进程与客户端的沟通不会再干涉最初的postgres进程。通过这种方式,主服务器程序一直处于运行状态,并且等待着客户端的连接,客户端与相关的服务器进程不断交替(对于用户来说这些当然都是不可见的,提到这些只是为了解释的更加完整一些)。
2. PostgreSQL Installation
本标题下只讲述如何通过源码进行编译安装
2.1下载要安装的源码包(以v9.6.4为例)
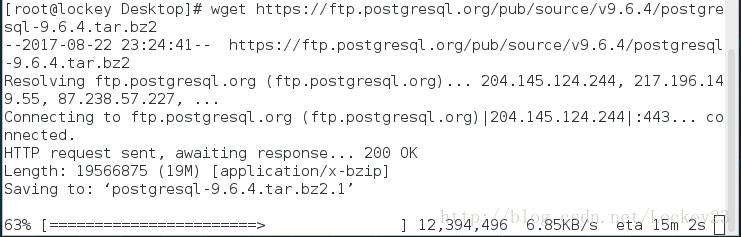
wget https://ftp.postgresql.org/pub/source/v9.6.4/postgresql-9.6.4.tar.bz2
对于下载了postgresql-9.6.4.tar.gz的用户,可以使用以下命令解压并且提取文件:
gunzip postgresql-9.6.4.tar.gz
tar xf postgresql-9.6.4.tar
对于下载了postgresql-9.6.4.tar.bz2的用户,可以使用以下命令解压并且提取文件:
bunzip2 postgresql-9.6.4.tar.bz2
tar xf postgresql-9.6.4.tar、
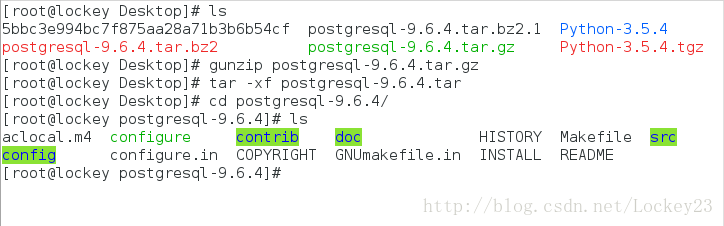
然后我们就会得到一个名字为postgresql-9.6.4的目录,在目录中就是PostgreSQL的源码,进入这个目录以便进行接下来的安装程序。
2.2 进行编译安装
2.2.1 配置
安装的第一步是为你的系统配置源结构,选择你喜欢的选项,这些可以通过运行配置脚本来完成
[root@lockey postgresql-9.6.4]# ./configure
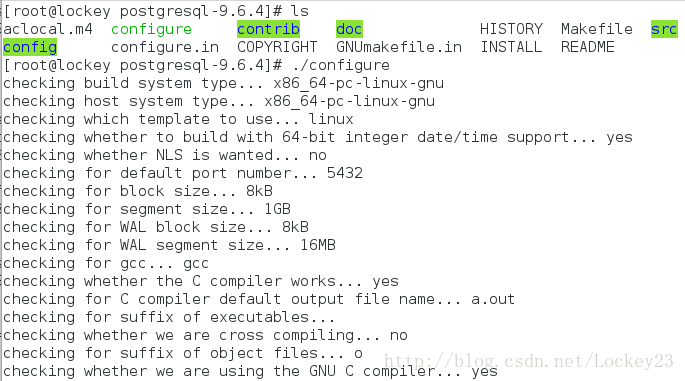
此脚本会运行一系列的测试去决定对于不同系统的依赖关系并且检测你系统中存在的任何不正常。最后此程序将在编译目录中创建几个文件去记录测试结果。
默认的配置脚本会编译服务器和实用工具以及一些只需要C编译器的客户端应用程序和接口。我们要也可以通过提供一个或者多个选项来定制编译和安装过程,例如:
--prefix=PREFIX
#将所有的安装到PREFIX目录下而不是/usr/local/pgsql
--exec-prefix=EXEC-PREFIX
#用完全不同的前缀安装结构依赖文件
--bindir=DIRECTORY
#指明可执行程序的安装目录
--sysconfdir=DIRECTORY
#设置各种配置文件的安装目录,默认前缀为/etc
--datarootdir=DIRECTORY
#设置各种制度数据文件的root目录
--htmldir=DIRECTORY
#设置html文件目录
--docdir=DIRECTORY
#设置相关文档目录
--mandir=DIRECTORY
#设置手册存储目录
。。。
如果配置提示错误,例如:
configure: error: readline library notfound
If you have readline already installed, see config.log for detailson the
failure.  It is possible the compiler isnt lookingin the proper directory.
Use --without-readline to disable readlinesupport.
根据提示我们可以使用以下命令进行安装(并不是最好的解决方法,官方也不推荐)
[root@lockey postgresql-9.6.4]# ./configure --without-readline
最好的解决方法就是安装相应的依赖
[root@lockey postgresql-9.6.4]# yum install readline-devel -y
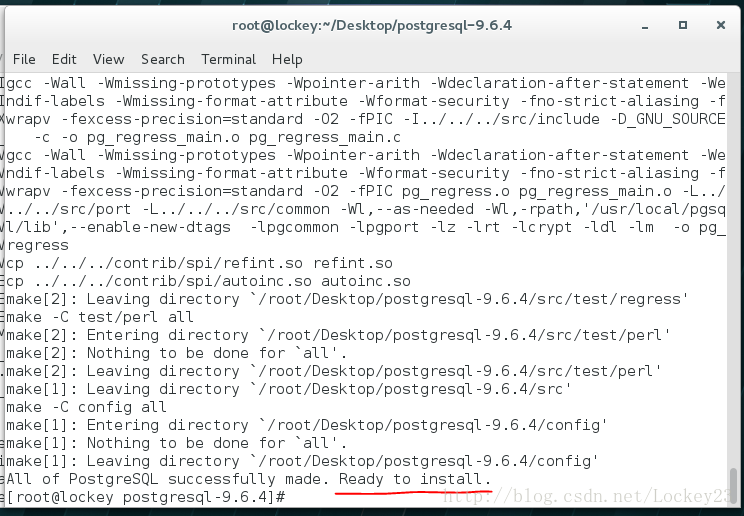
2.2.2 编译Build
要开始编译需要执行以下命令
[root@lockey postgresql-9.6.4]# make
一般情况下编译过程将会持续几分钟,这取决于你的系统硬件配置,完成后最后的展示结果应该为:
All of PostgreSQL successfully made. Ready to install.
2.2.3 安装
对于系统升级安装请参考官方文档 ,首次安装需要执行以下命令:
[root@lockey postgresql-9.6.4]# make install
如果想要安装html文档,可以使用执行以下命令
[root@lockey postgresql-9.6.4]# make install-docs
也可以运行:
[root@lockey postgresql-9.6.4]# make install-world
我们也可以使用以下命令除去可执行文件和库:
[root@lockey postgresql-9.6.4]#make install-strip
如果只是想要安装客户端应用程序和接口库的话可以运行以下命令
make -C src/bin install
make -C src/include install
make -C src/interfaces install
make -C doc install
安装完成之后的结果类似以下:
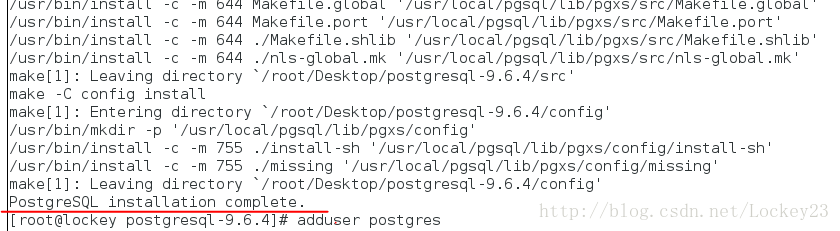
2.2.4 设置postgres用户的环境变量
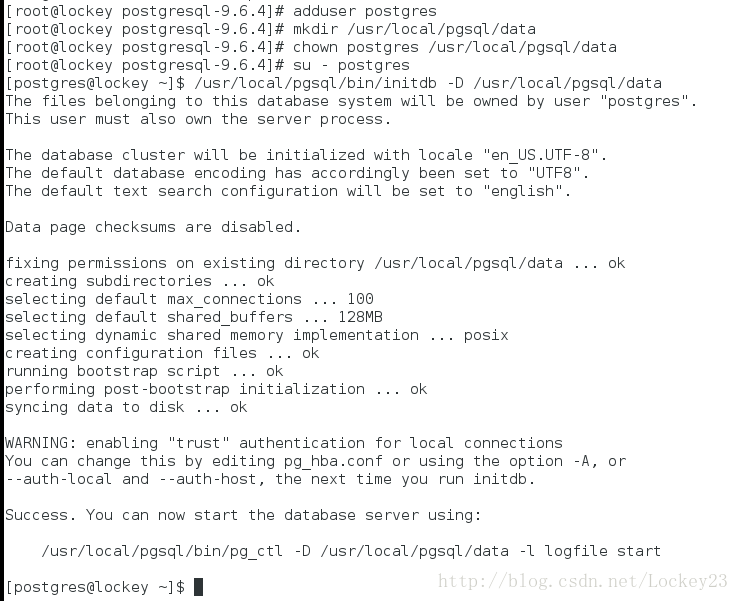
[root@lockey postgresql-9.6.4]# adduser postgres
#添加数据库用户
[root@lockey postgresql-9.6.4]# mkdir /usr/local/pgsql/data
#创建数据目录
[root@lockey postgresql-9.6.4]# chown postgres /usr/local/pgsql/data
#将数据目录的所有者改为数据库用户postgres
[root@lockey postgresql-9.6.4]# su - postgres
#切换到数据库用户环境,准备进行数据库的配置和测试
编辑~/.bash_profile文件
[root@lockey postgresql-9.6.4]# vim ~/.bash_profile
设置以下的环境变量
export PATH
export PATH=/usr/local/pgsql/bin:$PATH
export PGDATA=/usr/local/pgsql/data
export MANPATH=$MANPATH:/usr/local/pgsql/man
export LD_LIBRARY_PATH=$LD_LIBRARY_PATH:/usr/local/pgsql/lib
wq保存退出,然后执行以下命令,使设置的新环境变量生效
[root@lockey postgresql-9.6.4]# source ~/.bash_profile
2.2.5 数据库的初始化以及简单使用
数据库安装完成后需要依次执行以下命令(注意是切换到postgres用户下):
[postgres@lockey ~]$ /usr/local/pgsql/bin/initdb -D /usr/local/pgsql/data
#数据库初始化
[postgres@lockey ~]$ /usr/local/pgsql/bin/postgres -D /usr/local/pgsql/data > logfile 2>&1 &
#启动数据库
[postgres@lockey ~]$ /usr/local/pgsql/bin/createdb test
#创建测试数据库
[postgres@lockey ~]$ /usr/local/pgsql/bin/psql test
#连接测试数据库
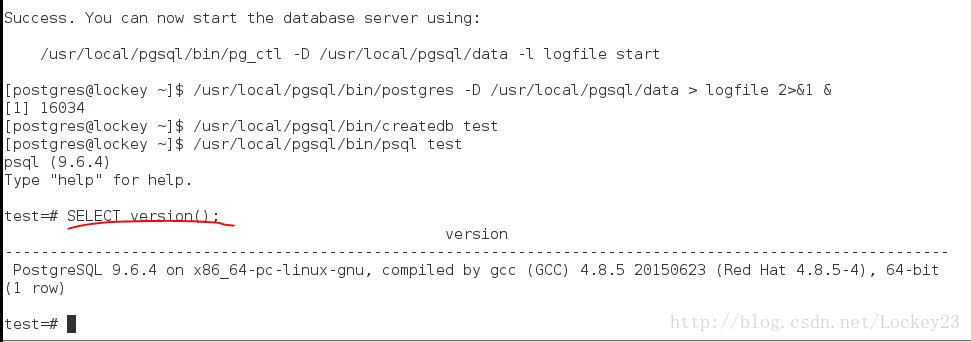
OK,PostgreSQL数据库的基本安装到这就完成了!


 8785
8785


 被折叠的 条评论
为什么被折叠?
被折叠的 条评论
为什么被折叠?
 到【灌水乐园】发言


