


1、概述
本篇主要介绍主要使用Django实现文章列表页向详情页的跳转,在此过程中涵盖了对URL使用正则、让文章评论与文章对应、使用视图分离的处理不同的请求。
2、对URL使用正则,实现文章跳转
1)可以使用类似python中的正则表达式,实现对url的正则,如下:
- 顾头式结构 r'^detail
说明:符号^为顾头式结构,表示detail首部固定,但detail后可以随意添加,对url访问不受影响。如/detail/abc/efg和/detail12345,这两种与上述代码访问方式没区别。
- 顾尾式结构 /detail$
说明:符号$为顾尾式结构,表示detail尾部固定,不能再尾部添加东西,否则url不能正确访问。
- 限定三位数字 /detail/(\d){3}
说明:(\d){3}表示url可以在/detail/后面添加3位数字,3表示数字的个数。
- 限定多为数字 /detail/(\d+)
说明:(\d+)表示url可以在/detail/后面添加多位数字.
网页中的每篇文章都有唯一的id号,所以我们可以通过获取该文章的id来唯一检索这篇文章。也就是说,我们可以在原来访问网址后面加上id号来表示访问对应的文章。
因此,在url的访问中,首先要输入对应的访问网址 + id,如下:
urlpatterns = [
    url(r'^admin/', admin.site.urls),
    url(r'^index', index, name='index'),
url(r'^detail/(?P<page_num>\d+)$', detail, name='detail'),] #3def detail(request, page_num):
article = Article.objects.get(id=page_num)
context['article'] = article<a href="{% url 'detail' article.id %}">
<h1 class="ui header">
{{ article.headline }}
</h1>
</a>解析:模板中的href通过模板标签的方式,其中url ‘detail’代表对应的url是detail,也就是url中的name='detail',然后网址后加article.id,如下图:
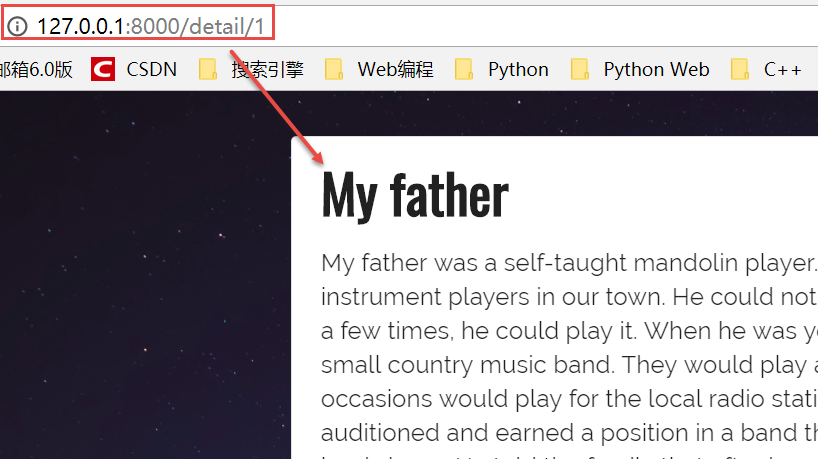
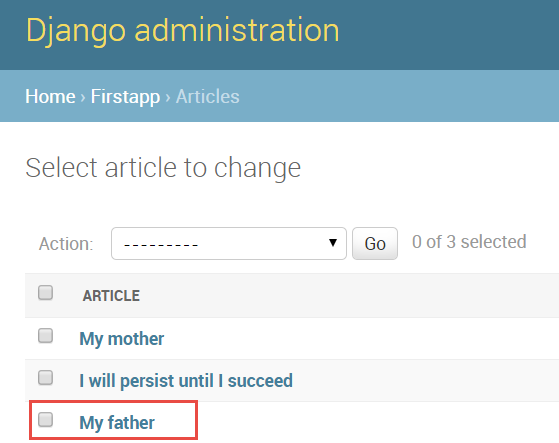
说明:其中My father这篇文章就是数据库中第一篇文章,django后台如下:
3、让文章评论与文章对应
1)models.py层
实现这部分的功能,主要是修改数据表结构。文章对于文章评论,是属于一对多的关系,在数据库中我们要在多的一方设置外键,在django中models.py层修改
结构如下:
class Comment(models.Model):
    name = models.CharField(null=True, blank=True, max_length=50)
    comment = models.TextField()
    belong_to = models.ForeignKey(to=Article, related_name="under_comments", null=True,blank=True)
    best_comment = models.BooleanField(default=False)
    def __str__(self):
return self.name2)通过Article来访问评论方法
def detail(request, page_num, error_form=None):
    context = {}
    form = CommentForm()
    article = Article.objects.get(id=page_num)
    context['article'] = article
return render(request, 'detail.html', context){% for comment in article.under_comments.all %}
<div class="comment">
<div class="avatar">
<img src="http://semantic-ui.com/images/avatar/small/matt.jpg" alt="" />
</div>
<div class="content">
<a href="#" class="author">{{ comment.name }}</a>
<div class="metadata">
<div class="date">2 days ago</div>
</div>
<p class="text" style="font-family: 'Raleway', sans-serif;">
{{ comment.comment }}
</p>
</div>
</div>
{% endfor %}3)通过Comment来访问评论的方法(这边访问最优评论)
def detail(request, page_num, error_form=None):
    context = {}
    best_comment = Comment.objects.filter(best_comment=True, belong_to=article)
    if best_comment:
context["best_comment"] = best_comment[0]4)在Models.py层添加最优评论
{% if best_comment %}
<div class="ui mini red left ribbon label">
<i class="icon fire"></i>
Best
</div>
<div class="best comment">
<div class="avatar">
<img src="http://semantic-ui.com/images/avatar/small/matt.jpg" alt="" />
</div>
<div class="content">
<a href="#" class="author">{{ best_comment.name }}</a>
<div class="metadata">
<div class="date">2 days ago</div>
</div>
<p class="text" style="font-family: 'Raleway', sans-serif;">
{{ best_comment.comment }}
</p>
</div>
</div>
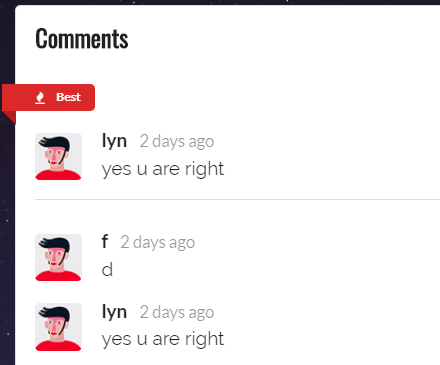
{% endif %}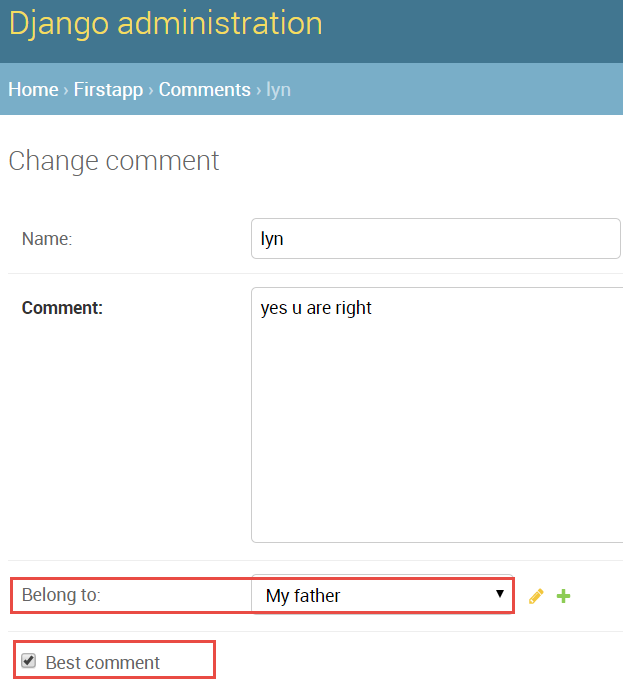
在网页中的显示为:
4、实现视图分离操作
在视图中即存在GET请求,又存在POST请求时,通常的做法要使用视图分离,将GET和POST进行分离。
1)在view.py层进行分离
def detail(request, page_num, error_form=None):
    context = {}
    form = CommentForm()
    article = Article.objects.get(id=page_num)
    best_comment = Comment.objects.filter(best_comment=True, belong_to=article)
    if best_comment:
        context["best_comment"] = best_comment[0]
    context['article'] = article
    if error_form is not None:
        context['form'] = error_form
    else:
        context['form'] = form
    return render(request, 'detail.html', context)

def detail_comment(request, page_num):
    form = CommentForm(request.POST)
    if form.is_valid():
        name = form.cleaned_data['name']
        comment = form.cleaned_data['comment']
        a = Article.objects.get(id=page_num)
        c = Comment(name=name, comment=comment, belong_to=a)
        c.save()
    else:
        return detail(request, page_num, error_form=form)
return redirect(to='detail',page_num=page_num)2)在url.py层添加url
urlpatterns = [
    url(r'^admin/', admin.site.urls),
    url(r'^index', index, name='index'),
    url(r'^detail/(?P<page_num>\d+)$', detail, name='detail'),
    url(r'^detail/(?P<page_num>\d+)/comment$', detail_comment, name='comment'),
]
<form class="ui error tiny form" action="{% url 'comment' article.id %}" method="post">
  {% if form.errors  %}
    <div class="ui error message">
      {{ form.errors }}
    </div>
     ......
    <button type="submit" class="ui blue button" >Click</button>
</form>


 2248
2248


 被折叠的 条评论
为什么被折叠?
被折叠的 条评论
为什么被折叠?
 到【灌水乐园】发言


