


http://www.cnblogs.com/brooks-dotnet/archive/2012/08/22/2651594.html
近期工作中项目需要开发一个Android客户端,调用WCF服务获取数据。我之前没有做过Android上的Web Service开发,临时查了一下,整理出一个完整的例子,备忘。
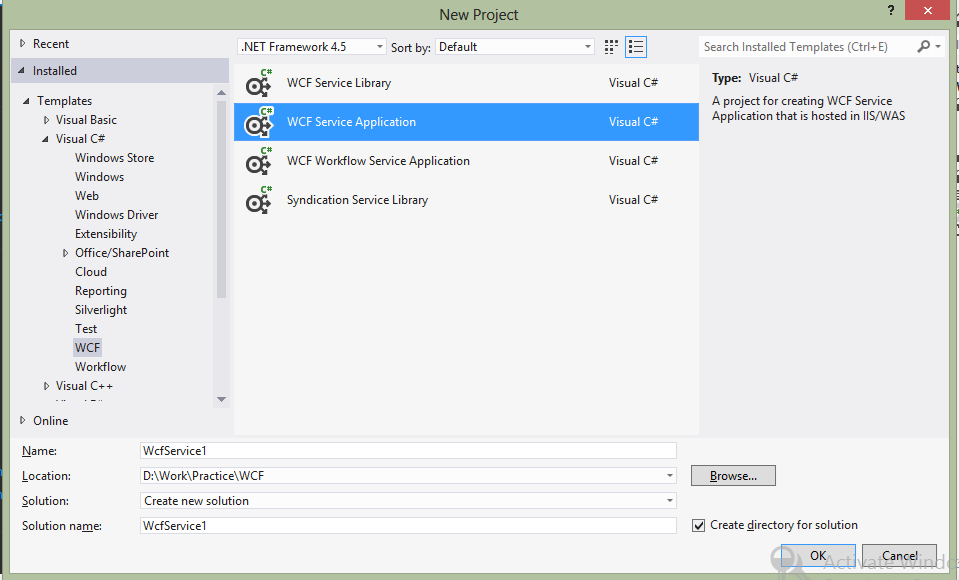
1、创建一个WCF服务项目:
2、添加一个很简单的方法,输出一个字符串:
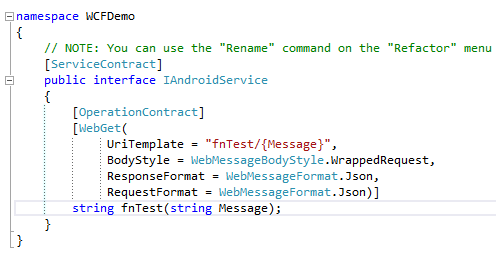
注意UriTemplate 的写法,多个参数依此类推。BodyStyle 指定为允许多个参数,数据格式使用移动终端友好的Json格式,XML数据冗余性太大。

3、修改 web.config

使用webHttpBinding 针对于 Restful Web Service,若使用basicHttpBinding则针对于 SOAP Web Service。
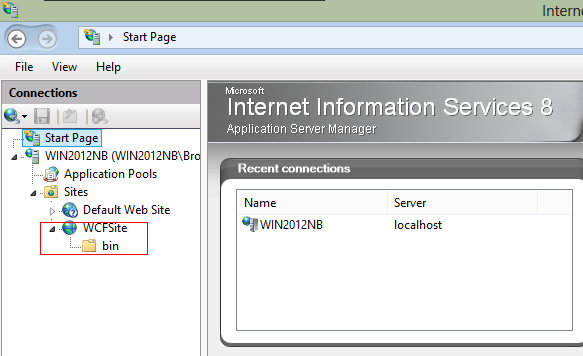
4、编译成功后,使用VS 发布到IIS中:
先在IIS中建立一个网站:
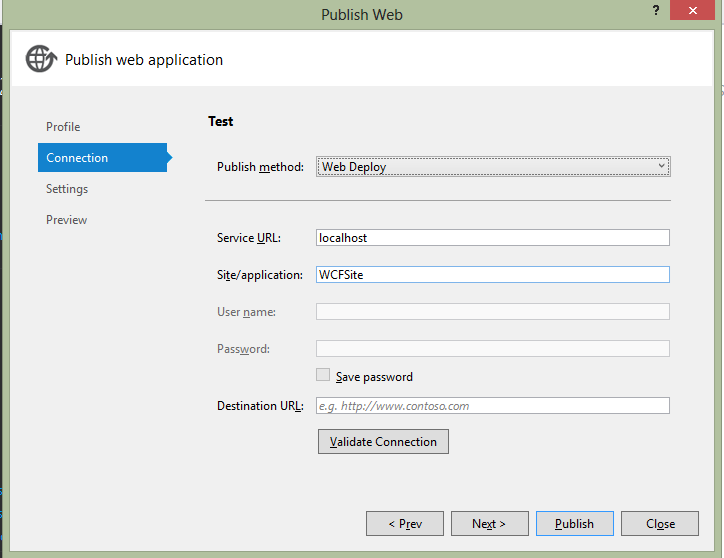
然后发布到该网站中:
发布成功后,在浏览器中查看WCF服务确认发布成功:

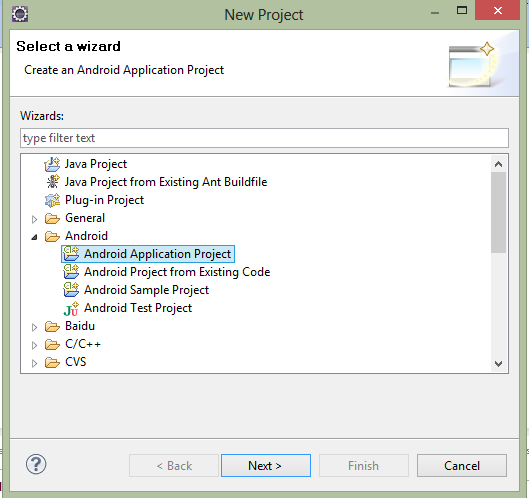
5、下面开始开发Android客户端测试程序,在Eclipse中创建一个Android项目:
6、就放置一个按钮,点击按钮时调用WCF服务:

7、若调用成功,记录一条日志:
package com.brooks.wcfdemo;
import java.io.IOException;
import java.io.InputStreamReader;
import java.io.UnsupportedEncodingException;
import org.apache.http.HttpEntity;
import org.apache.http.HttpResponse;
import org.apache.http.client.methods.HttpGet;
import org.apache.http.impl.client.DefaultHttpClient;
import org.apache.http.protocol.HTTP;
import android.app.Activity;
import android.os.Bundle;
import android.util.Log;
import android.view.Menu;
import android.view.View;
public class MainActivity extends Activity {
@Override
public void onCreate(Bundle savedInstanceState) {
super.onCreate(savedInstanceState);
setContentView(R.layout.activity_main);
}
@Override
public boolean onCreateOptionsMenu(Menu menu) {
getMenuInflater().inflate(R.menu.activity_main, menu);
return true;
}
public void WCFTestLinstener(View view)
{
new Thread(WCFTest).start();
}
Runnable WCFTest = new Runnable(){
public void run() {
// TODO Auto-generated method stub
CallWCF();
}
};
private void CallWCF() {
try {
// Send GET request to <service>/GetPlates
HttpGet request = new HttpGet("http://192.168.0.100:90/AndroidService.svc/fnTest/WCF");
request.setHeader("Accept", "application/json");
request.setHeader("Content-type", "application/json");
DefaultHttpClient httpClient = new DefaultHttpClient();
HttpResponse response = httpClient.execute(request);
HttpEntity responseEntity = response.getEntity();
Log.d("WCF", retrieveInputStream(responseEntity));
} catch (Exception e) {
e.printStackTrace();
}
}
protected String retrieveInputStream(HttpEntity httpEntity) {
int length = (int) httpEntity.getContentLength();
if (length < 0)
length = 10000;
StringBuffer stringBuffer = new StringBuffer(length);
try {
InputStreamReader inputStreamReader = new InputStreamReader(
httpEntity.getContent(), HTTP.UTF_8);
char buffer[] = new char[length];
int count;
while ((count = inputStreamReader.read(buffer, 0, length - 1)) > 0) {
stringBuffer.append(buffer, 0, count);
}
} catch (UnsupportedEncodingException e) {
} catch (IllegalStateException e) {
} catch (IOException e) {
}
return stringBuffer.toString();
}
}
因为Android 高版本对主线程上的操作做了限制,故需要异步调用。
首先使用模拟器测试:
 手机开启Wifi后,就可以在真机进行测试了:
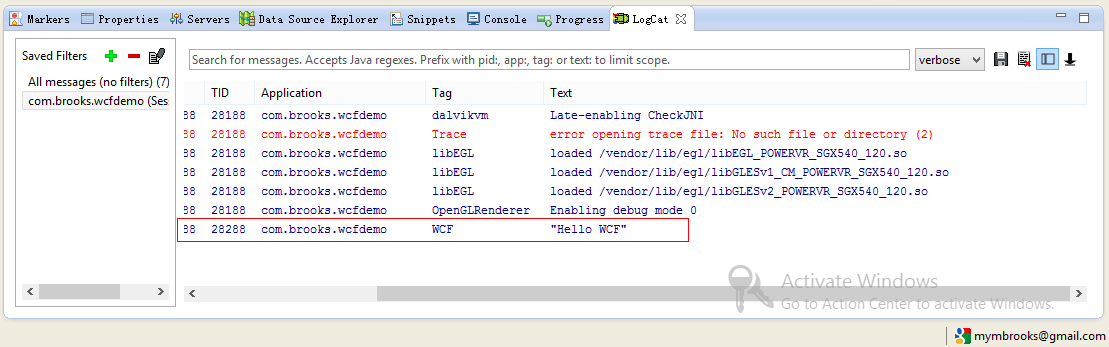


 70
70


 被折叠的 条评论
为什么被折叠?
被折叠的 条评论
为什么被折叠?
 到【灌水乐园】发言


