


#include"stdafx.h"
#include <opencv2/core/utility.hpp>
#include "opencv2/imgproc.hpp"
#include "opencv2/imgcodecs.hpp"
#include "opencv2/highgui.hpp"
#include <iostream>

using namespace cv;
using namespace std;

// 设定阈值初值
Mat img;
int threshval = 100;

static void on_trackbar(int, void*)
{

	Mat bw = threshval < 128 ? (img < threshval) : (img > threshval);
	Mat labelImage(img.size(), CV_32S);
	int nLabels = connectedComponents(bw, labelImage, 8);
	std::vector<Vec3b> colors(nLabels);
	colors[0] = Vec3b(0, 0, 0);//background
	for (int label = 1; label < nLabels; ++label) {
		colors[label] = Vec3b((rand() & 255), (rand() & 255), (rand() & 255));
	}
	Mat dst(img.size(), CV_8UC3);
	for (int r = 0; r < dst.rows; ++r) {
		for (int c = 0; c < dst.cols; ++c) {
			int label = labelImage.at<int>(r, c);
			Vec3b &pixel = dst.at<Vec3b>(r, c);
			pixel = colors[label];
		}
	}

	imshow("Connected Components", dst);
}

int main()
{

	//读取原图片
	img = imread("E:\\pictures\\For_Project\\New_opencv\\Sceen\\4rt.jpg", 0);
	//判断是否为空
	if (img.empty())
	{
		cout << "Could not read input image file: " << endl;
		return -1;
	}
	//显示
	namedWindow("Image", 1);
	imshow("Image", img);

	namedWindow("Connected Components", 1);
	//创建滑动窗口
	createTrackbar("Threshold", "Connected Components", &threshval, 255, on_trackbar);
	on_trackbar(threshval, 0);

	waitKey(0);
	return 0;
}
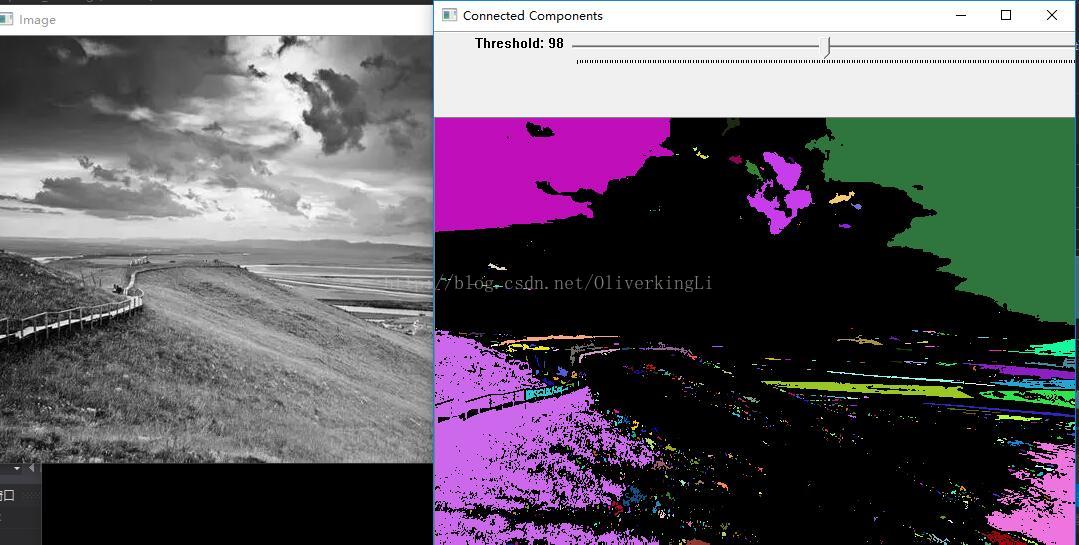
效果图:


 5866
5866


 被折叠的 条评论
为什么被折叠?
被折叠的 条评论
为什么被折叠?
 到【灌水乐园】发言


