


Preston 官网:http://prestodb.io/
Preston Github 主页:https://github.com/facebook/presto
一 安装环境
操作系统:CenteOs 6.6
JDK 版本:1.8
ps: 本测试将presto的coordinator和worker都部署在一个节点上。
二 安装Presto
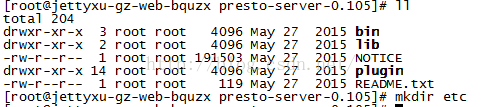
2.1 下载presto(版本0.1.0.5)压缩包并解压
wget https://repo1.maven.org/maven2/com/facebook/presto/presto-server/0.105/presto-server-0.105.tar.gz
tar -xf presto-server-0.105.tar.gz
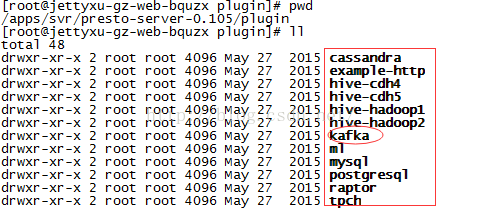
进入plugin目录,查看支持的插件,这里主要测试kafka
2.2 配置presto
在安装目录下创建etc文件夹
2.2.1 配置node.properties
node.environment=test
node.id=ffffffff-ffff-ffff-ffff-ffffffffffff
node.data-dir=/var/presto/data
参数说明:
node.environment:环境名称。一个集群节点中的所有节点的名称应该保持一致。node.id:节点唯一标识的名称。node.data-dir:数据和日志存放路径
-server
-Xmx4G
-XX:+UseConcMarkSweepGC
-XX:+ExplicitGCInvokesConcurrent
-XX:+AggressiveOpts
-XX:+HeapDumpOnOutOfMemoryError
-XX:OnOutOfMemoryError=kill -9 %pconfig.properties
coordinator=true
node-scheduler.include-coordinator=false
http-server.http.port=8001
task.max-memory=1GB
discovery-server.enabled=true
discovery.uri=http://10.199.xxx.xx:8001
参数说明:
coordinator:Presto 实例是否以 coordinator 对外提供服务node-scheduler.include-coordinator:是否允许在 coordinator 上进行调度任务http-server.http.port:HTTP 服务的端口task.max-memory=1GB:每一个任务(对应一个节点上的一个查询计划)所能使用的最大内存discovery-server.enabled:是否使用 Discovery service 发现集群中的每一个节点。discovery.uri:Discovery server 的 url
com.facebook.presto=INFO2.2.5 关于 Catalog 的配置(与kafka连接配置)
首先在etc下面建立catalog文件夹,新建
kafka.properties文件,配置如下:
connector.name=kafka
kafka.table-names=table1,table2
kafka.nodes=host1:port,host2:port三 启动Presto
launcher --helplauncher startlauncher runlauncher stop四 测试Presto CLI
wget https://repo1.maven.org/maven2/com/facebook/presto/presto-cli/0.100/presto-cli-0.100-executable.jarmv presto-cli-0.100-executable.jar prestochmod 777 presto./presto --server localhost:8001 --catalog kafka --schema default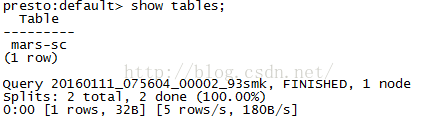

解决方案:检查presto是否启动,一般情况为presto没有启动
2 No worker nodes available

解决方案:在config.properties中设置node-scheduler.include-coordinator=true


 被折叠的 条评论
为什么被折叠?
被折叠的 条评论
为什么被折叠?
 到【灌水乐园】发言


