


1、下载git安装
https://git-scm.com/download/win
2、下载Node.js安装
http://nodejs.org/
3、命令安装Hexo
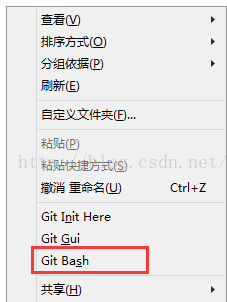
安装好git后,在本地目录,点鼠标右键,选择Git Bash
输入命令:
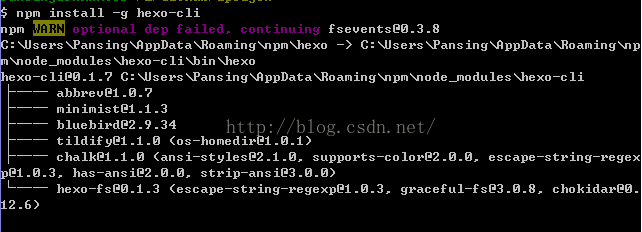
npm install -g hexo-cli
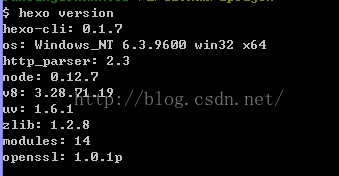
验证是否安装成功,可以看下版本
hexo version
4、初始化环境
命令:
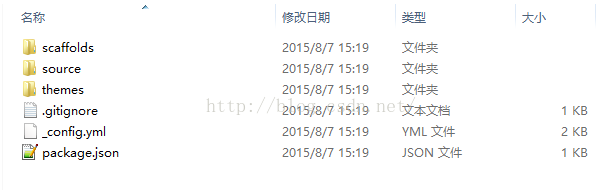
hexo init .

. 是当前目录,初始化后,目录下会自动生成一些文件
再用命令
npm isntall 安装一遍
$ npm install
npm WARN optional dep failed, continuing fsevents@0.3.8
npm WARN optional dep failed, continuing fsevents@0.3.8
-


> dtrace-provider@0.5.0 install e:\Github\xxxxxxx\node_modules\hexo\node_modules
\bunyan\node_modules\dtrace-provider
> node scripts/install.js

hexo-generator-archive@0.1.3 node_modules\hexo-generator-archive
├── object-assign@2.1.1
└── hexo-pagination@0.0.2 (utils-merge@1.0.0)

hexo-generator-index@0.1.3 node_modules\hexo-generator-index
├── object-assign@2.1.1
└── hexo-pagination@0.0.2 (utils-merge@1.0.0)

hexo-generator-category@0.1.3 node_modules\hexo-generator-category
├── object-assign@2.1.1
└── hexo-pagination@0.0.2 (utils-merge@1.0.0)

hexo-generator-tag@0.1.2 node_modules\hexo-generator-tag
├── object-assign@2.1.1
└── hexo-pagination@0.0.2 (utils-merge@1.0.0)

hexo-renderer-ejs@0.1.0 node_modules\hexo-renderer-ejs
├── ejs@1.0.0
└── lodash@2.4.2

hexo-renderer-marked@0.2.5 node_modules\hexo-renderer-marked
├── object-assign@2.1.1
├── marked@0.3.5
├── strip-indent@1.0.1 (get-stdin@4.0.1)
└── hexo-util@0.1.7 (ent@2.2.0, bluebird@2.9.34, highlight.js@8.7.0)

hexo-renderer-stylus@0.2.3 node_modules\hexo-renderer-stylus
├── stylus@0.50.0 (css-parse@1.7.0, mkdirp@0.3.5, debug@2.2.0, source-map@0.1
.43, sax@0.5.8, glob@3.2.11)
└── nib@1.1.0 (stylus@0.49.3)

hexo-server@0.1.2 node_modules\hexo-server
├── object-assign@2.1.1
├── open@0.0.5
├── mime@1.3.4
├── bluebird@2.9.34
├── chalk@0.5.1 (escape-string-regexp@1.0.3, ansi-styles@1.1.0, supports-colo
r@0.2.0, has-ansi@0.1.0, strip-ansi@0.3.0)
├── morgan@1.6.1 (basic-auth@1.0.3, on-headers@1.0.0, depd@1.0.1, debug@2.2.0
, on-finished@2.3.0)
├── connect@3.4.0 (utils-merge@1.0.0, parseurl@1.3.0, debug@2.2.0, finalhandl
er@0.4.0)
├── serve-static@1.10.0 (escape-html@1.0.2, parseurl@1.3.0, send@0.13.0)
└── compression@1.5.2 (bytes@2.1.0, vary@1.0.1, on-headers@1.0.0, debug@2.2.0
, compressible@2.0.5, accepts@1.2.12)

hexo@3.1.1 node_modules\hexo
├── hexo-front-matter@0.2.2
├── pretty-hrtime@1.0.0
├── abbrev@1.0.7
├── titlecase@1.0.2
├── archy@1.0.0
├── text-table@0.2.0
├── strip-indent@1.0.1 (get-stdin@4.0.1)
├── tildify@1.1.0 (os-homedir@1.0.1)
├── bluebird@2.9.34
├── chalk@1.1.0 (escape-string-regexp@1.0.3, supports-color@2.0.0, ansi-style
s@2.1.0, strip-ansi@3.0.0, has-ansi@2.0.0)
├── hexo-i18n@0.2.1 (sprintf-js@1.0.3)
├── moment-timezone@0.3.1
├── moment@2.10.6
├── through2@1.1.1 (xtend@4.0.0, readable-stream@1.1.13)
├── minimatch@2.0.10 (brace-expansion@1.1.0)
├── hexo-cli@0.1.7 (minimist@1.1.3)
├── js-yaml@3.3.1 (esprima@2.2.0, argparse@1.0.2)
├── lodash@3.10.1
├── swig-extras@0.0.1 (markdown@0.5.0)
├── hexo-fs@0.1.3 (escape-string-regexp@1.0.3, graceful-fs@3.0.8, chokidar@0.
12.6)
├── cheerio@0.19.0 (entities@1.1.1, dom-serializer@0.1.0, css-select@1.0.0, h
tmlparser2@3.8.3)
├── nunjucks@1.3.4 (optimist@0.6.1, chokidar@0.12.6)
├── hexo-util@0.1.7 (ent@2.2.0, highlight.js@8.7.0)
├── warehouse@1.0.2 (graceful-fs@3.0.8, cuid@1.2.5, JSONStream@0.10.0)
├── swig@1.4.2 (optimist@0.6.1, uglify-js@2.4.24)
└── bunyan@1.4.0 (safe-json-stringify@1.0.3, dtrace-provider@0.5.0, mv@2.1.1)
5、启动服务
命令
hexo server
电脑可能会弹防火墙,确定即可

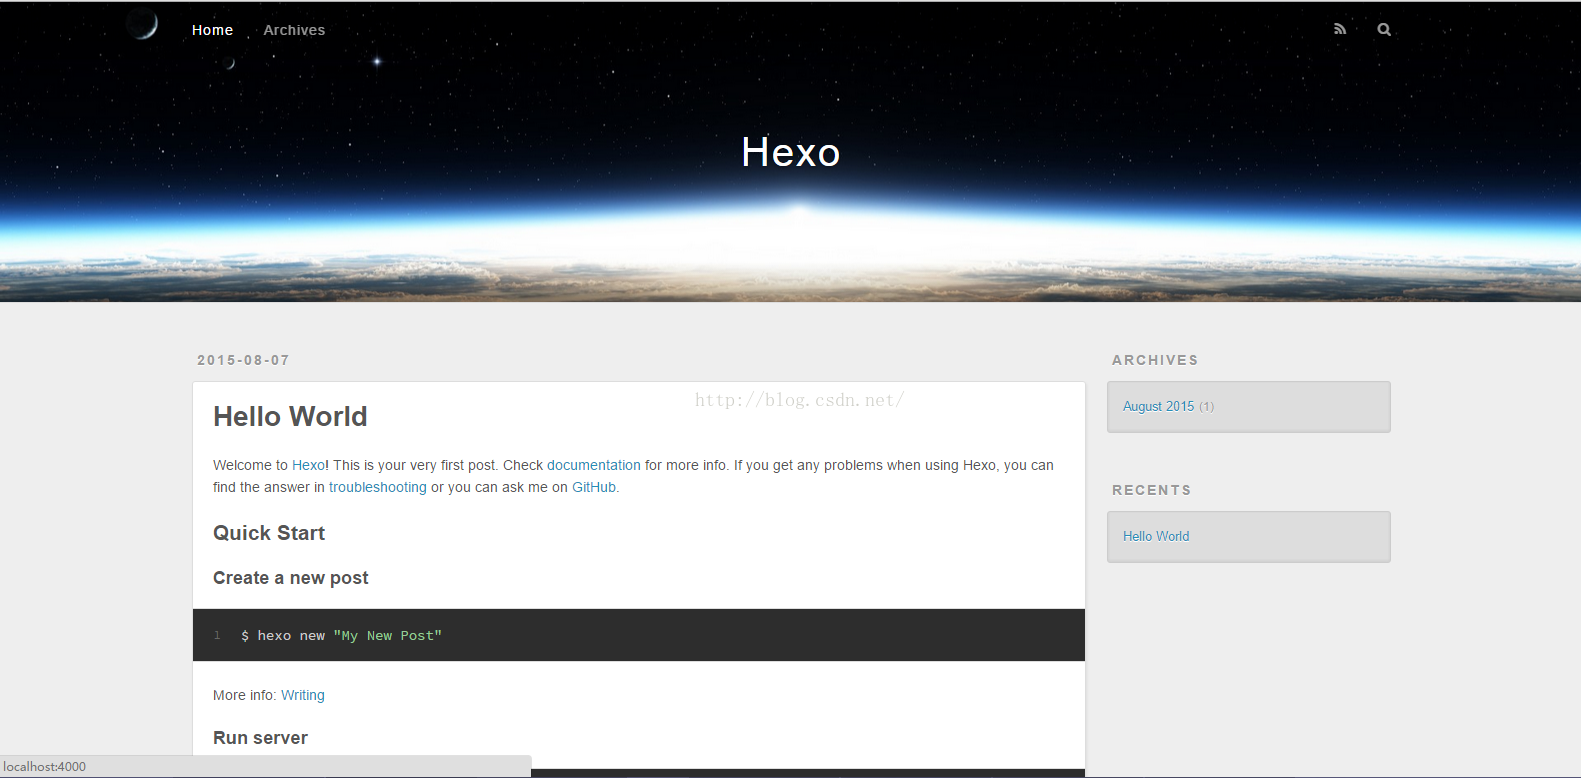
好了,现在可以访问了 : http://localhost:4000/ (命令结果提示是http://0.0.0.0:4000/,但是我打不开( ̄_ ̄|||))
网站是这样子的
6、发布到github
打开目录下的_config.yml
在最后的deploy修改为
deploy:
  type: git
  repo: git@github.yourname/yourname.github.io.git<span style="font-family: Arial, Helvetica, sans-serif;"></span>
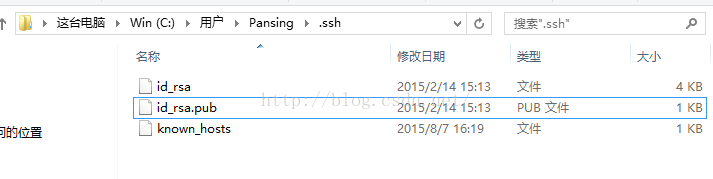
在github上添加本台电脑的key,Win8上的key文件在这里,记事本打开,复制粘贴到github账户上。
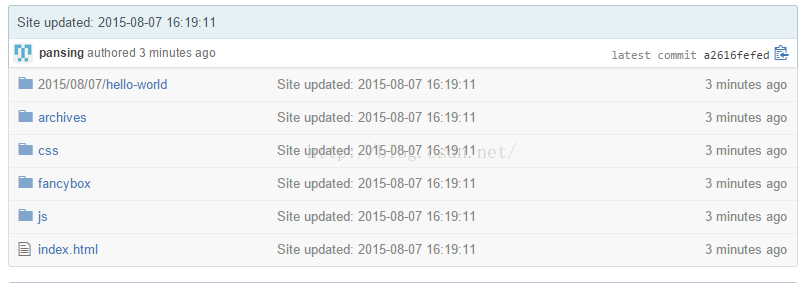
使用命令
hexo g
hexo d
生成并发布到github,发布后再github会看到
打开地址访问
yourname.github.io
啊偶 404,可能是没解析好,等上10分钟就可以了,也有说是没github账号验证邮箱的原因


 365
365


 被折叠的 条评论
为什么被折叠?
被折叠的 条评论
为什么被折叠?
 到【灌水乐园】发言


