


代码覆盖率我们都知道,了解过jacoco也知道如何去弄,那么我们想要在跑UI自动化脚本的时候如何收集脚本执行过程中的代码覆盖率呢?首先我们知道jacoco可以得到测试的代码覆盖率,那么如果这些单测是UI的case,是不是就可以达到我们的要求,我们尝试一下,参考文档
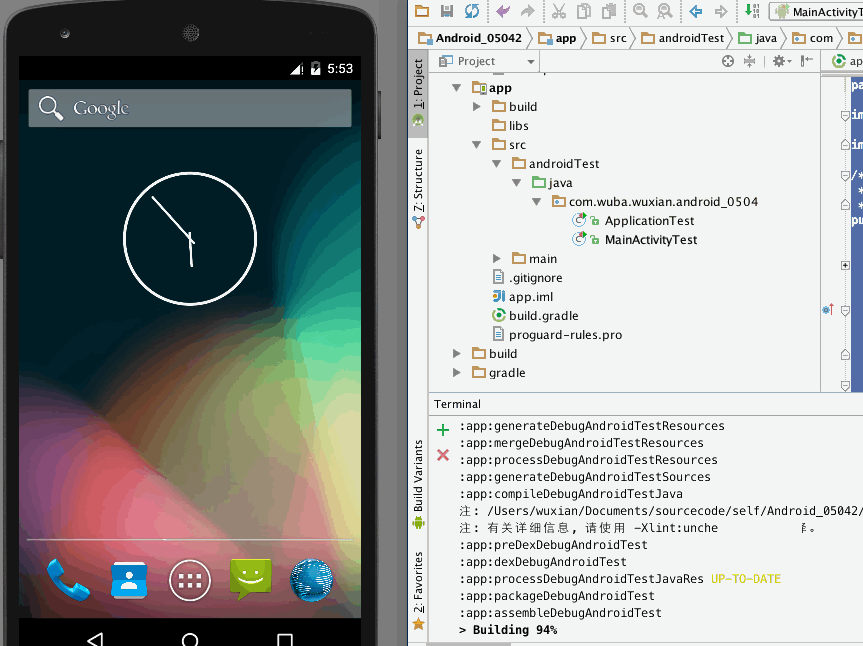
AS中新建android项目
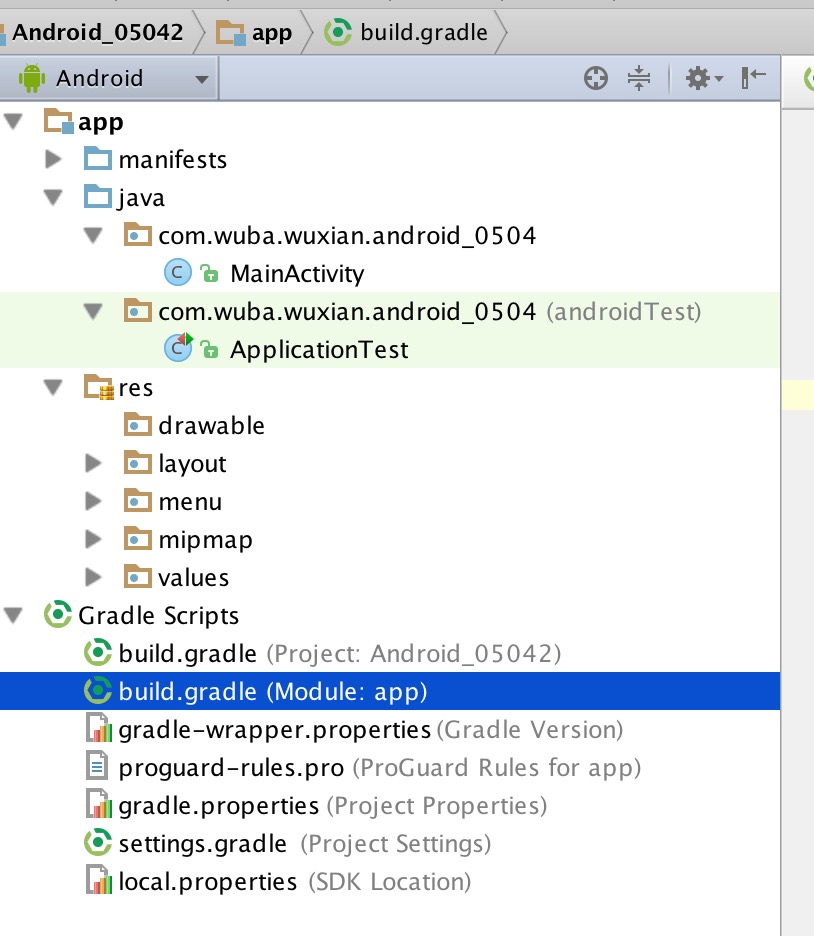
在android studio上新建一个android项目,默认build.gradle如下:
apply plugin: 'com.android.application'

android {
    compileSdkVersion 21
    buildToolsVersion "21.1.2"

    defaultConfig {
        applicationId "com.wuba.wuxian.android_0504"
        minSdkVersion 19
        targetSdkVersion 21
        versionCode 1
        versionName "1.0"
    }
    buildTypes {
        release {
            minifyEnabled false
            proguardFiles getDefaultProguardFile('proguard-android.txt'), 'proguard-rules.pro'
        }
    }
}

dependencies {
    compile fileTree(dir: 'libs', include: ['*.jar'])
    compile 'com.android.support:appcompat-v7:22.0.0'
}
执行测试
执行connectedAndroidTest任务,在android studio中,执行测试任务的任务名为connectedAndroidTest(被坑了很久)。
58deMacBook-Pro:app wuxian$ gradle clean connectedAndroidTest
:app:clean
:app:preBuild UP-TO-DATE
:app:preDebugBuild UP-TO-DATE
:app:compileDebugNdk UP-TO-DATE
:app:checkDebugManifest
:app:preReleaseBuild UP-TO-DATE
:app:prepareComAndroidSupportAppcompatV72200Library
:app:prepareComAndroidSupportSupportV42200Library
:app:prepareDebugDependencies
:app:compileDebugAidl
:app:compileDebugRenderscript
:app:generateDebugBuildConfig
:app:generateDebugAssets UP-TO-DATE
:app:mergeDebugAssets
:app:generateDebugResValues UP-TO-DATE
:app:generateDebugResources
:app:mergeDebugResources
/Users/wuxian/Documents/sourcecode/self/Android_05042/app/build/intermediates/exploded-aar/com.android.support/appcompat-v7/22.0.0/res/drawable-hdpi-v4/abc_spinner_mtrl_am_alpha.9.png: libpng warning: iCCP: Not recognizing known sRGB profile that has been edited
:app:processDebugManifest
:app:processDebugResources
:app:generateDebugSources
:app:compileDebugJava
:app:preDexDebug
:app:dexDebug
:app:processDebugJavaRes UP-TO-DATE
:app:validateDebugSigning
:app:packageDebug
:app:zipalignDebug
:app:assembleDebug
:app:preDebugAndroidTestBuild UP-TO-DATE
:app:compileDebugAndroidTestNdk UP-TO-DATE
:app:prepareDebugAndroidTestDependencies
:app:compileDebugAndroidTestAidl
:app:processDebugAndroidTestManifest
:app:compileDebugAndroidTestRenderscript
:app:generateDebugAndroidTestBuildConfig
:app:generateDebugAndroidTestAssets UP-TO-DATE
:app:mergeDebugAndroidTestAssets
:app:generateDebugAndroidTestResValues UP-TO-DATE
:app:generateDebugAndroidTestResources
:app:mergeDebugAndroidTestResources
:app:processDebugAndroidTestResources
:app:generateDebugAndroidTestSources
:app:compileDebugAndroidTestJava
:app:preDexDebugAndroidTest
:app:dexDebugAndroidTest
:app:processDebugAndroidTestJavaRes UP-TO-DATE
:app:packageDebugAndroidTest
:app:assembleDebugAndroidTest
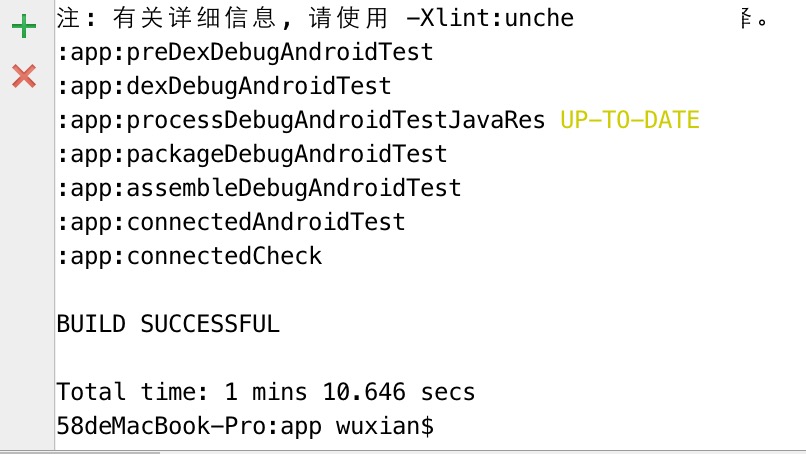
:app:connectedAndroidTest
BUILD SUCCESSFUL
Total time: 47.159 secs
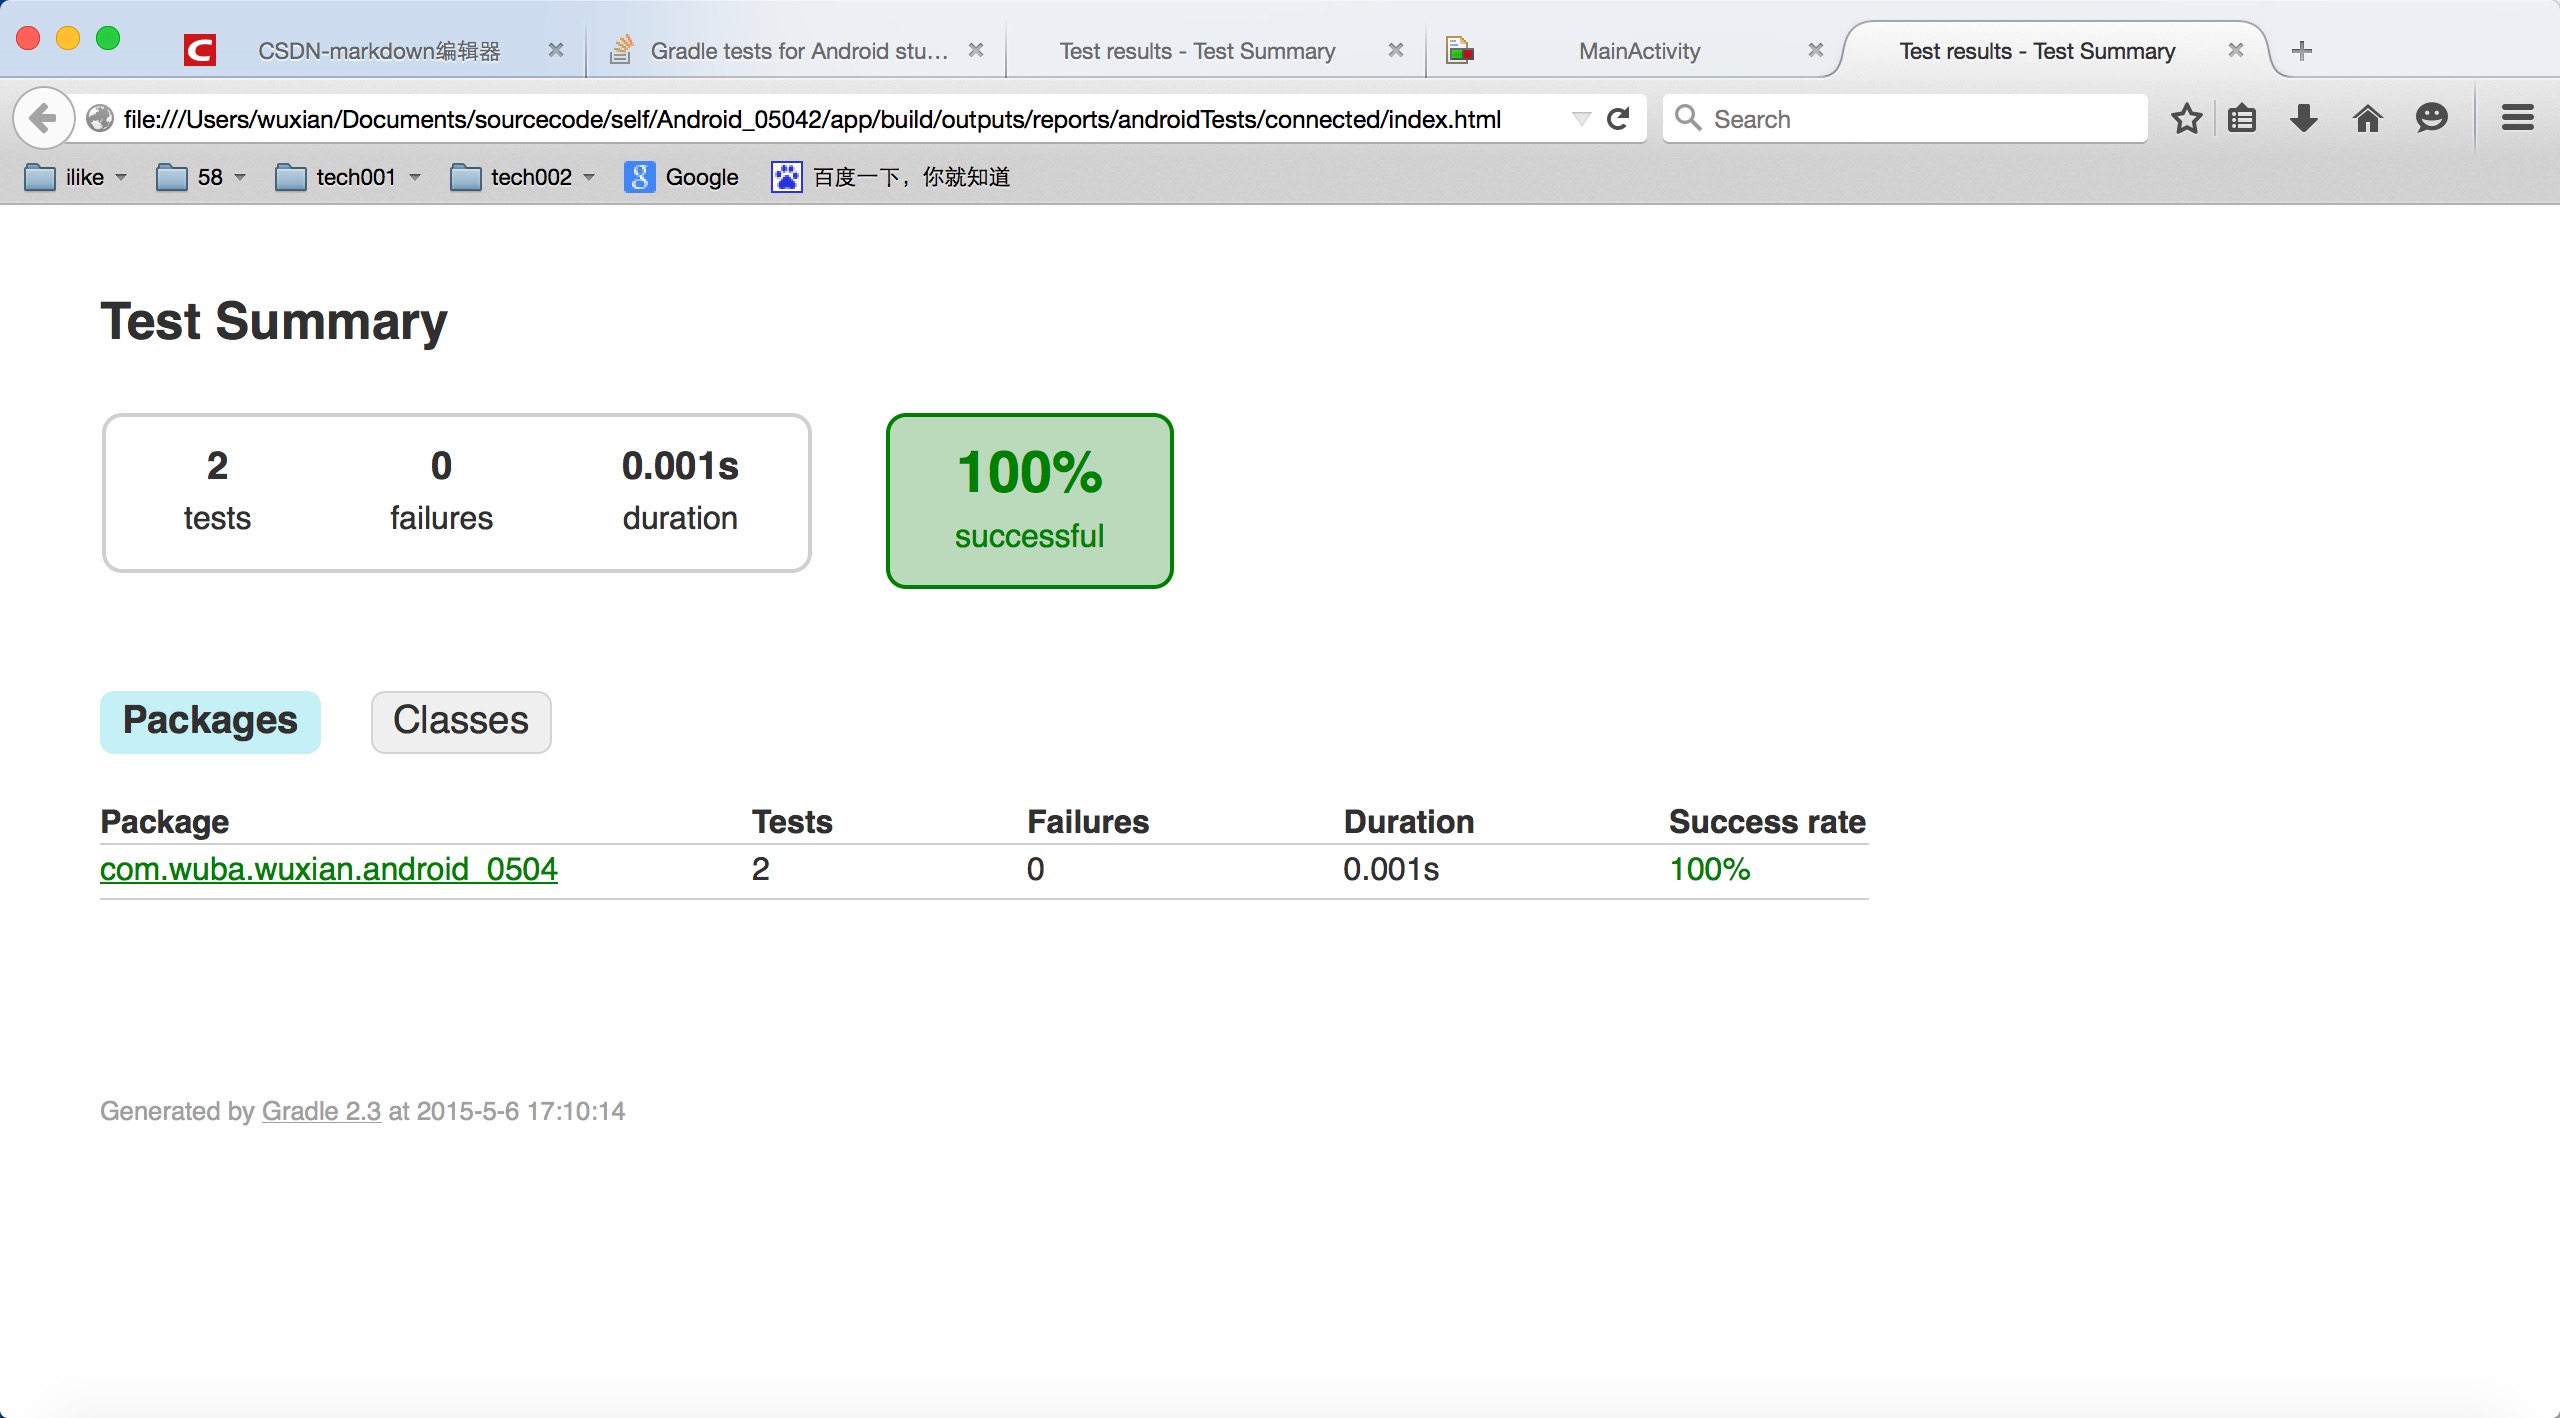
执行成功后,我们去找测试报告,可千万别去build下找reports目录啊,真心不一样有没有,带build/outputs/reports/androidTests/connected目录下打开index.html。

在gradle中加入jacoco
在build.gradle中添加如下信息:
apply plugin: 'jacoco'
....
jacoco{
    toolVersion = "0.7.1.201405082137"
}
android {
    buildTypes {
            debug {
                testCoverageEnabled = true

            }
添加后的build.gradle如下所示:
apply plugin: 'com.android.application'
apply plugin: 'jacoco'

android {
    compileSdkVersion 21
    buildToolsVersion "21.1.2"

    defaultConfig {
        applicationId "com.wuba.wuxian.android_0504"
        minSdkVersion 19
        targetSdkVersion 21
        versionCode 1
        versionName "1.0"

    }

    buildTypes {
        debug {
            testCoverageEnabled = true

        }
        release {
            minifyEnabled false
            proguardFiles getDefaultProguardFile('proguard-android.txt'), 'proguard-rules.pro'
        }
    }
}

dependencies {
    compile fileTree(dir: 'libs', include: ['*.jar'])
    compile 'com.android.support:appcompat-v7:22.0.0'

}
jacoco {
    toolVersion = "0.7.1.201405082137"
}
执行jacoco
执行获得代码覆盖率的报告命令为createDebugCoverageReport
58deMacBook-Pro:app wuxian$ gradle clean createDebugCoverageReport
:app:clean
:app:preBuild UP-TO-DATE
:app:preDebugBuild UP-TO-DATE
:app:compileDebugNdk UP-TO-DATE
:app:checkDebugManifest
:app:preReleaseBuild UP-TO-DATE
:app:prepareComAndroidSupportAppcompatV72200Library
:app:prepareComAndroidSupportSupportV42200Library
:app:prepareDebugDependencies
:app:compileDebugAidl
:app:compileDebugRenderscript
:app:generateDebugBuildConfig
:app:generateDebugAssets UP-TO-DATE
:app:mergeDebugAssets
:app:generateDebugResValues UP-TO-DATE
:app:generateDebugResources
:app:mergeDebugResources
/Users/wuxian/Documents/sourcecode/self/Android_05042/app/build/intermediates/exploded-aar/com.android.support/appcompat-v7/22.0.0/res/drawable-hdpi-v4/abc_spinner_mtrl_am_alpha.9.png: libpng warning: iCCP: Not recognizing known sRGB profile that has been edited

:app:processDebugManifest
:app:processDebugResources
:app:generateDebugSources
:app:compileDebugJava
:app:unzipJacocoAgent
:app:instrumentDebug
:app:preDexDebug
:app:dexDebug
:app:processDebugJavaRes UP-TO-DATE
:app:validateDebugSigning
:app:packageDebug
:app:zipalignDebug
:app:assembleDebug
:app:preDebugAndroidTestBuild UP-TO-DATE
:app:compileDebugAndroidTestNdk UP-TO-DATE
:app:prepareDebugAndroidTestDependencies
:app:compileDebugAndroidTestAidl
:app:processDebugAndroidTestManifest
:app:compileDebugAndroidTestRenderscript
:app:generateDebugAndroidTestBuildConfig
:app:generateDebugAndroidTestAssets UP-TO-DATE
:app:mergeDebugAndroidTestAssets
:app:generateDebugAndroidTestResValues UP-TO-DATE
:app:generateDebugAndroidTestResources
:app:mergeDebugAndroidTestResources
:app:processDebugAndroidTestResources
:app:generateDebugAndroidTestSources
:app:compileDebugAndroidTestJava
:app:preDexDebugAndroidTest
:app:dexDebugAndroidTest
:app:processDebugAndroidTestJavaRes UP-TO-DATE
:app:packageDebugAndroidTest
:app:assembleDebugAndroidTest
:app:connectedAndroidTest
:app:createDebugCoverageReport

BUILD SUCCESSFUL

Total time: 1 mins 6.089 secs
ok,我们去查看代码覆盖率的报告:
报告目录:

报告形式:

加入UI脚本
上面的测试结果报告和代码覆盖率的报告都有了,但是我们的要求是执行UI脚本的时候,查看代码覆盖率的。所以我们现在加入UI脚本,我选择Robotium来编写自动化脚本,原因是Robotium是继承自instrumentation的框架,至于uiautomator的case看官方的介绍暂时还没有加入,以后可能会加入。
加入robotium依赖
androidTestCompile 'com.jayway.android.robotium:robotium-solo:5.1'
添加依赖后的build.gradle如下:
apply plugin: 'com.android.application'
apply plugin: 'jacoco'

android {
    compileSdkVersion 21
    buildToolsVersion "21.1.2"

    defaultConfig {
        applicationId "com.wuba.wuxian.android_0504"
        minSdkVersion 19
        targetSdkVersion 21
        versionCode 1
        versionName "1.0"

    }

    buildTypes {
        debug {
            testCoverageEnabled = true

        }
        release {
            minifyEnabled false
            proguardFiles getDefaultProguardFile('proguard-android.txt'), 'proguard-rules.pro'
        }
    }
}

dependencies {
    compile fileTree(dir: 'libs', include: ['*.jar'])
    compile 'com.android.support:appcompat-v7:22.0.0'
    androidTestCompile 'com.jayway.android.robotium:robotium-solo:5.1'
}
jacoco {
    toolVersion = "0.7.1.201405082137"
}
同步一下脚本后,我们会发现依赖包中多了一个robotium的jar包
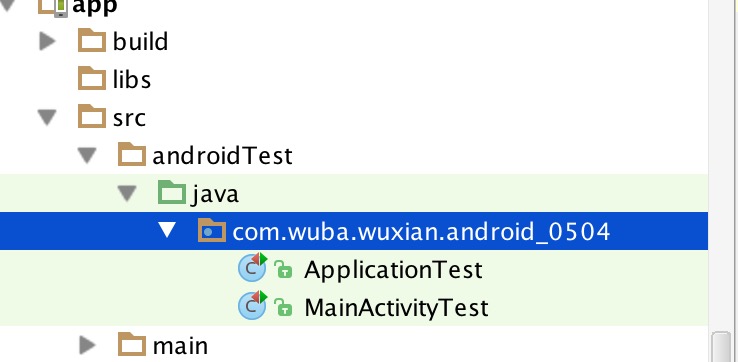
在app模块下的src/androidTest目录下添加一个MainActivityTest的case类,这个case只是简单的打开关闭应用。
MainActivityTest内容如下:
package com.wuba.wuxian.android_0504;

import android.test.ActivityInstrumentationTestCase2;

import com.robotium.solo.Solo;

/**
 * Created by wuxian on 15/5/6.
 */
public class MainActivityTest extends ActivityInstrumentationTestCase2 {
    private Solo solo;

    public MainActivityTest() {
        super(MainActivity.class);
    }

    @Override
    public void setUp() throws Exception {
        super.setUp();
        solo = new Solo(getInstrumentation(), getActivity());
    }

    public void testStartClose() throws Exception {
        Thread.sleep(1000);
    }
    @Override
    public void tearDown() throws Exception {
        super.tearDown();

    }

}
然后我们执行gradle clean createDebugCoverageReport 命令来执行测试和生成代码覆盖率的报告
我们来看一下代码覆盖率的报告:

总结
跳过的坑
坑1
2天时间研究出来,超出我的预期,刚开始以为android项目和普通java项目就是简单的添加jacoco,然后执行test和jacoco就能得到数据,后来实验的时候得不到数据,就添加了一个jacocoTestReport任务,还是不行,原来android已经将这些任务都内置到了android plugin里面去了。
| 任务 | 作用 |
|---|---|
| connectedAndroidTest | 执行android的case |
| createDebugCoverageReport | 产生代码覆盖率的报告 |
| connectedCheck | 包含上面2个任务 |
坑2
报告的目录不是普通java项目的build/reports目录下,而是在build/outputs/reports目录下,包含了测试结果androidTests和代码覆盖率结果coverage:

坑3
要想执行代码覆盖率的任务,需要开启代码覆盖率的权限,就是在build.gradle设置testCoverageEnabled = true 如果这个不设置,你执行createDebugCoverageReport 任务时会报错:
58deMacBook-Pro:app wuxian$ gradle clean createDebugCoverageReport

FAILURE: Build failed with an exception.

* What went wrong:
Task 'createDebugCoverageReport' not found in project ':app'.

* Try:
Run gradle tasks to get a list of available tasks. Run with --stacktrace option to get the stack trace. Run with --info or --debug option to get more log output.

BUILD FAILED

Total time: 10.169 secs
执行connectedCheck不会执行createDebugCoverageReport任务
后续
我们已经完成了在跑自动化case的时候统计代码覆盖率,如果我们想统计功能测试人员手动执行case的代码统计率呢?因为没有了自动化case来引导,所以就有点区别,好在Monkey给了点提示,我们明天来研究。


 1676
1676


 被折叠的 条评论
为什么被折叠?
被折叠的 条评论
为什么被折叠?
 到【灌水乐园】发言


