


前面我们讲解了很多的UIKit使用小技巧, 这次让我们来做一个信息表格, 当然这不是永久存储的, 只是使用了简单的缓存机制, 一干掉应用或者删掉, 信息就会不见了, 好了, 让我们来看看怎么制作吧.
PS: 已更新到Swift 2.0, 支持Xcode 7, iOS 9
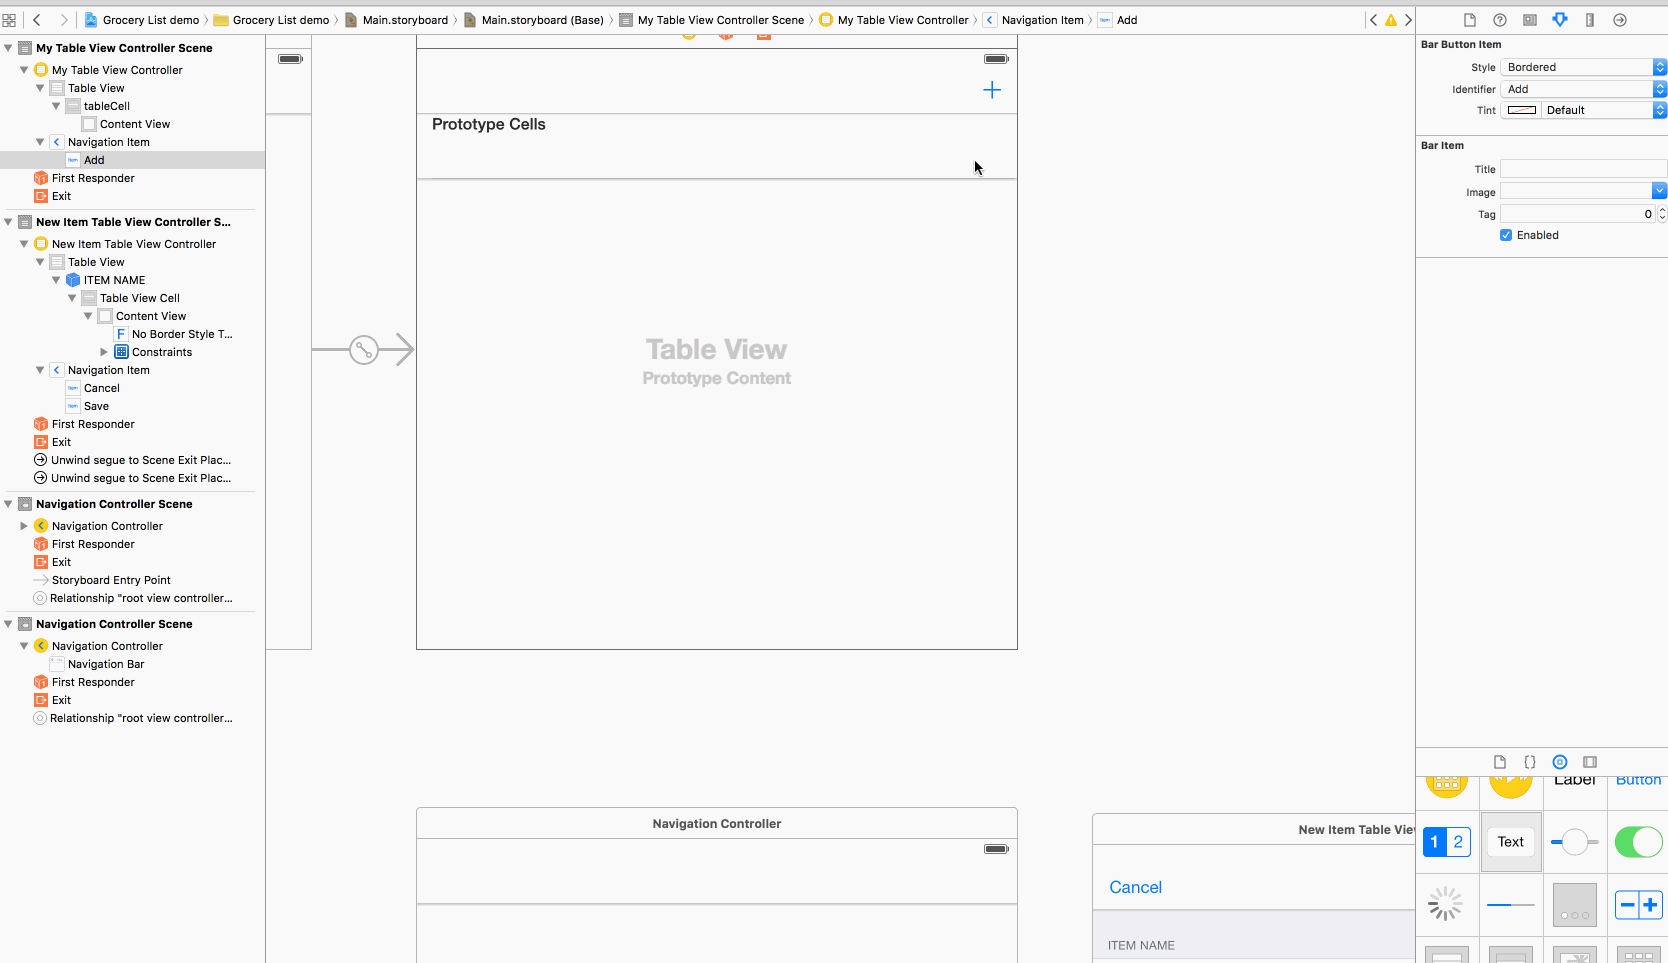
1.布局界面
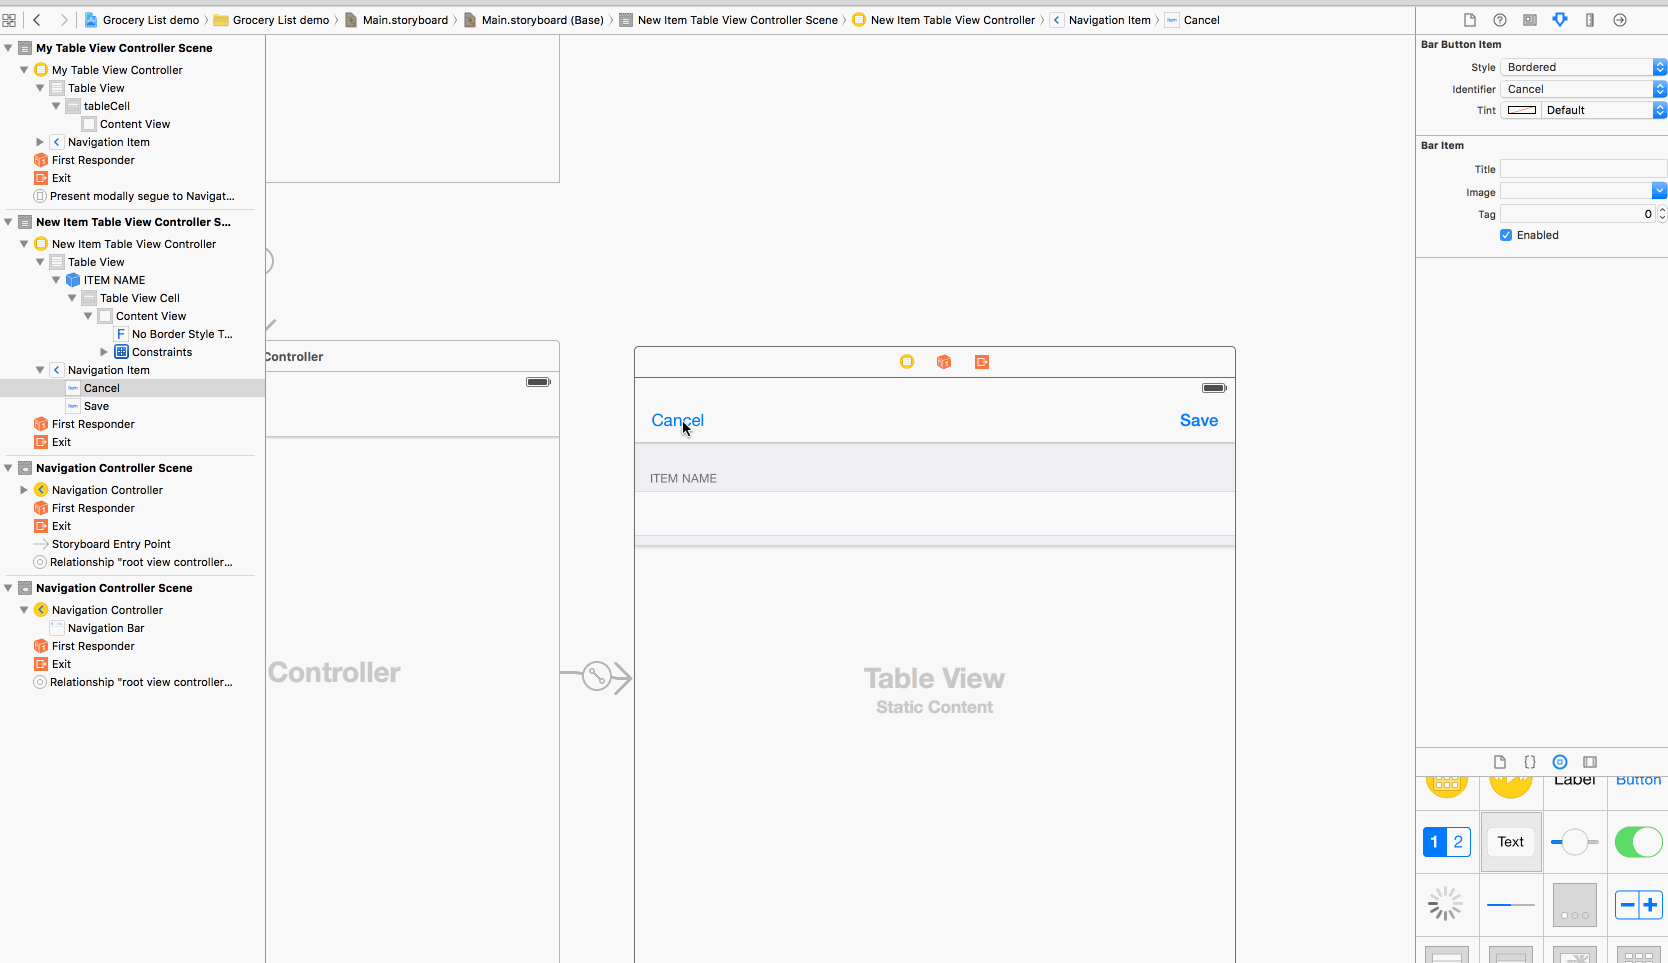
整体布局界面
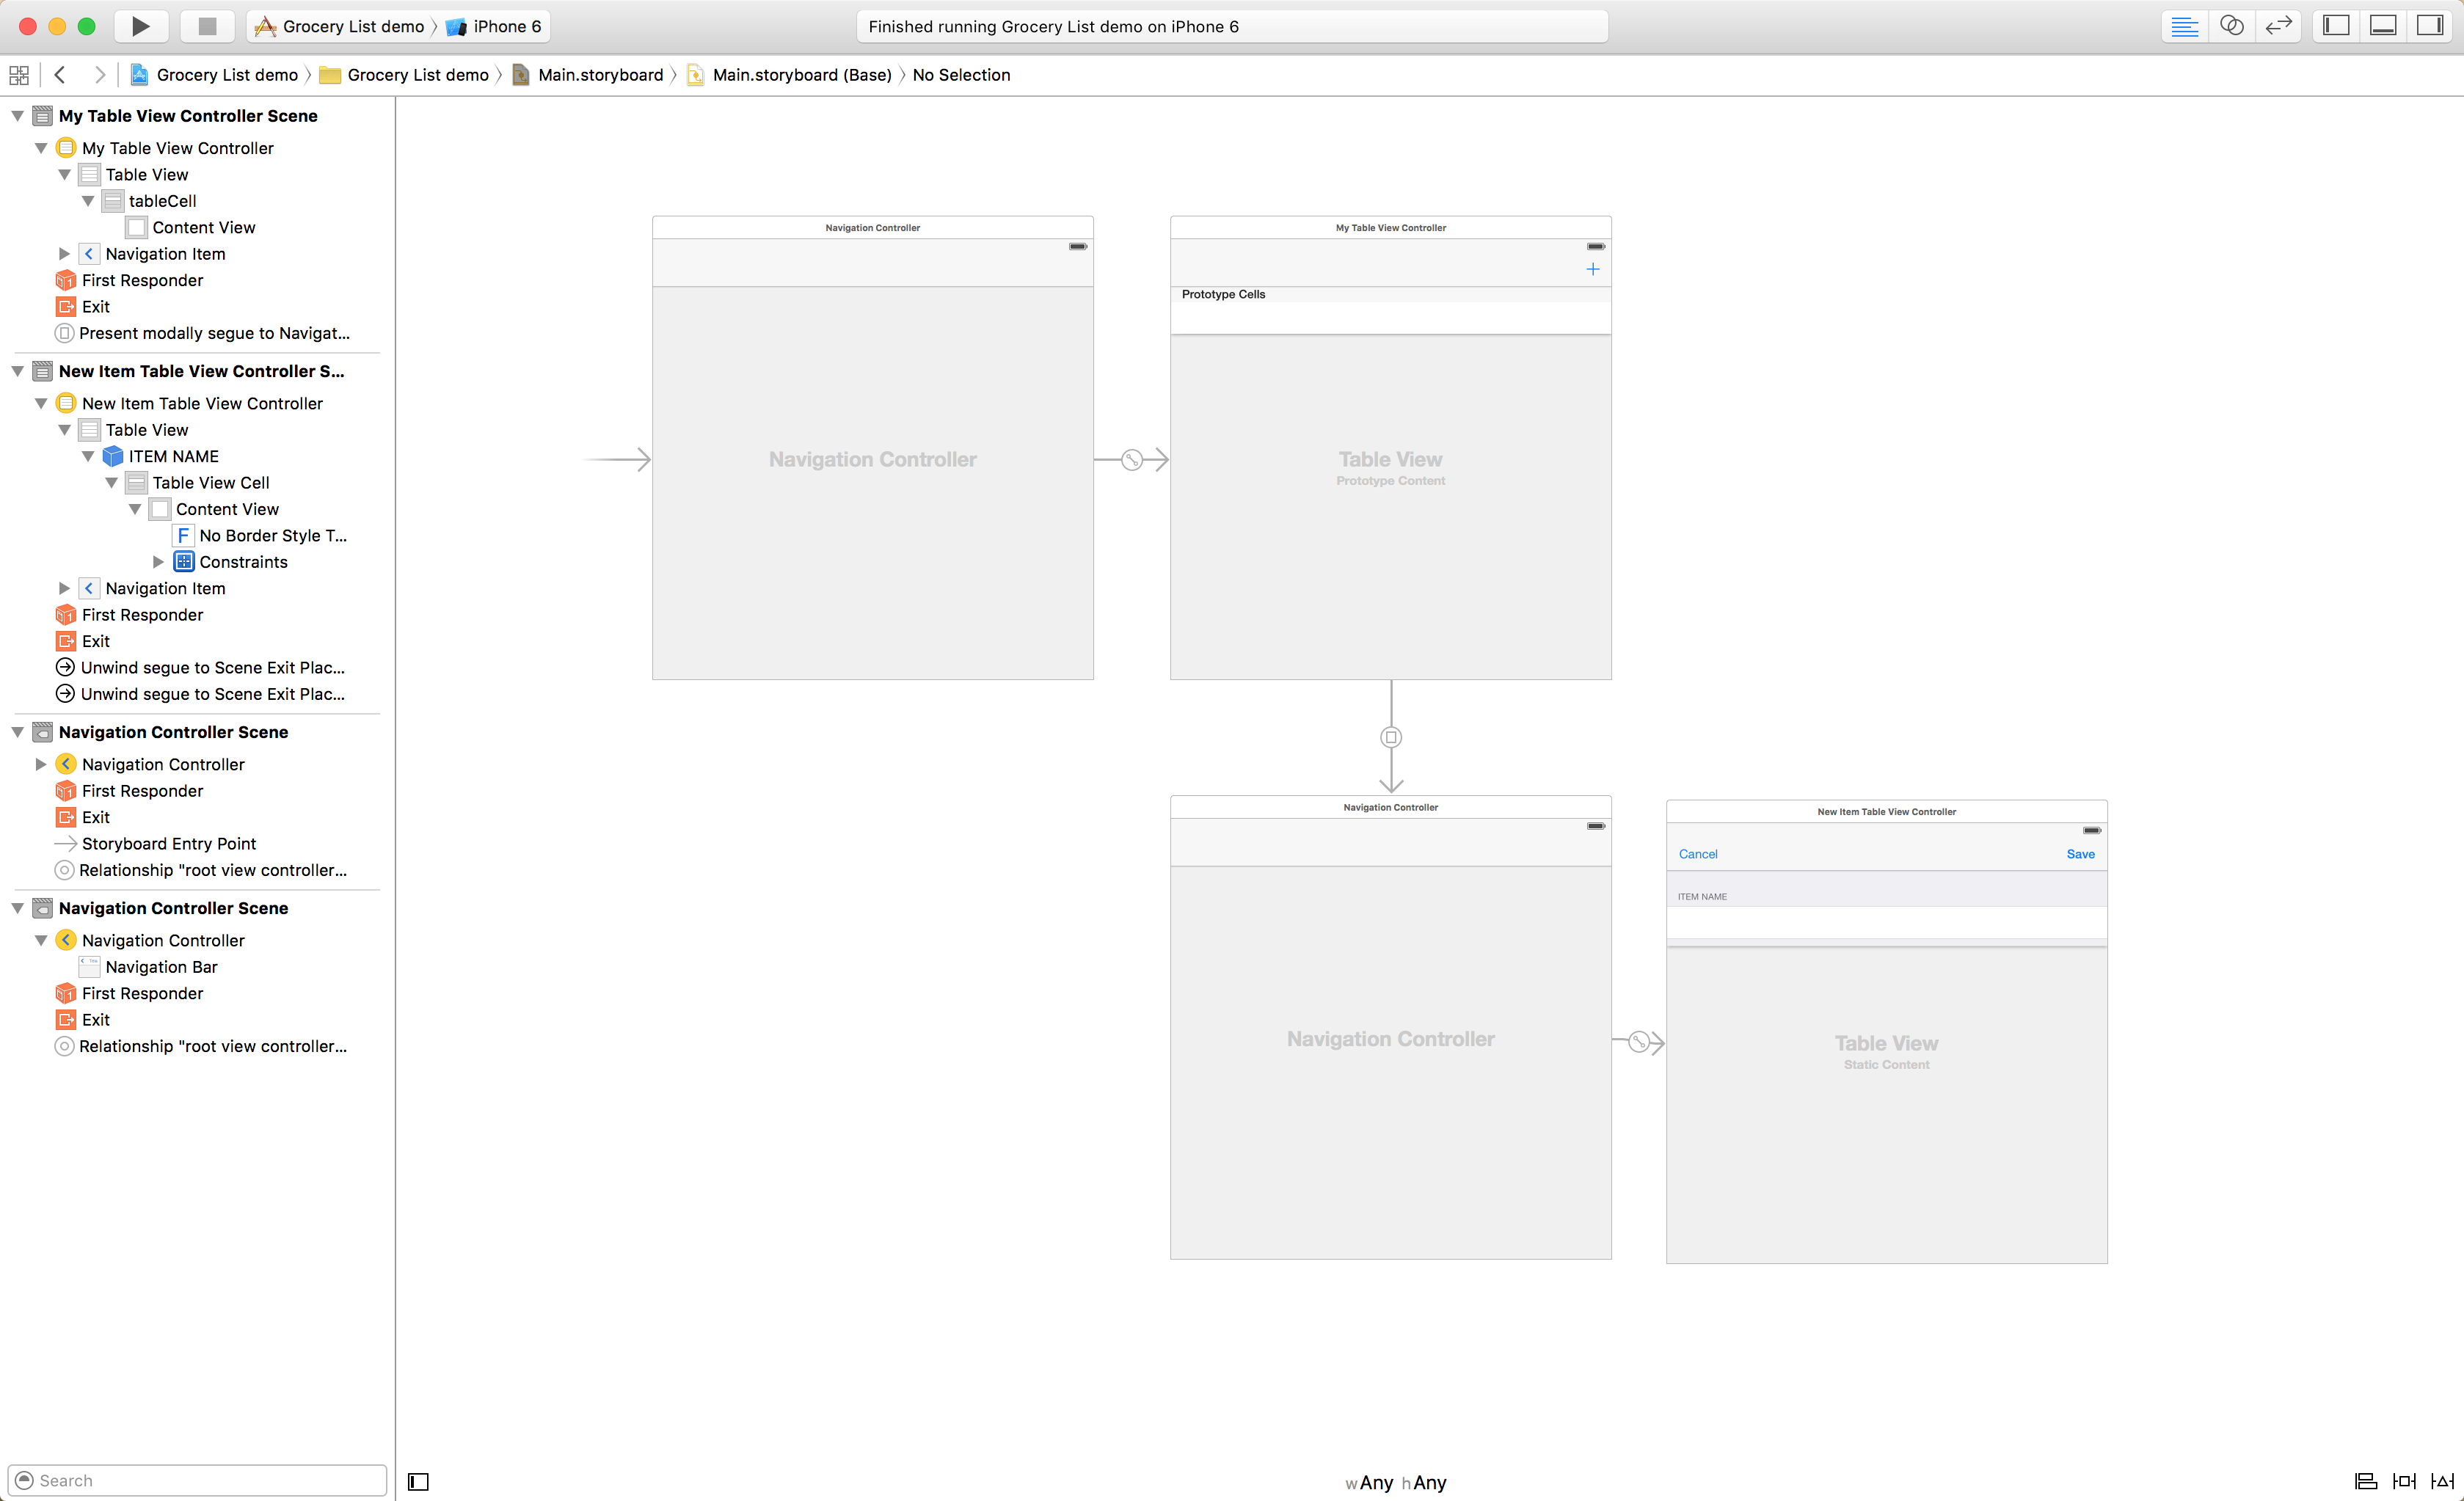
细节布局
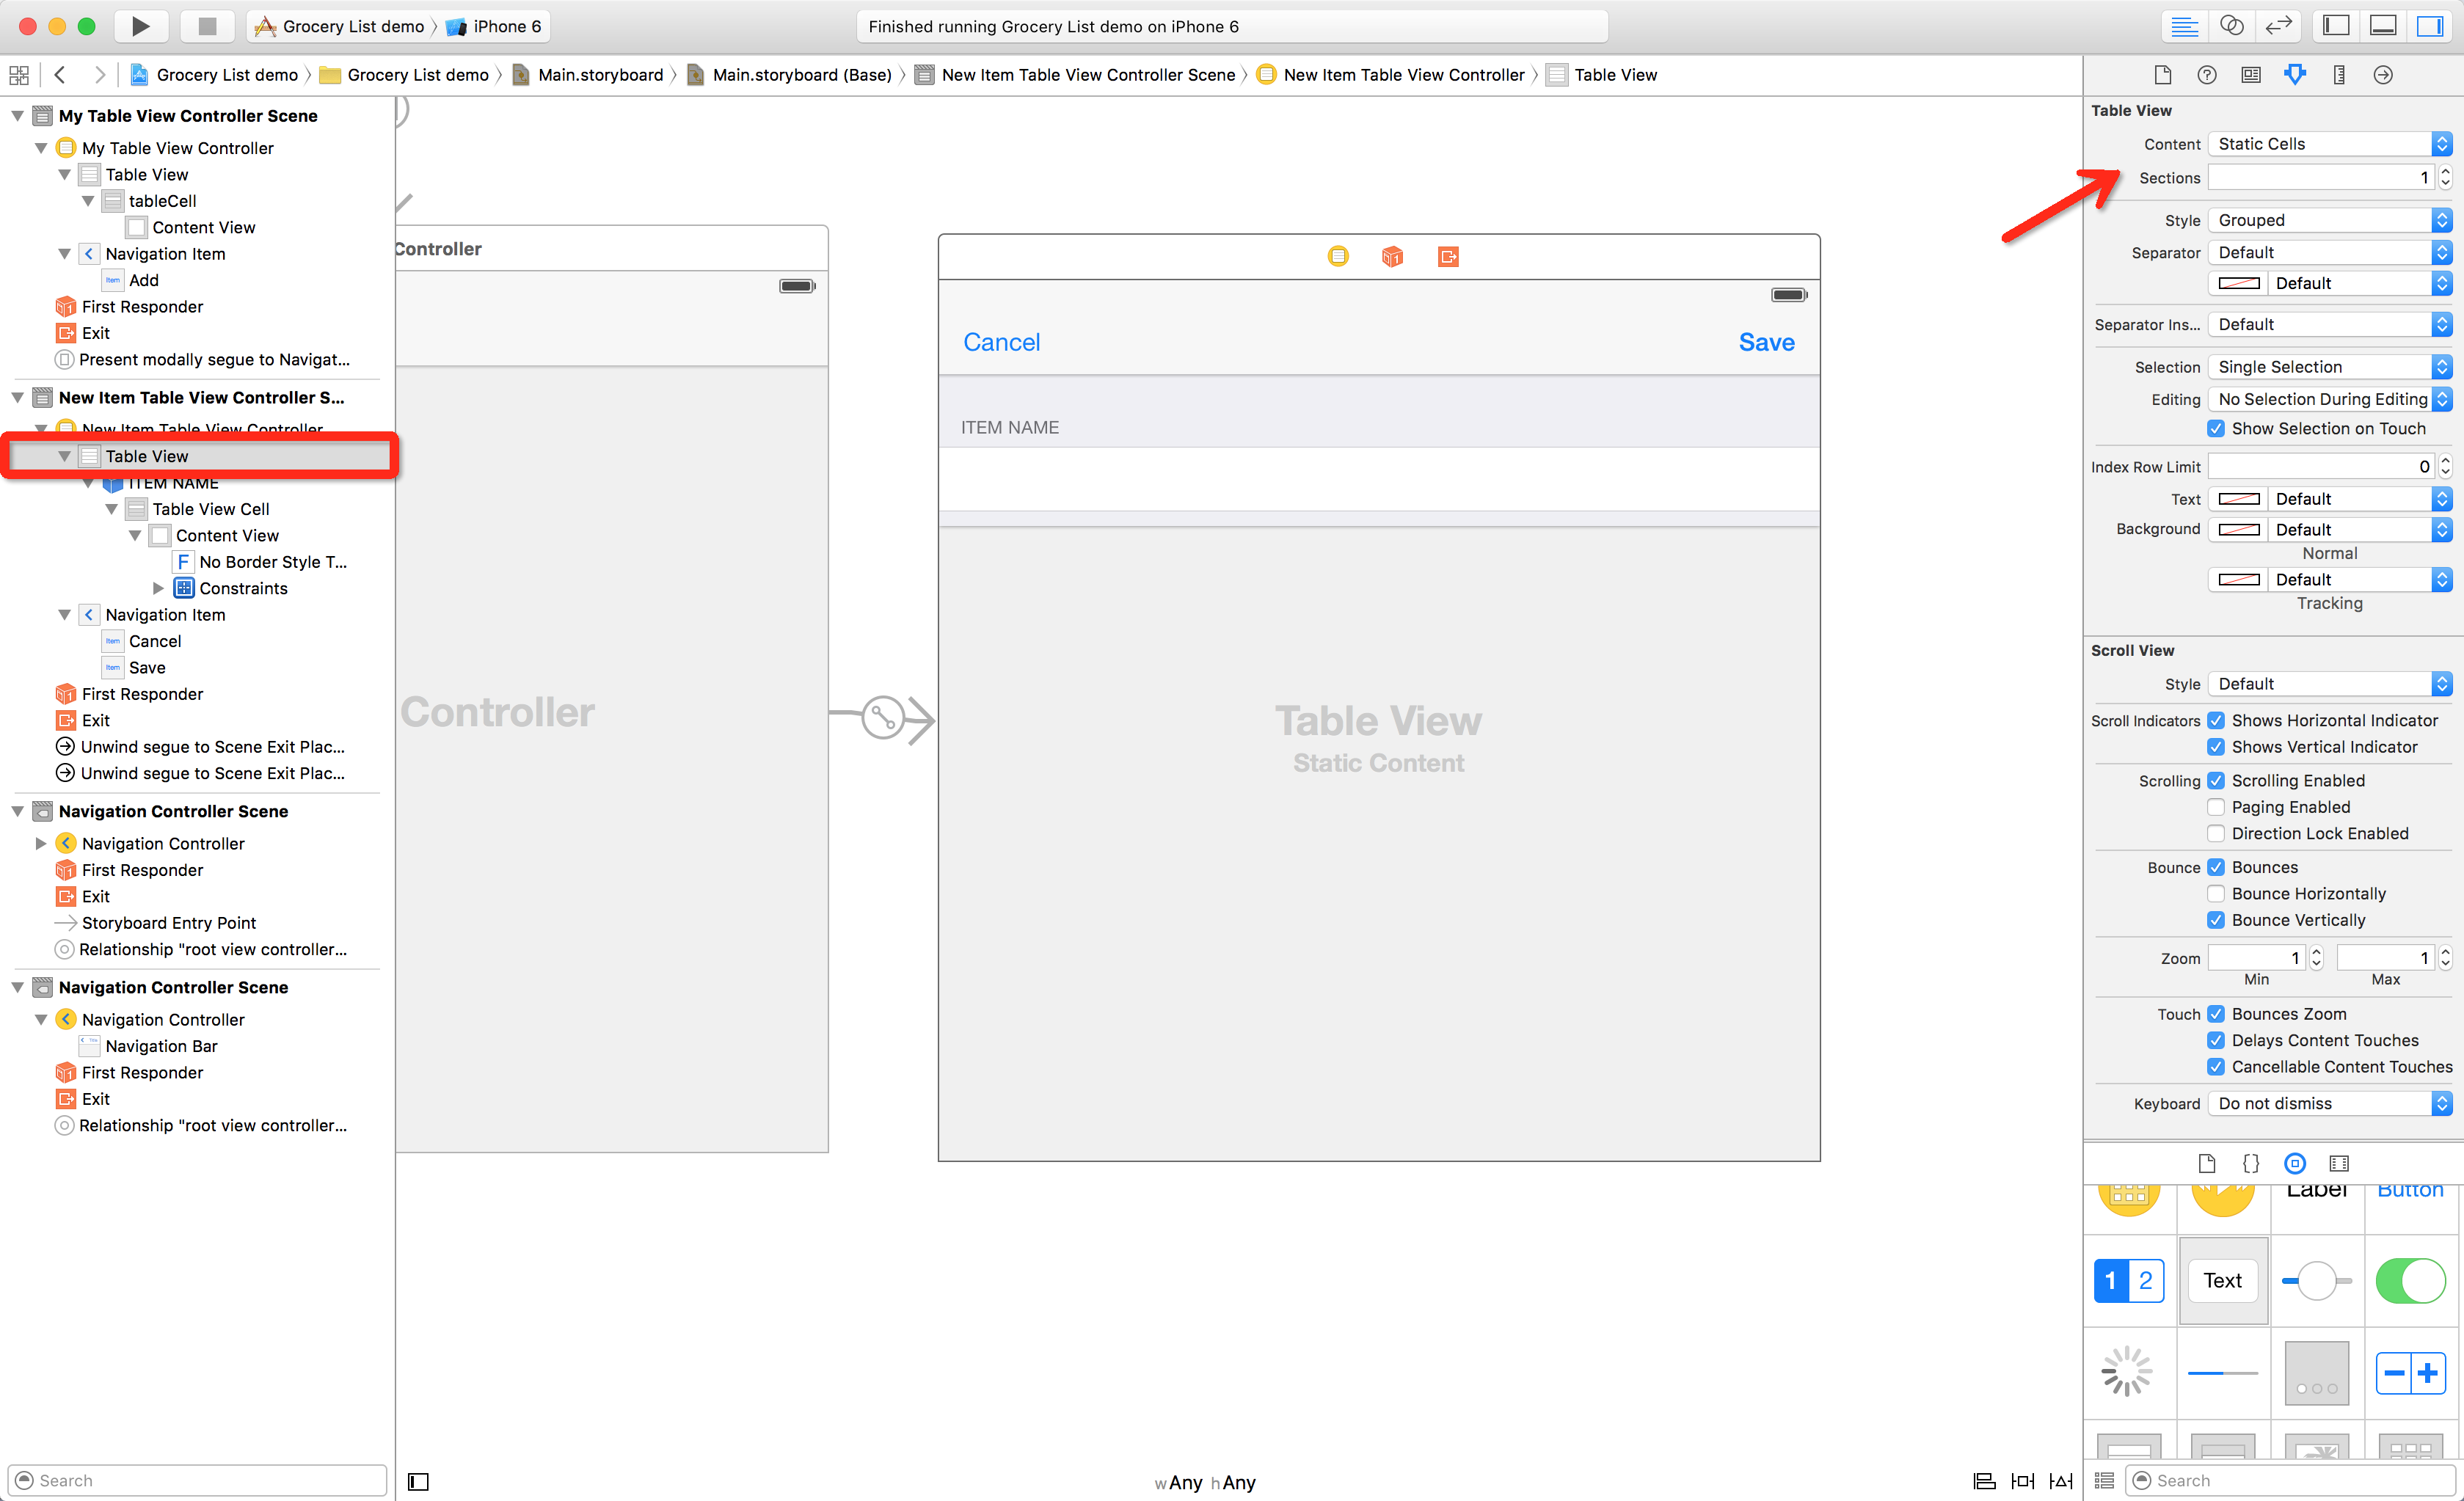
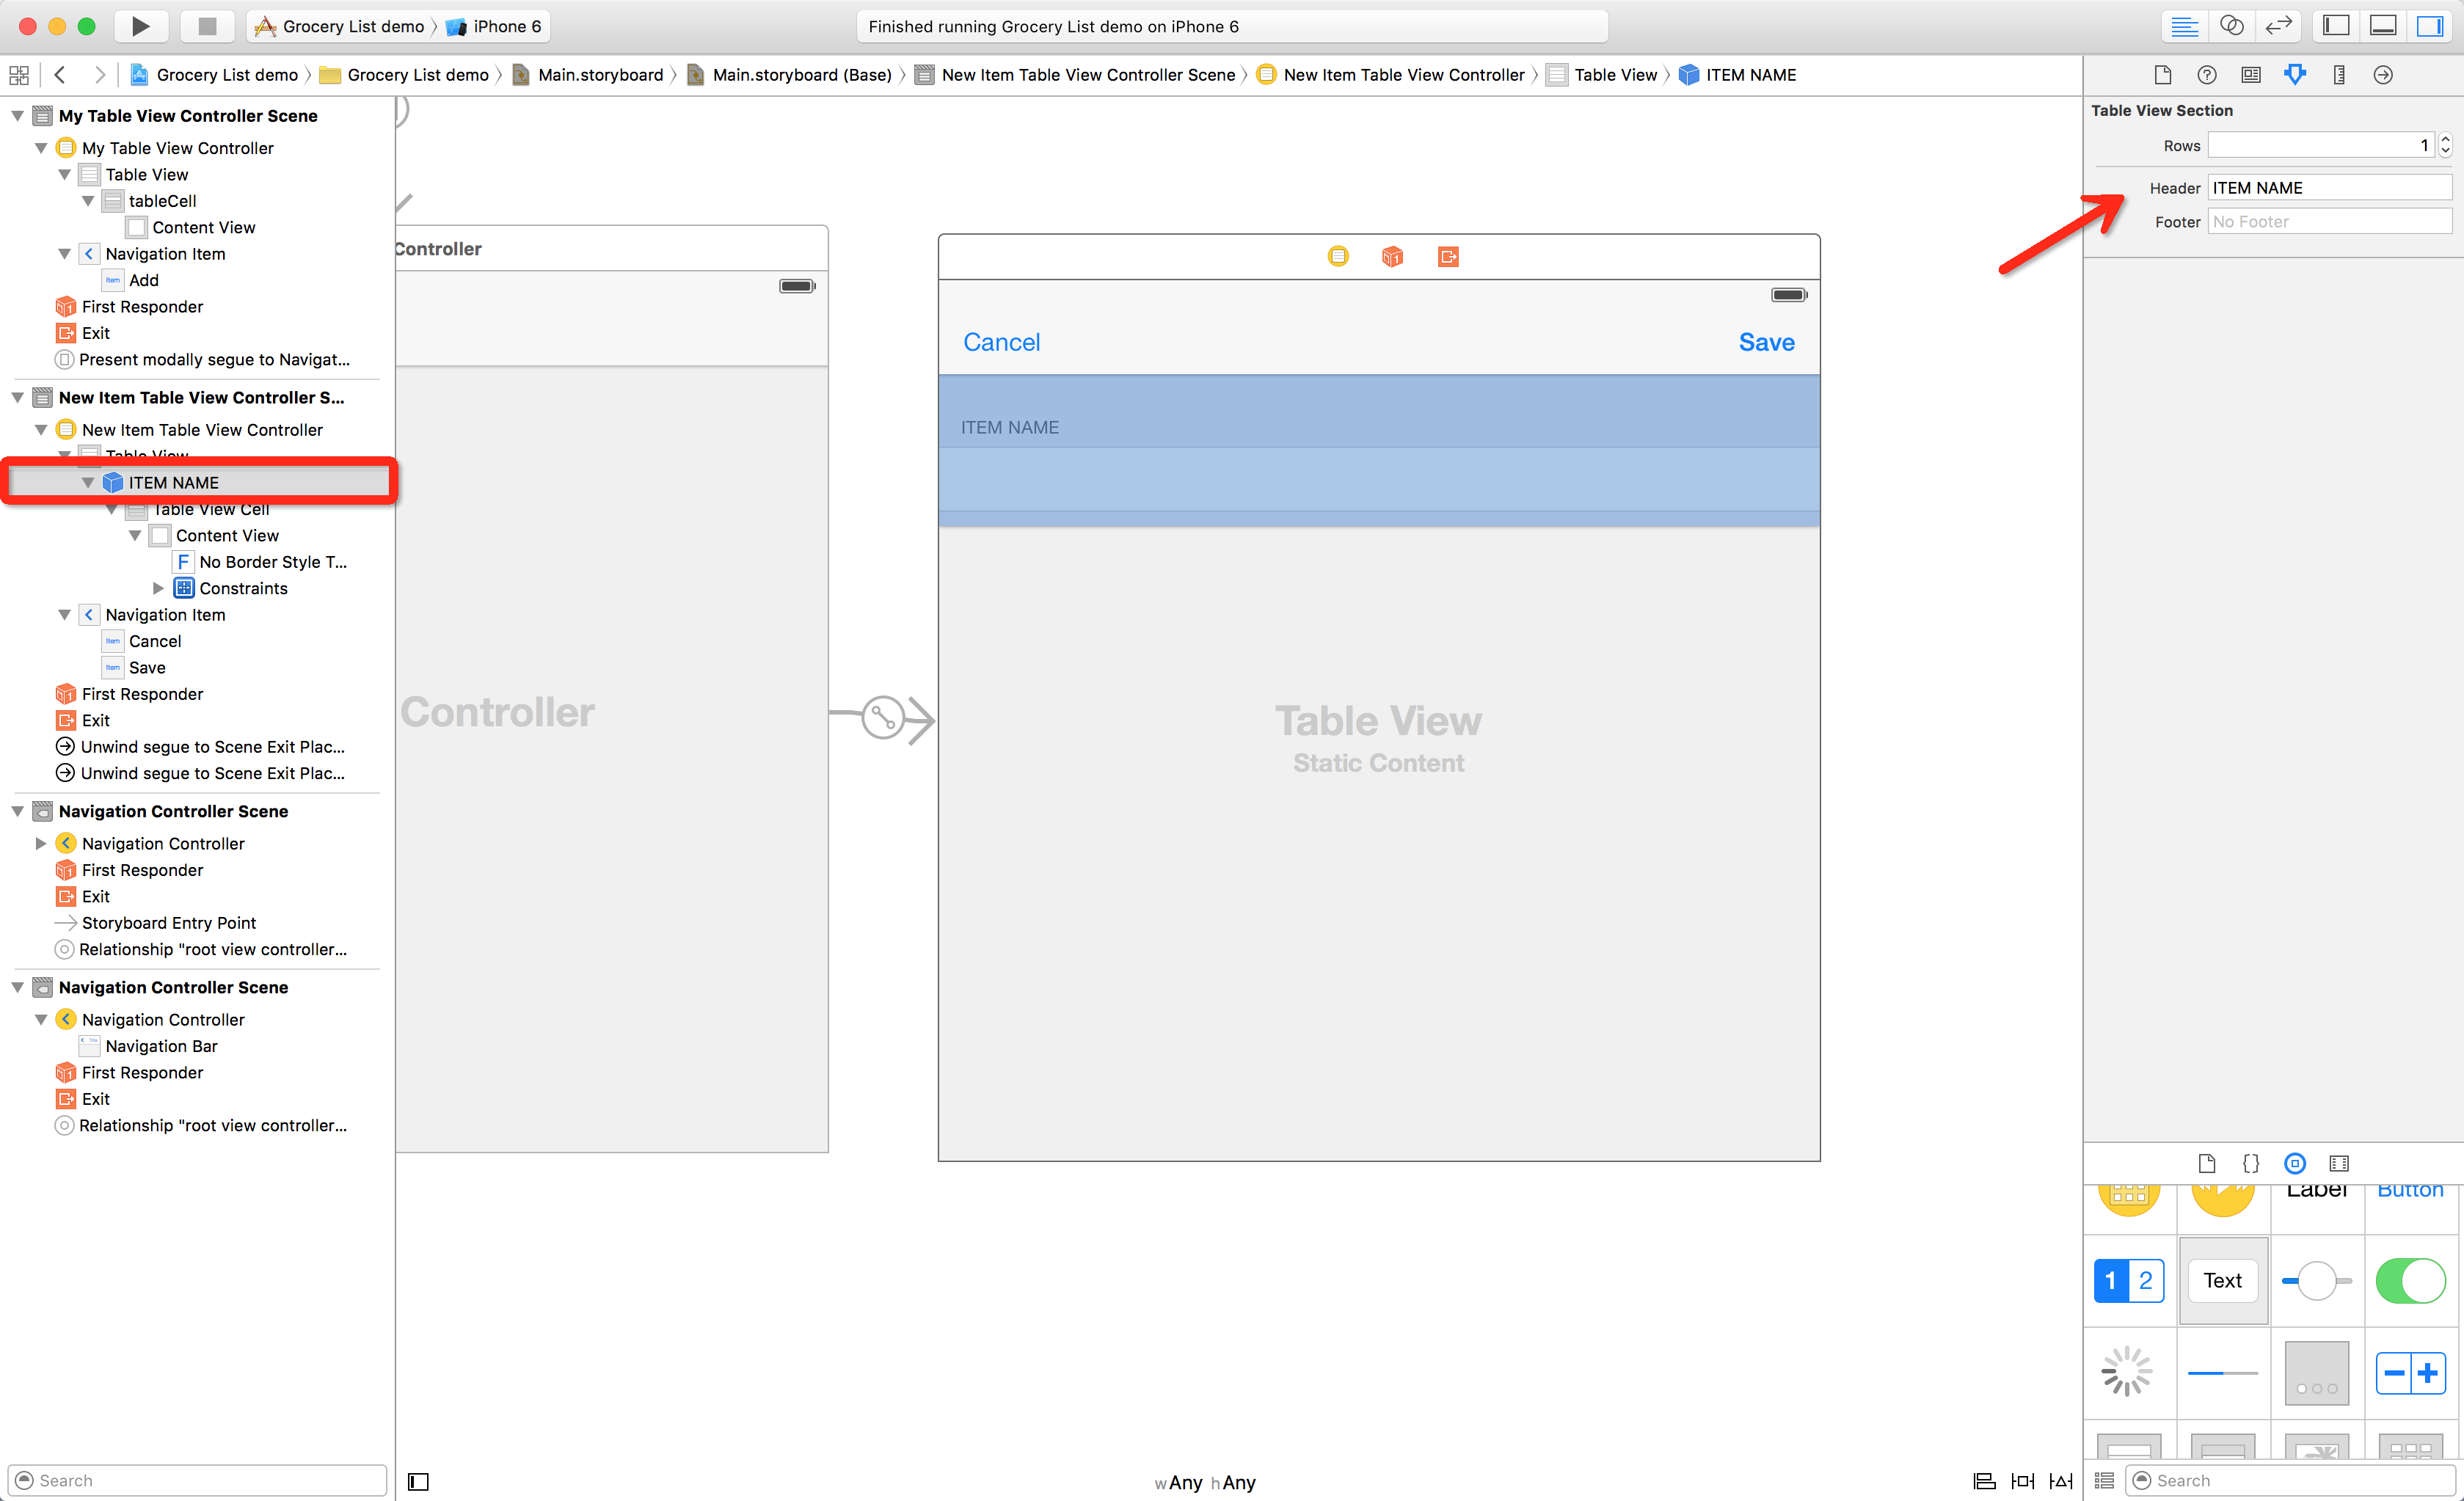
设置UITableView
2.实现代码(MyTableViewController)
自定义数据源数组
// 1.自定义空的String类型的数组
var groceryList = [String]()
设置返回以及保存的方法
// 2.自定义NewItemTableViewController取消按钮, 就算里面不填写任何返回内容, 只要绑定了该方法, 点击之后就会自动回到MyTableViewController界面
@IBAction func cancelToGroceryList(segue: UIStoryboardSegue) {
}

// 3.自定义NewItemTableViewController保存按钮, 就算里面不填写任何返回内容, 只要绑定了该方法, 点击之后就会自动回到MyTableViewController界面
@IBAction func svaeToGroceryList(segue: UIStoryboardSegue) {
    // 3.1获取NewItemTableViewController
    let newItemTableViewController = segue.sourceViewController as! NewItemTableViewController

    // 3.2将newItemTableViewController里的itemName变量赋值给自定义String常量
    let name = newItemTableViewController.itemName

    // 3.3点击保存按钮之后直接把UITextField取消第一响应者
    newItemTableViewController.textField.resignFirstResponder()

    // 3.4 判断, 如果name为空, 那么就直接返回否则就执行else
    if name == "" {
        return
    } else {
        // 3.5把name添加进groceryList数组
        groceryList.append(name!)

        // 3.6判断groceryList的个数是否为0, 如果是就返回0, 如果不是就返回groceryList的个数减1
        let indexToInsert = groceryList.count == 0 ? 0 : groceryList.count - 1

    // 3.7把之前判断好的第几个行数插入, 并且设置是第0组的
        let indexPath = NSIndexPath(forRow: indexToInsert, inSection: 0)

        // 3.8把设置好的行数, 组数以及插入的动画效果插入到tableView中
        tableView.insertRowsAtIndexPaths([indexPath], withRowAnimation: UITableViewRowAnimation.Automatic)
    }
}
设置返回的UITableViewCell数据源
// 4.设置返回的组数
override func numberOfSectionsInTableView(tableView: UITableView) -> Int {
    return 1
}


// 5.设置返回groceryList的个数为UITableView的行数
override func tableView(tableView: UITableView, numberOfRowsInSection section: Int) -> Int {
    return groceryList.count
}

// 6.设置返回的UITableViewCell的数据
override func tableView(tableView: UITableView, cellForRowAtIndexPath indexPath: NSIndexPath) -> UITableViewCell {
    // 6.1获取Identifier为"tableCell"的UITableViewCell
    let cell = tableView.dequeueReusableCellWithIdentifier("tableCell", forIndexPath: indexPath) as! UITableViewCell

    // 6.2设置UITableViewCell每一行的文字
    cell.textLabel?.text = groceryList[indexPath.row]

    // 6.3返回设置好的Cell
    return cell
}
3.实现代码(NewItemTableViewController)
设置变量, 关联控件
// 1.设置String变量
var itemName: String?

// 2.关联UITextField @IBOutlet
var textField: UITextField!
实现UITableView的代理方法以及重写Segue方法
// 3.UITableView的代理方法
override func tableView(tableView: UITableView, didSelectRowAtIndexPath indexPath: NSIndexPath) {
// 3.1判断当前点击的UITableViewCell是不是第0组, 第0行, 如果是的话, 就执行以下的方法
if indexPath.section == 0 && indexPath.row == 0 {
textField.becomeFirstResponder()
}
// 3.2设置点中之后再恢复成原来未点击的样子
tableView.deselectRowAtIndexPath(indexPath, animated: true)
}
// 4.重写Segue的方法
override func prepareForSegue(segue: UIStoryboardSegue, sender: AnyObject?) {
// 4.1判断segue的Identfier如果是SaveItem就执行下面的方法
if segue.identifier == "SaveItem" {
itemName = textField.text
}
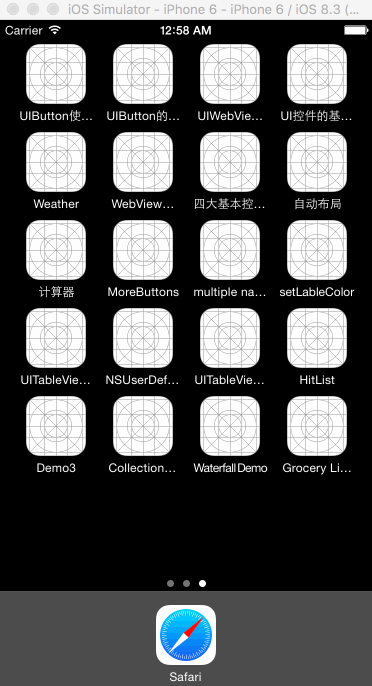
}4.最终效果
好了, 这次我们就讲到这里, 下次我们继续~


 被折叠的 条评论
为什么被折叠?
被折叠的 条评论
为什么被折叠?
 到【灌水乐园】发言


