


1.主页面
public class MyScActivity extends AppCompatActivity implements View.OnClickListener {
    @Bind(R.id.sliding_tabs)
    TabLayout slidingTabs;
    @Bind(R.id.viewpager)
    NoViewPager viewpager;
    @Bind(R.id.iv_back)
    ImageView ivBack;
    private List<Fragment> list = new ArrayList<Fragment>();
    private SimpleFragmentAdapter simpleFragmentAdapter;

    @Override
    protected void onCreate(@Nullable Bundle savedInstanceState) {
        super.onCreate(savedInstanceState);
        setContentView(R.layout.activity_mysc);
        ButterKnife.bind(this);
        simpleFragmentAdapter = new SimpleFragmentAdapter(getSupportFragmentManager());
        list.add(new ScFragment());
        list.add(new ScFragment());
        viewpager.setAdapter(simpleFragmentAdapter);
        slidingTabs.setupWithViewPager(viewpager);
        ivBack.setOnClickListener(this);
    }

    @Override
    public void onClick(View v) {
        switch (v.getId()){
            case R.id.iv_back:
                finish();
                break;
        }
    }

    public class SimpleFragmentAdapter extends FragmentPagerAdapter {
        private String tabTitles[] = new String[]{"商品", "店铺"};

        public SimpleFragmentAdapter(FragmentManager fm) {
            super(fm);
        }

        @Override
        public Fragment getItem(int position) {
            return list.get(position);
        }

        @Override
        public int getCount() {
            return list.size();
        }

        @Override
        public CharSequence getPageTitle(int position) {
            return tabTitles[position];
        }
    }
}
2.下层
public class ScFragment extends Fragment {
    MyScActivity activity;
    @Bind(R.id.sliding_tabs)
    TabLayout slidingTabs;
    @Bind(R.id.viewpager)
    ViewPager viewpager;
    private List<Fragment> list = new ArrayList<Fragment>();
    private SimpleFragmentAdapter simpleFragmentAdapter;
    @Nullable
    @Override
    public View onCreateView(LayoutInflater inflater, @Nullable ViewGroup container, @Nullable Bundle savedInstanceState) {
        activity = (MyScActivity) getActivity();
        View view = View.inflate(activity, R.layout.fragment_sc, null);
        ButterKnife.bind(this, view);
        simpleFragmentAdapter = new SimpleFragmentAdapter(getChildFragmentManager());
        list.add(new DpjFragment());
        list.add(new YpjFragment());
        list.add(new DpjFragment());
        viewpager.setAdapter(simpleFragmentAdapter);
        slidingTabs.setupWithViewPager(viewpager);
        return view;
    }
    public class SimpleFragmentAdapter extends FragmentPagerAdapter {
        private String tabTitles[] = new String[]{"默认", "降价","折扣"};

        public SimpleFragmentAdapter(FragmentManager fm) {
            super(fm);
        }

        @Override
        public Fragment getItem(int position) {
            return list.get(position);
        }

        @Override
        public int getCount() {
            return list.size();
        }

        @Override
        public CharSequence getPageTitle(int position) {
            return tabTitles[position];
        }
    }
    @Override
    public void onDestroyView() {
        super.onDestroyView();
        ButterKnife.unbind(this);
    }
}
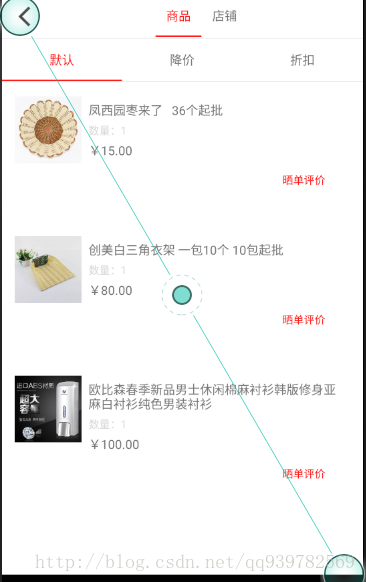
效果图
涉及到的参数就是Fragment中嵌套Fragment
getSupportFragmentManager()与getChildFragmentManager()的区别。


 1741
1741


 被折叠的 条评论
为什么被折叠?
被折叠的 条评论
为什么被折叠?
 到【灌水乐园】发言


