


最近在项目中接触到spring boot 框架,发现这个框架开发java web应用确实挺好用的,因为开始时框架别人都搭建好了,今天就自己手动写一个demo。
先说下我的环境, jdk1.8 、maven-3.0.5。工具是spring boot官方推荐的spring tool suite 3.8.2。
首先新建一个普通maven项目,在这里遇到坑了,勾上create a simple project (skip archetype selection),然后创建了一个没有任何依赖的项目,这时可以吧项目删掉了,但是不要勾选 delete on disk,然后在导入的时候选 Existing maven projects,这样 java的依赖就被加进来了,事实上在开发的时候从svn上check out出来后也是这样干的。之后修改pom.xml文件 内容如下:
<?xml version="1.0" encoding="UTF-8"?>
<project xmlns="http://maven.apache.org/POM/4.0.0" xmlns:xsi="http://www.w3.org/2001/XMLSchema-instance"
         xsi:schemaLocation="http://maven.apache.org/POM/4.0.0 http://maven.apache.org/xsd/maven-4.0.0.xsd">
    <modelVersion>4.0.0</modelVersion>

	  <groupId>com.demo</groupId>
	  <artifactId>demo</artifactId>
	  <version>0.0.1-SNAPSHOT</version>
	  <packaging>war</packaging>
	  <properties>
	  	<java-version>1.8</java-version>
	  </properties>

    <!-- Inherit defaults from Spring Boot -->
    <parent>
        <groupId>org.springframework.boot</groupId>
        <artifactId>spring-boot-starter-parent</artifactId>
        <version>1.0.0.RC1</version>
    </parent>

    <!-- Add typical dependencies for a web application -->
    <dependencies>
        <dependency>
            <groupId>org.springframework.boot</groupId>
            <artifactId>spring-boot-starter-web</artifactId>
        </dependency>
        <dependency>
            <groupId>org.springframework.boot</groupId>
            <artifactId>spring-boot-starter-actuator</artifactId>
        </dependency>
    </dependencies>

    <repositories>
        <repository>
            <id>spring-snapshots</id>
            <url>http://repo.spring.io/libs-snapshot</url>
        </repository>
    </repositories>

    <pluginRepositories>
        <pluginRepository>
            <id>spring-snapshots</id>
            <url>http://repo.spring.io/libs-snapshot</url>
        </pluginRepository>
    </pluginRepositories>

    <build>
        <plugins>
            <plugin>
                <groupId>org.springframework.boot</groupId>
                <artifactId>spring-boot-maven-plugin</artifactId>
            </plugin>
        </plugins>
    </build>
</project>
就是加入spring boot的各种插件、依赖
然后新建启动class命名Application.java内容如下:
/**
 *
 */
package com.demo;

import org.springframework.boot.SpringApplication;
import org.springframework.boot.autoconfigure.EnableAutoConfiguration;
import org.springframework.boot.builder.SpringApplicationBuilder;
import org.springframework.boot.web.SpringBootServletInitializer;
import org.springframework.context.annotation.ComponentScan;

/**
 * @author asus
 *
 */
@EnableAutoConfiguration
@ComponentScan
public class Application extends SpringBootServletInitializer{

	/**
	 * @param args
	 */
	public static void main(String[] args) {
		System.out.println("demo start...");
		SpringApplication.run(Application.class, args);
		System.out.println("Application start...");
	}

	@Override
	protected SpringApplicationBuilder configure(SpringApplicationBuilder application){
		return application.sources(Application.class);
	}

}
这个类用于启动spring boot内嵌的tomcat 默认端口是8080。
在新建一个controller命名:IndexController,内容如下:
/**
 *
 */
package com.demo.controller;

import org.springframework.web.bind.annotation.RequestMapping;
import org.springframework.web.bind.annotation.RestController;

/**
 * @author asus
 *
 */
@RestController
public class IndexController {

	@RequestMapping("/")
	public String index(){
		return "hello world";
	}
}
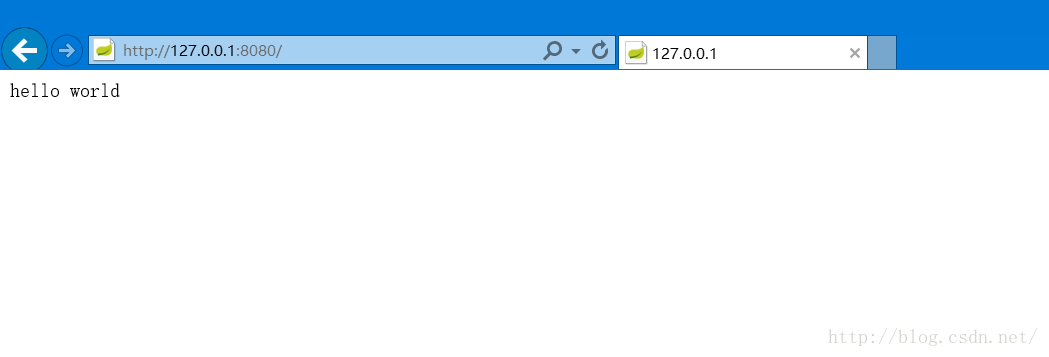
一个简单的spring boot demo就运行起来了,是不是很简单呢。相比较传统的java web项目发布到tomcat里面在启动tomcat ,spring boot 内嵌servlet容器是一大亮点。后续将继续更新学习spring boot的过程


 3万+
3万+


 被折叠的 条评论
为什么被折叠?
被折叠的 条评论
为什么被折叠?
 到【灌水乐园】发言


